5 tips to get started in ceramics
- Written byCarys Thomas
- Published date 03 February 2022
Share story
Are you interested in ceramics but not sure where to start?
Perhaps you were inspired to give it a go after watching the popular TV series The Great Pottery Throw Down or maybe you just want to try something different.
If you’re keen to learn a new skill, ceramics could be a great option for you. The process of hand-making ceramics can be slow, mindful and therapeutic, making it the perfect way to switch off from an increasingly fast-paced, digital world.
Creative activities can also boost health and wellbeing, so there’s every reason to give it a go! Take a look at our guide on how art and creativity can improve health and wellbeing.
If you’re just starting out, you’ll want to spend some time exploring the qualities of clay and trying some simple techniques. We spoke to ceramic artist Jemma Gudgin, who recently took our Intermediate Ceramics Short Course and Experimental Glazing Short Course, to hear her advice for beginners interested in ceramics.
We’ll also share some helpful advice from artist and UAL short course tutor, Matilda Moreton, who specialises in surface design and hand built ceramics. Matilda leads our Ceramics for Beginners Short Course at Central Saint Martins.
Getting started
The ceramics industry goes back thousands of years – one of the oldest known ceramic artefacts, the Venus of Dolni Věstonice, is thought to have been sculpted between 29,000 and 25,000 years ago. The original figurine is part of the collection of the Moravian Museum's Anthropos Pavilion in Brno, Czech Republic.
The versatility of ceramics as a medium makes it an ideal choice for beginners to learn many different techniques, from handbuilding, pinching, slab/coil construction, and slip casting.
Taking a ceramics class or short course can be a good way to build your confidence in a supportive environment and experience the joy of working with clay. If this is something you’d like to explore, take a look at our short courses in ceramics.
Here are our five top tips on working with ceramics for beginners:
1# Find inspiration
Spending some time researching artists that work with ceramics will help you form an idea of the kind of work you want to produce. It’s worth looking into the practices and traditions that have shaped the ceramic industry over the years. Ceramic art flourished in the UK during the 20th century particularly, so this is a good place to start. Some notable artists and makers to take a look at include Magdalene Oduno (1950), William Staite Murray (1881), and Hans Coper (1920), who is famous for his textured stoneware works and produced the seven-foot-high candlesticks that were commissioned for Coventry Cathedral in 1962. It is possible to see some of Hans Coper’s work in the ceramics galleries at the V&A.
Remember inspiration is everywhere. Try taking a small sketchbook out with you and sketch any interesting shapes, patterns or textures you come across. Matilda recommends getting into the habit of taking photos to use as reference points; “think about the things that are important to you and what you might want to express through the clay, then build up sketches and take some photos.”
2# Be well prepared
Working with clay can be messy, so it’s best to embrace the mess as much as possible. The trick is to be well prepared. Make sure you wear appropriate clothing and if you’re practising at home, try to find an area that you feel comfortable working in which can be cleaned easily. If you’re able to, try to dedicate that area to your ceramic work, and make sure it isn’t near anything precious or valuable that could be damaged by spills or accidents. A garage, outbuilding or basement would work well.
It’s important to find the best tools to support your ceramic projects if you want to achieve the best results. “There are so many pottery tools available that it can be overwhelming,” Jemma notes, “the main tools to get started are simply the pottery sets which include a wire cutter, a sponge, a steel kidney rib, a wooden modelling tool, a metal needle tool, and finally, a wooden potters rib. These tools are perfect to begin your pottery journey, whether you are throwing or sculpting.”
Preparing your clay is also essential, Jemma tells us. “Wedging your clay is an essential step. Clay needs to be pliable and clean, with an even consistency. It should have the right water content without any air bubbles. Make sure your clay is free of air bubbles as this will help to get even walls when throwing and to ensure that no air pockets explode during the firing process. You can learn how to wedge at a local pottery class or by watching online tutorials.”
3# Experiment
Some say the best way to learn is through play. It’s important to take time to experiment when you first start working with clay to see which techniques appeal to you most and find your voice as an artist.
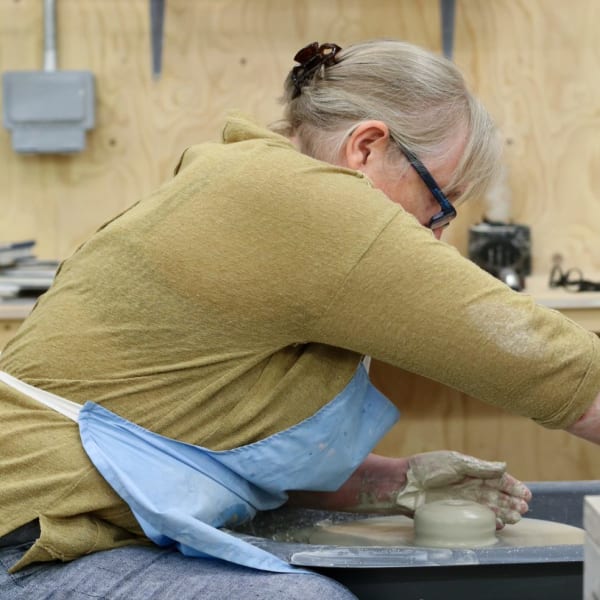
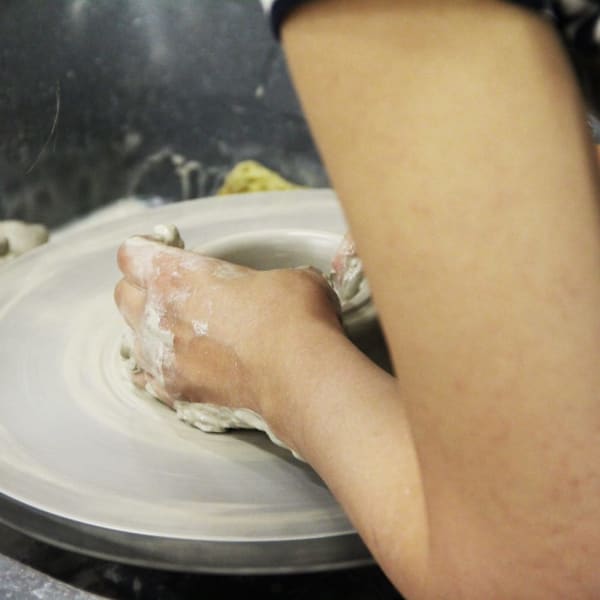
If you don’t have access to a throwing wheel, try practising a few handbuilding techniques at home. You’ll just need some clay and a handful of basic tools to get started. The handbuilding technique involves using your hands to create forms without the use of a throwing wheel, and can be a great way to familiarise yourself with the medium.
Experiment with pinching, coiling and slab building until you start to feel comfortable with each technique. Play with size and scale, and try combining techniques to build your confidence. If you can, try to focus on the creative process rather than worrying about the final outcome.
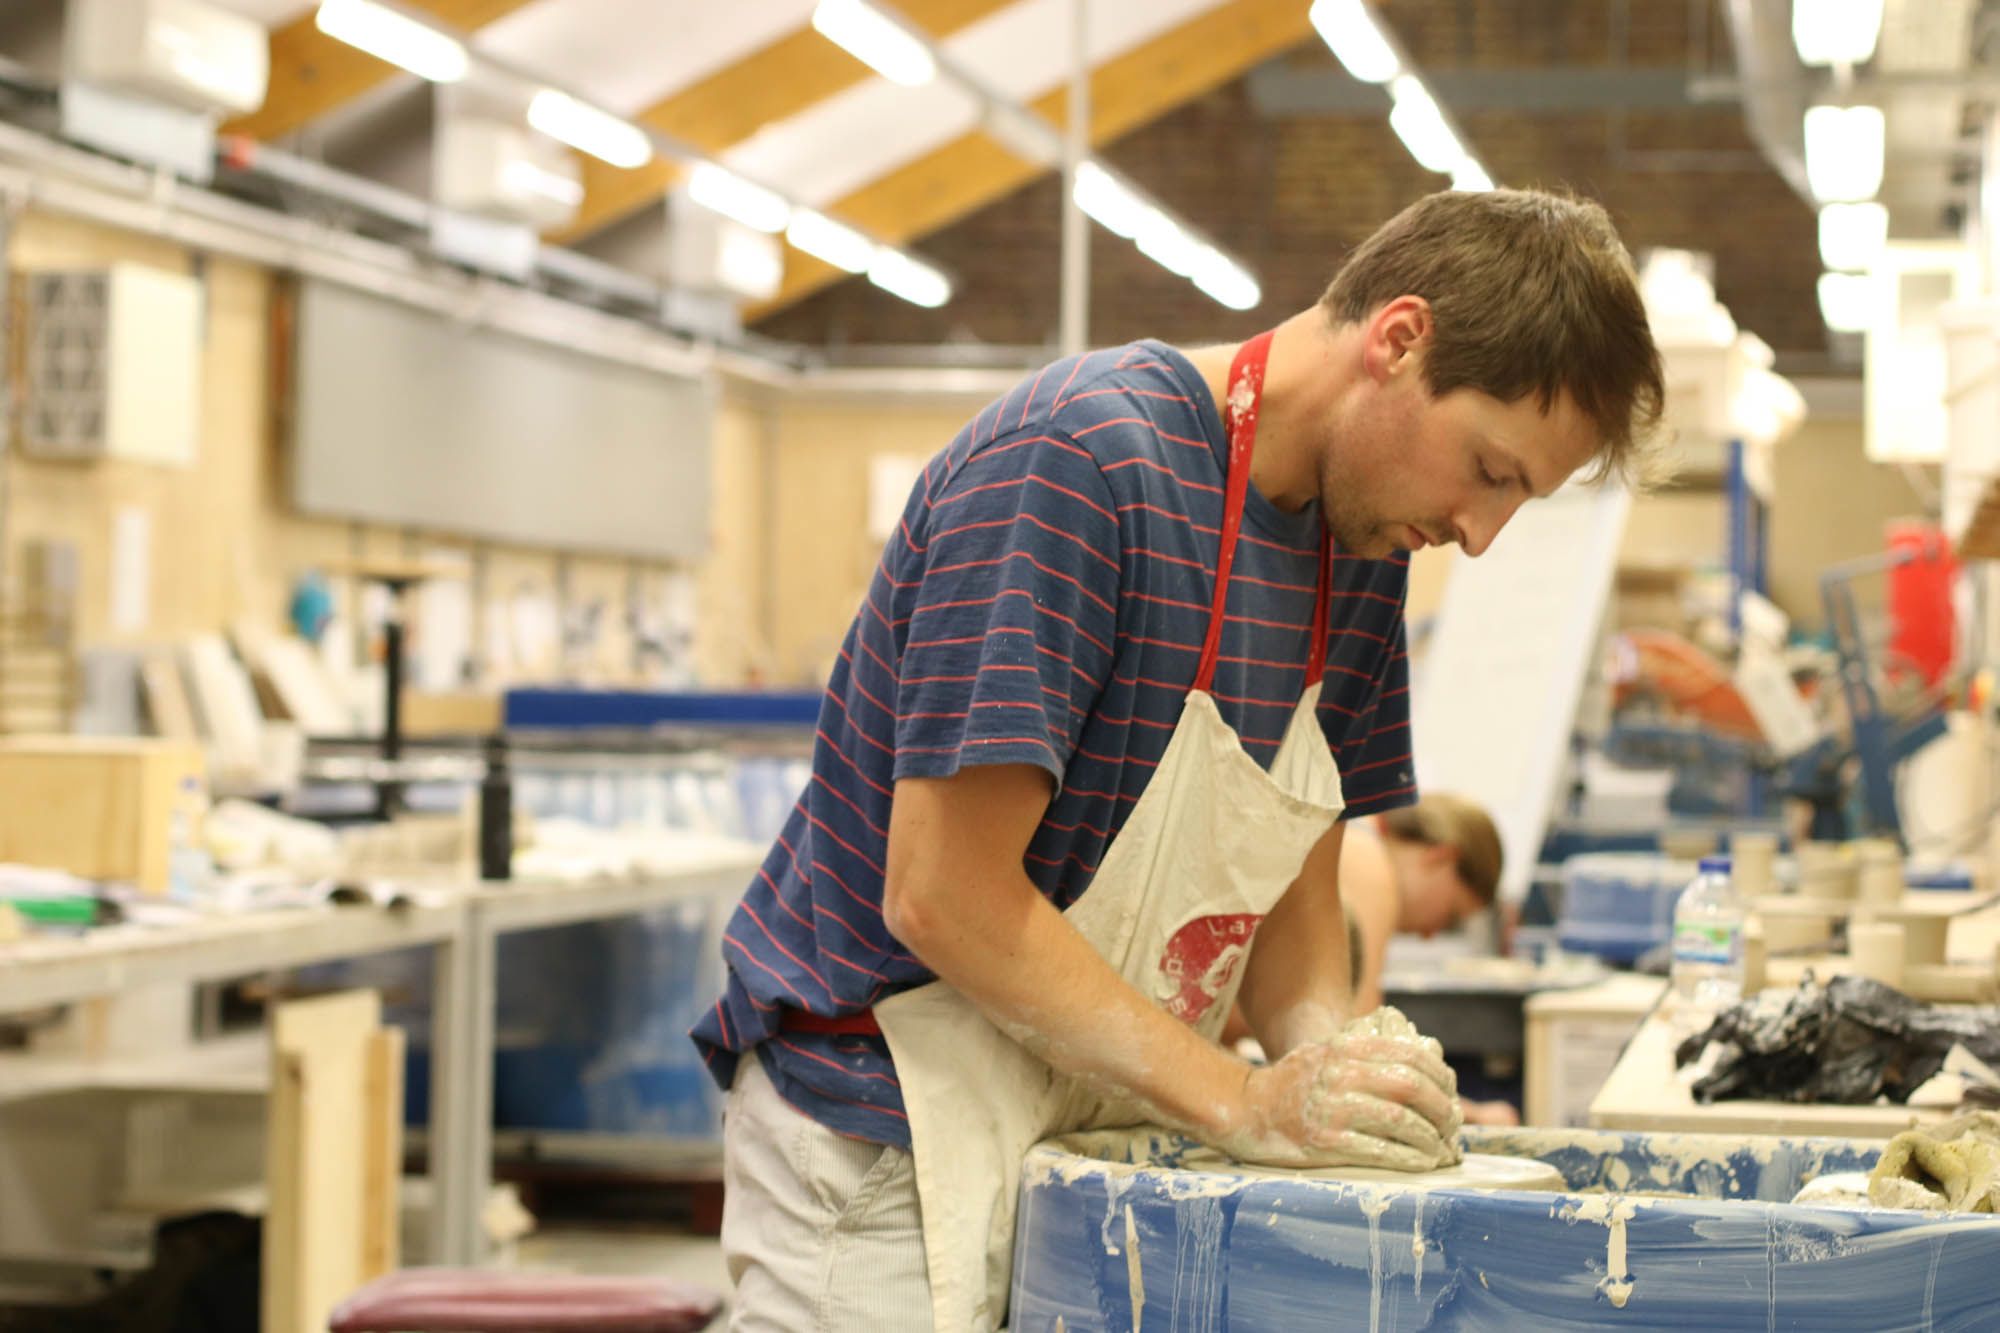
4# Practice
As with any skill, the best way to improve your ceramic work is by practising. Try to practice as often as you’re able to, and use online videos and tutorials to hone your technique. Practice creating joints, cutting shapes or imprinting patterns into clay. Over time, you’ll find that you are more confident working with clay and your finished pieces will look more polished.
“Spending time working with clay will greatly improve your technique” says Jemma. “If you have access to a studio, do try to visit 2-3 times a week and spend 15 minutes a day reading or watching online video tutorials. When I first started working with clay, I spent many hours designing a piece I wanted to create and then putting it into practice. I made mistakes and learnt from them. Enjoy experimenting and seeing what works and what doesn’t - it all helps to strengthen your skillset.”
Taking a class or short course in ceramics can also be a great way to immerse yourself into the wonderful world of clay. Jemma enjoyed her time on the Intermediate Ceramics Short Course and Experimental Glazing Short Course at Central Saint Martins. “Both were intensive five-day courses crammed full of theoretical and practical work” she said. “We worked in teams using equipment and materials designed for the production of ceramics. Each team created different plaster moulds/glazes so we could see a variety of techniques and at the end of each day, we would discuss what we had made and what we would focus on next. I really enjoyed attending these courses and meeting like-minded people in the ceramic field. I used online tutorials during lockdown but I find learning in an educational space with others is far better. I’m looking forward to incorporating what I have learnt into my ceramic practice.”
#5 Be patient
Patience is essential when working with clay, as Matilda notes, “with most handbuilding techniques, you need to develop quite a lot of patience to work slowly. On the other hand, if you are throwing, you need guts, determination and strength, and you need to expect some failure.” Remember you can learn a lot from the process, and if you can allow yourself to be patient, you’ll find the experience much more rewarding.
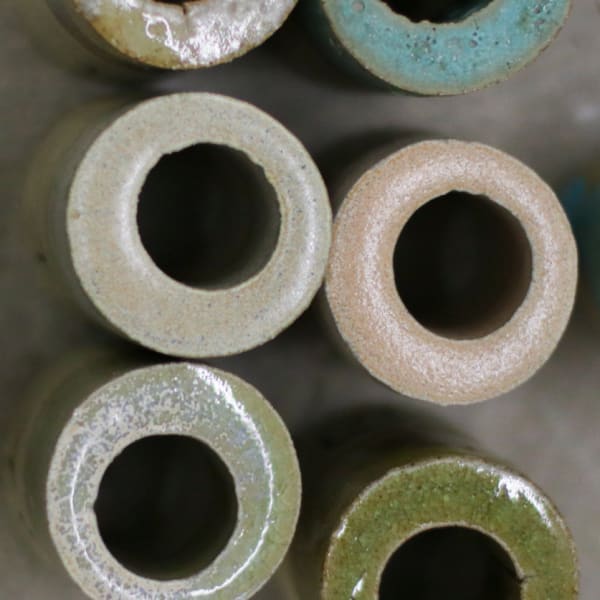
Jemma recommends documenting your work to track your progress and record any projects you may want to come back to. “Documenting your work is very important, whether you are a beginner or someone with more experience” she says. “Know what clay you used – Earthenware or Stoneware (both have different firing temperatures). How much did the clay weigh before throwing? What height did you throw a pot to? What glazes did you use to decorate a pot? How long did the kiln take to fire your piece?”
“Recording your process by writing notes and taking photos is an important way to learn and remember what you did. During the throwing process, it’s a good idea to weigh out your clay so if you want to make the same again you can refer to your notes. Similarly, taking photos before and after a pot glaze is fired will help if you want to create the same glazing effect.”
You can find out more about Jemma’s ceramic work on her website or by following her social media accounts on Instagram and Facebook.
Working with ceramics for beginners
If you're feeling inspired, take a look at our short courses in ceramics to see how they can help you develop your skills and discover the many creative possibilities clay offers.