Create a still life inspired by Patrick Caulfield
- Written byUAL Short Courses
- Published date 04 August 2025
Share story
Patrick Caulfield (1936 - 2005) was a British artist who was part of the British Pop Art movement in the 1960s.
Pop artists often used bold design methods such as screen printing and collage-style graphic layouts, and worked with ordinary paints like decorating paint.
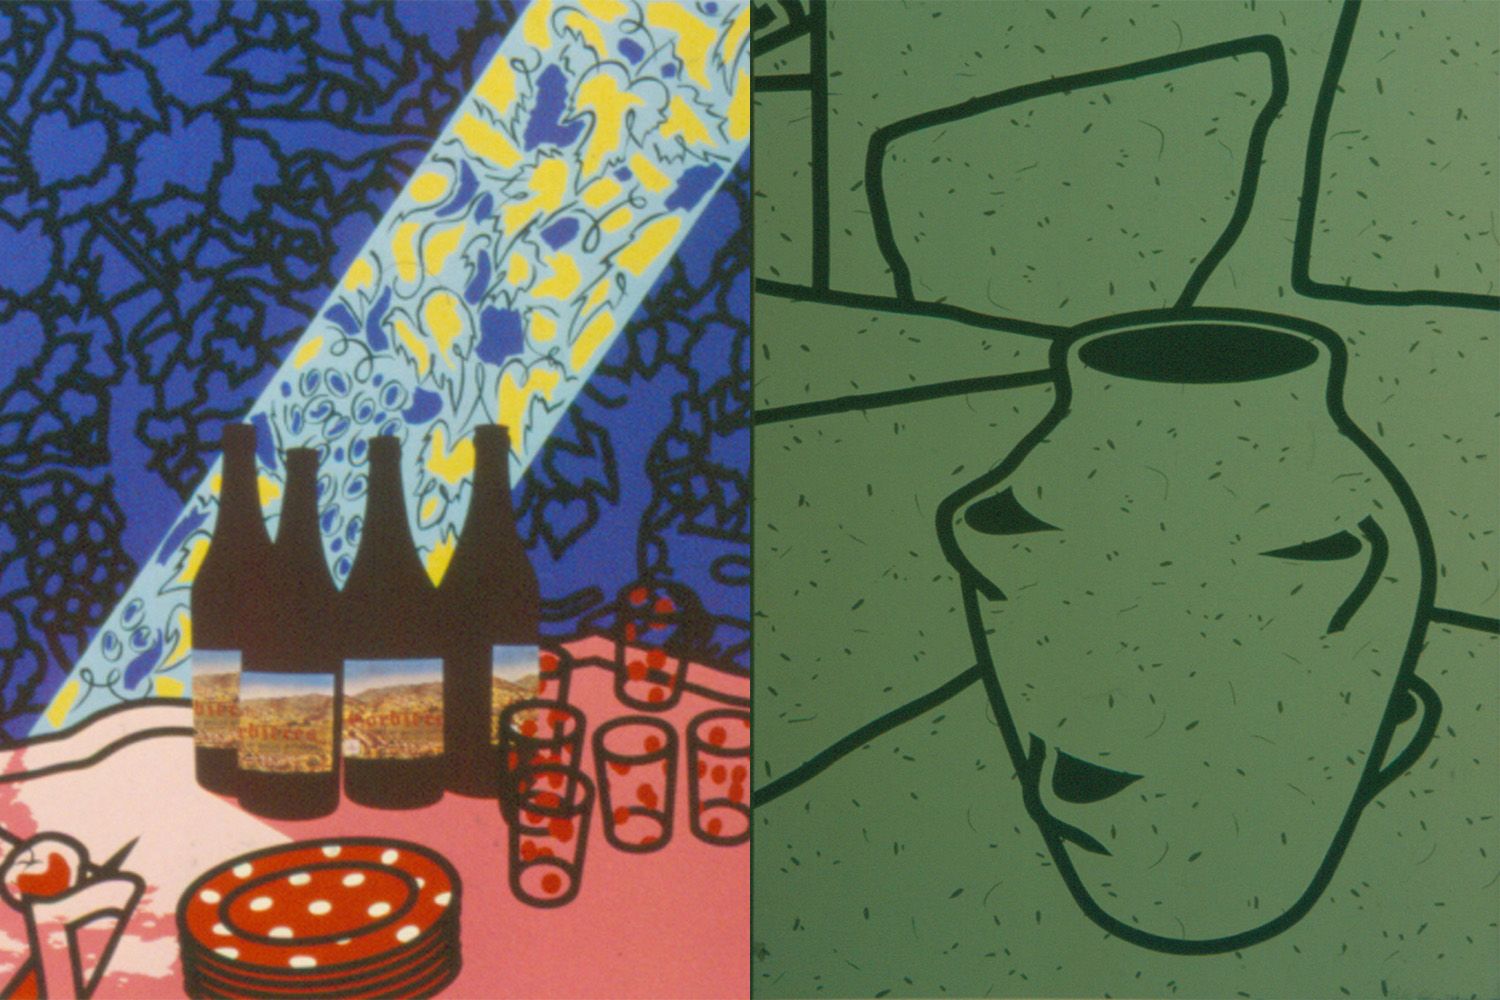
Caulfield was known for his brightly coloured still life paintings, like the two still lifes in the image above. Caulfield often used thick, smooth lines to draw the objects in a way that made them stand out. Read more about Caulfield's work.
Create your own still life using Caulfield's style and technique and your own choice of objects with this activity.
What is a still life?
A still life is an image of objects chosen and arranged by the artist. It can be a drawing, painting, photograph or print. The earliest examples we know of date from over 3,000 years ago in ancient Egypt.
Still lifes can feature a variety of natural and man-made objects, from flowers and fruit to books, vases, baskets and bowls.
The still life genre allows artists to experiment with form and perspective by adjusting the arrangement of objects and shapes.
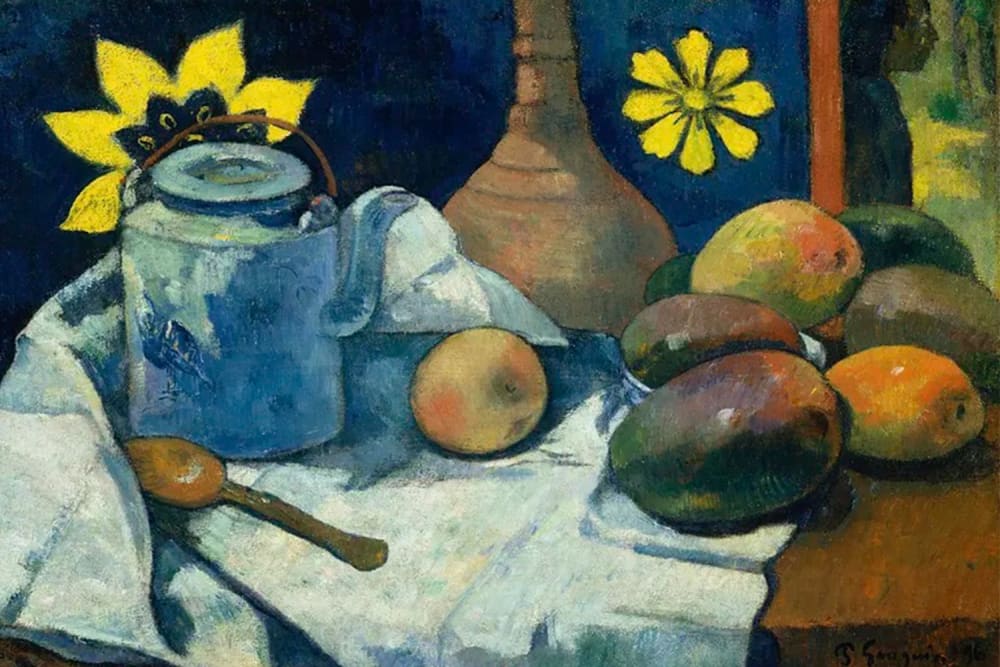
The image below is a still life by French artist Paul Gauguin.
Read more about the tradition of still life.
What you will need
To make your still life you will need the following materials:
- Several sheets of white paper
- Pencil and eraser
- Black felt tip or marker
- Paintbrush and a selection of paints
- Glue
- Scissors
Step 1
Choose 5 or 6 objects for your still life. These could be your favourite things or something from the kitchen, art materials or anything you choose from around your house. Place them on a table or surface in front of you.
Step 2
Using separate sheets of paper, draw the outline of each object with a pencil. When you’ve finished drawing the outlines, paint the shapes with your chosen colours and carefully cut along the pencil lines to cut out the objects.
Step 3
Using a large sheet of paper, paint the background for your still life. When the paint has dried, you may want to draw a table or room to place your objects in.
Step 4
Arrange your objects on the background sheet. You can keep your objects separate or place one in front of the other – try a few different positions to see what looks best.
Think about the composition. In art, the word ‘composition’ refers to the way things are arranged on the page.
Step 5
When you're happy with your design, glue the objects into position. You can now outline your objects in black pen to create a striking, bold design. Add more detail to the objects if you think they need it.
We’d love to see what you are making and share across our channels to inspire creativity. Share your work on Instagram by tagging @ualshortcourses.
Are you interested in our short courses for kids and teenagers? Take a look at our range our inspiring short courses for 11 to 18 year olds.