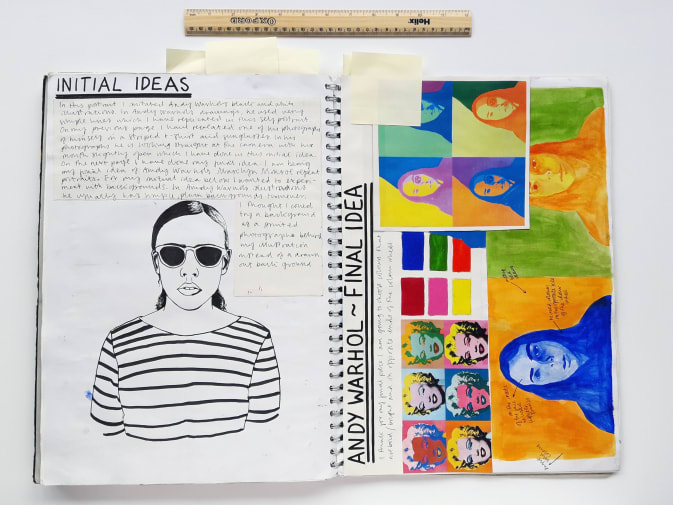
Working in sketchbooks as you research and develop projects leads to the amassing of lots of thoughts and ideas in 2D form. It’s really useful to pick out the pages that sum up the project you’ve been working on so you can communicate this to people who are not so familiar with your work.
Editing in this way is really useful for presentations and reviews – something that you’ll be asked to do regularly as an art or design student. And, of course this technique will be really helpful when you start pulling together projects that will feature in your portfolio.
Alex’s videos walk you through how to use your mini studio to photograph pages from your sketchbook and selected 2D work. We’ve also shared some further tips that you’ll see as you scroll through the images below.
Photographing your sketchbook
Video: D.Waife. Technique demonstrated by Alex Wojcik.
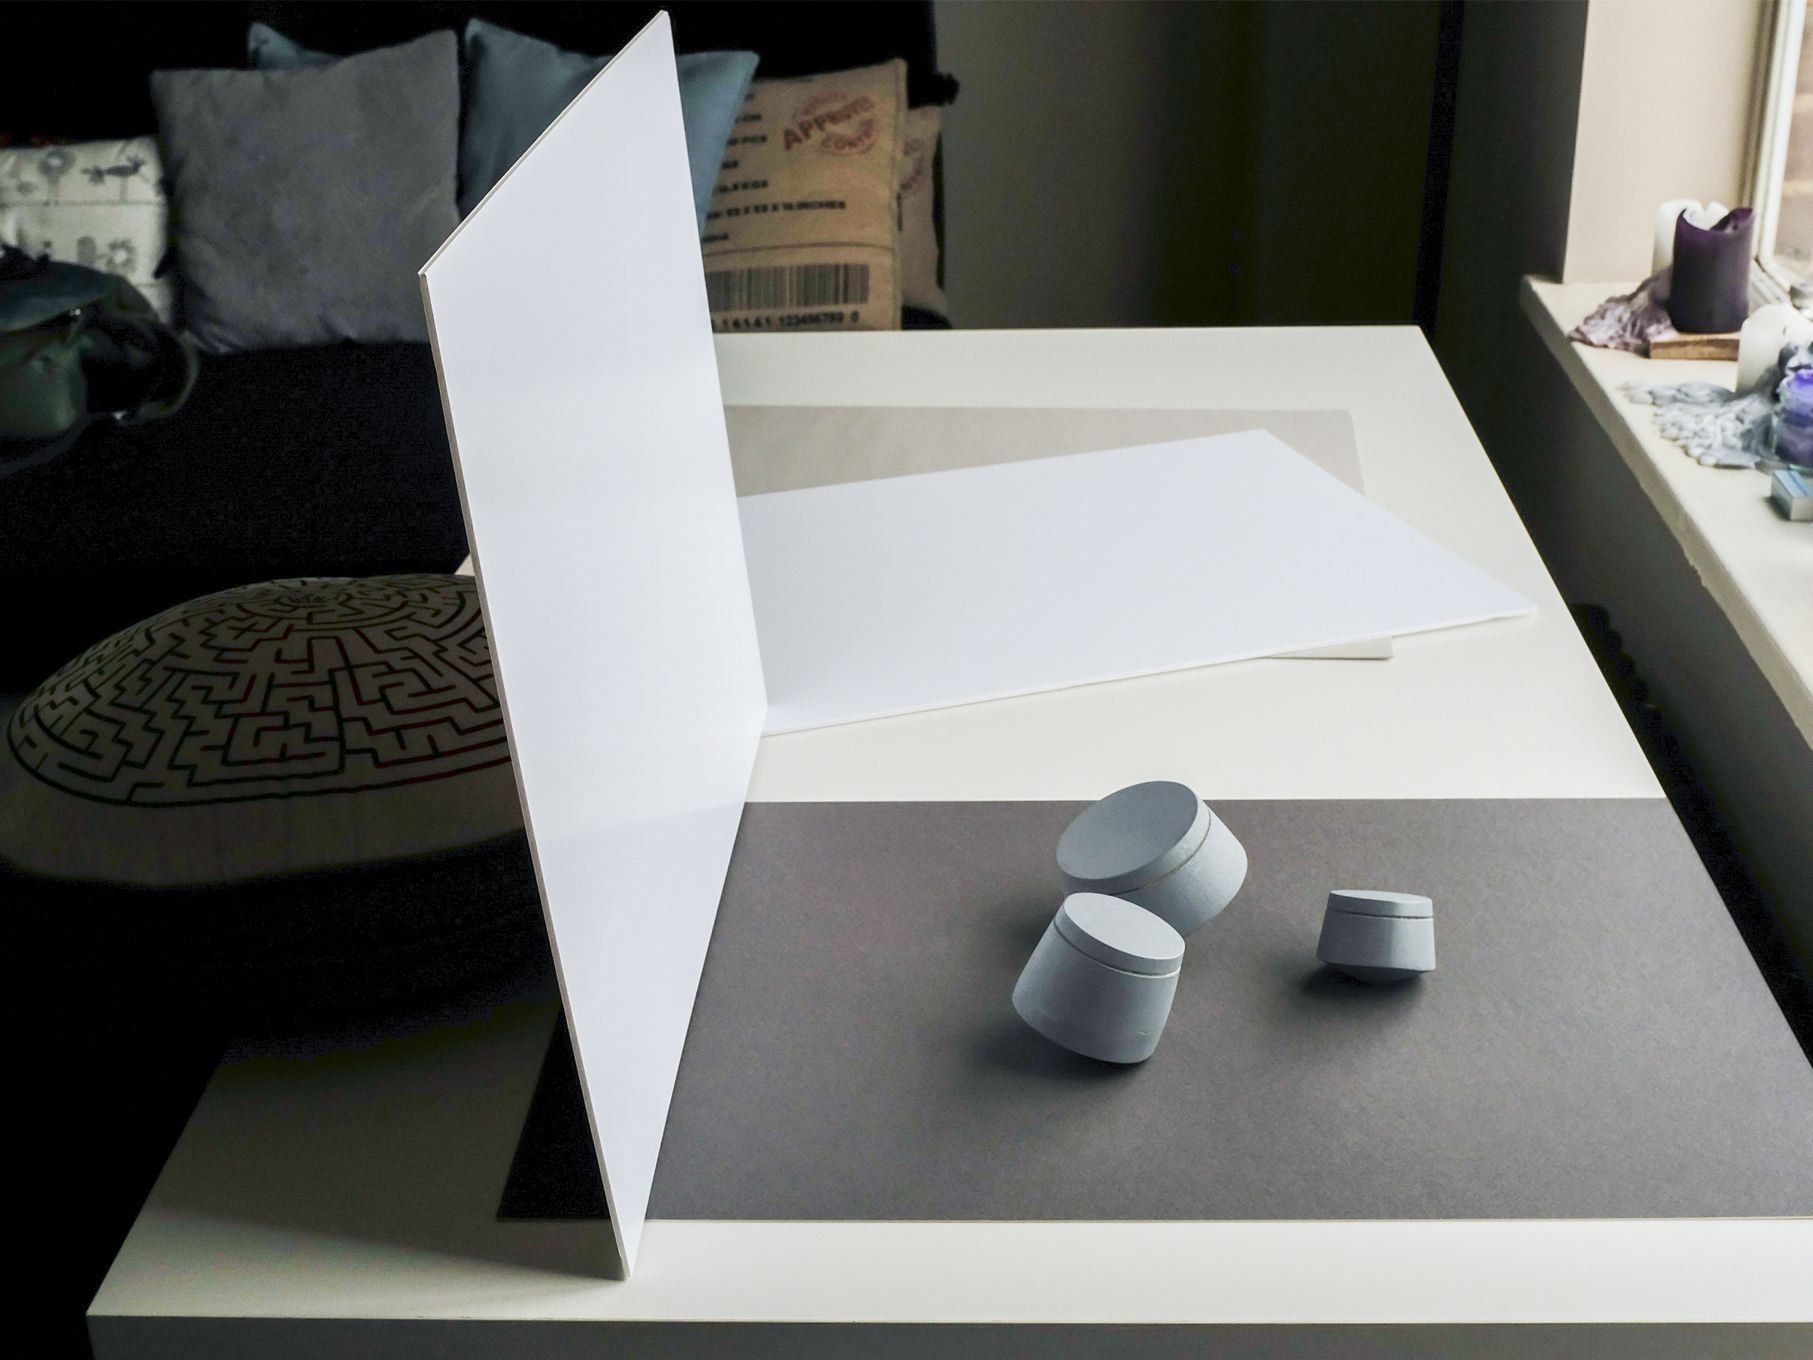
Laying out your work
-
Photograph: Alex Wojcik -
Photograph: Alex Wojcik


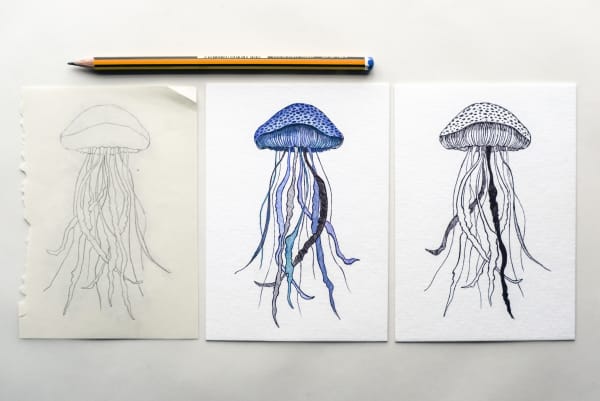
Tip: Don’t be afraid to take pages from your sketchbook and place them together. It’s great to lay out work of different sizes on your board to show development and give more visual interest. As Alex shows in the video a ruler or a pencil will help to give a sense of scale.
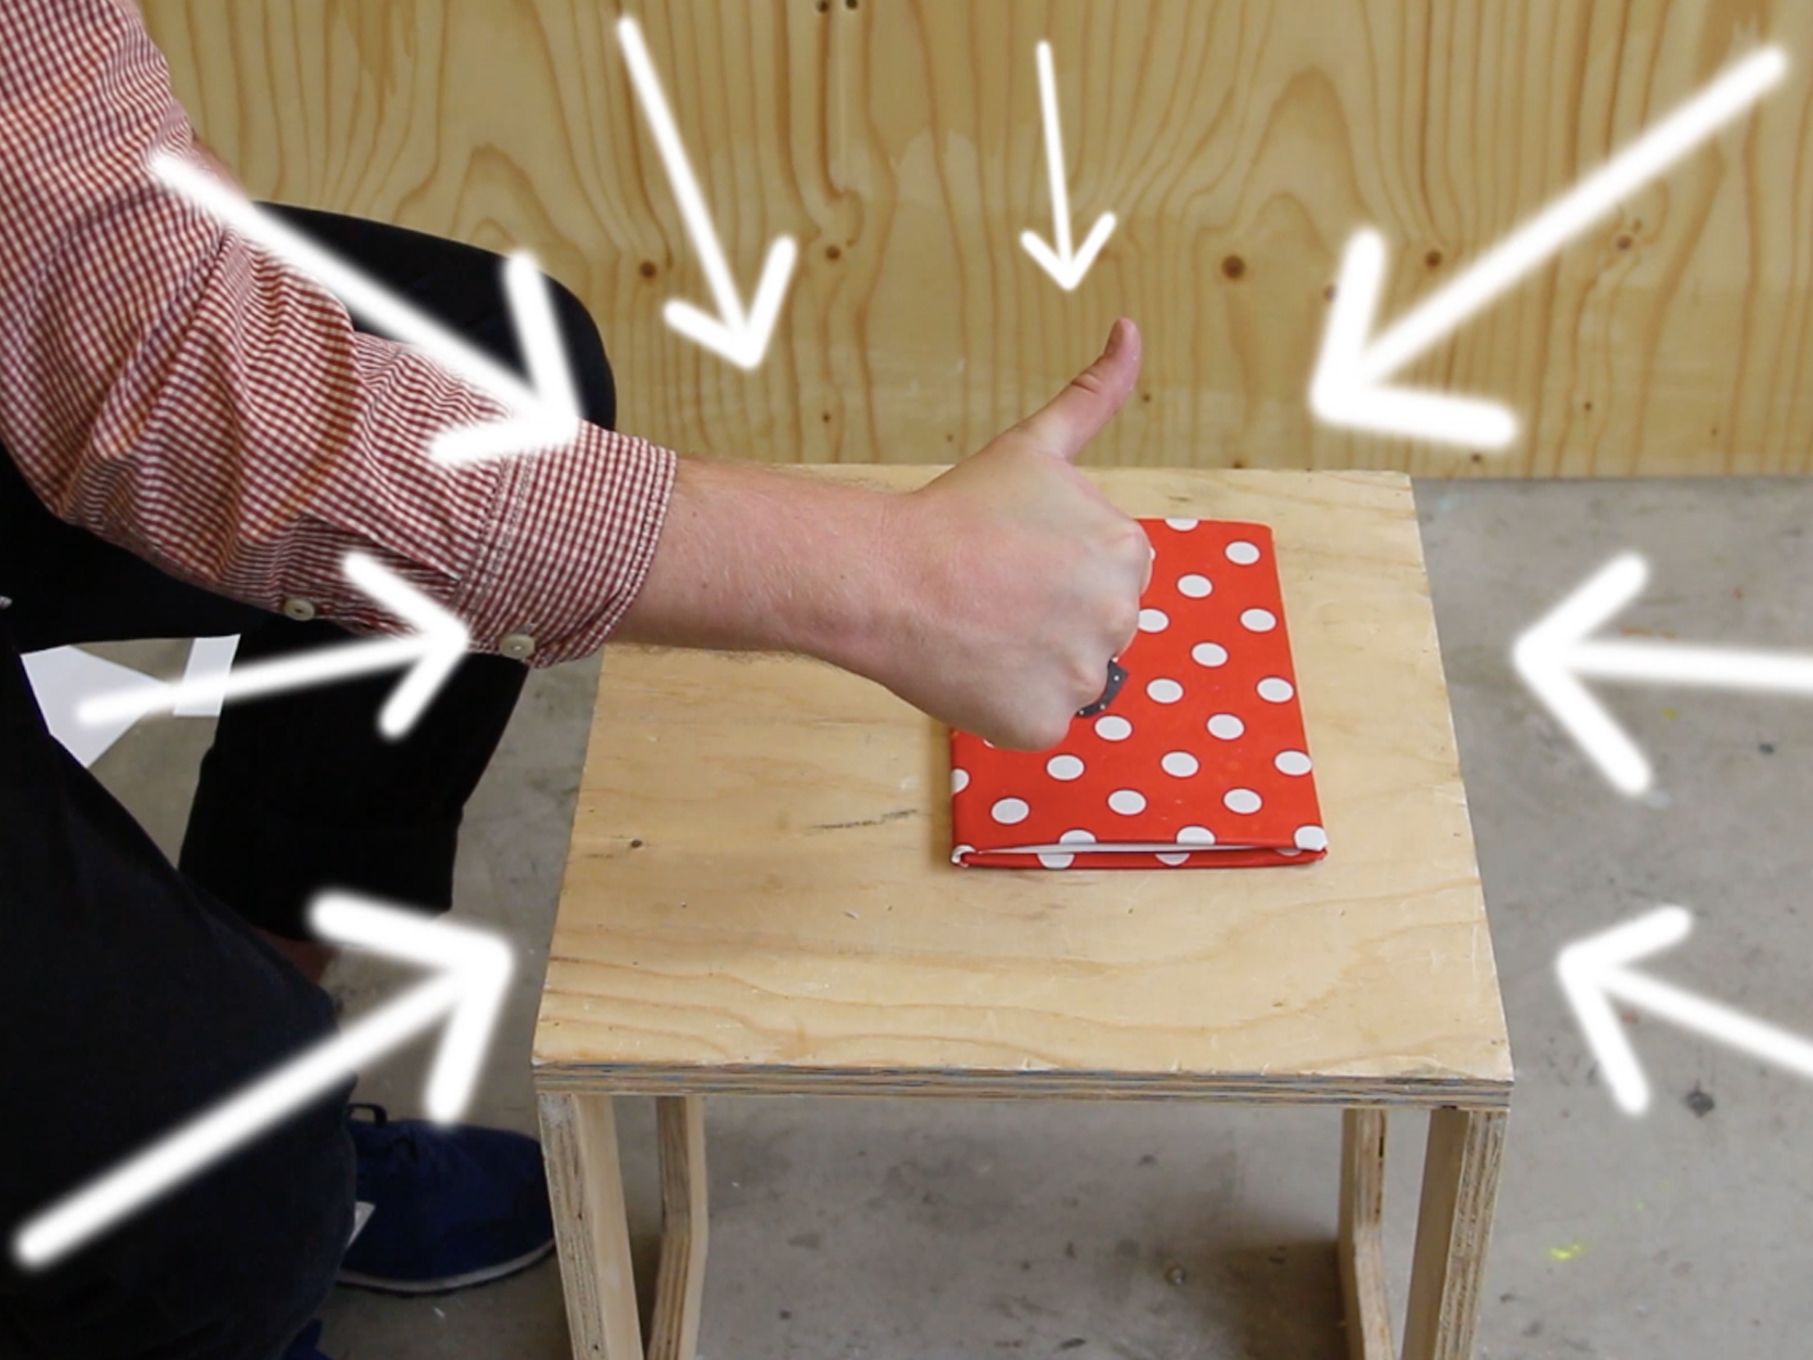
Choose what’s in the frame

Tip: When you’re photographing your work, be careful to ensure your clothes or hair etc don’t get into the frame, especially when you’re shooting from above! However, hands are good and including them can make for more interesting and informal shots – although you might need a friend to help you with this.
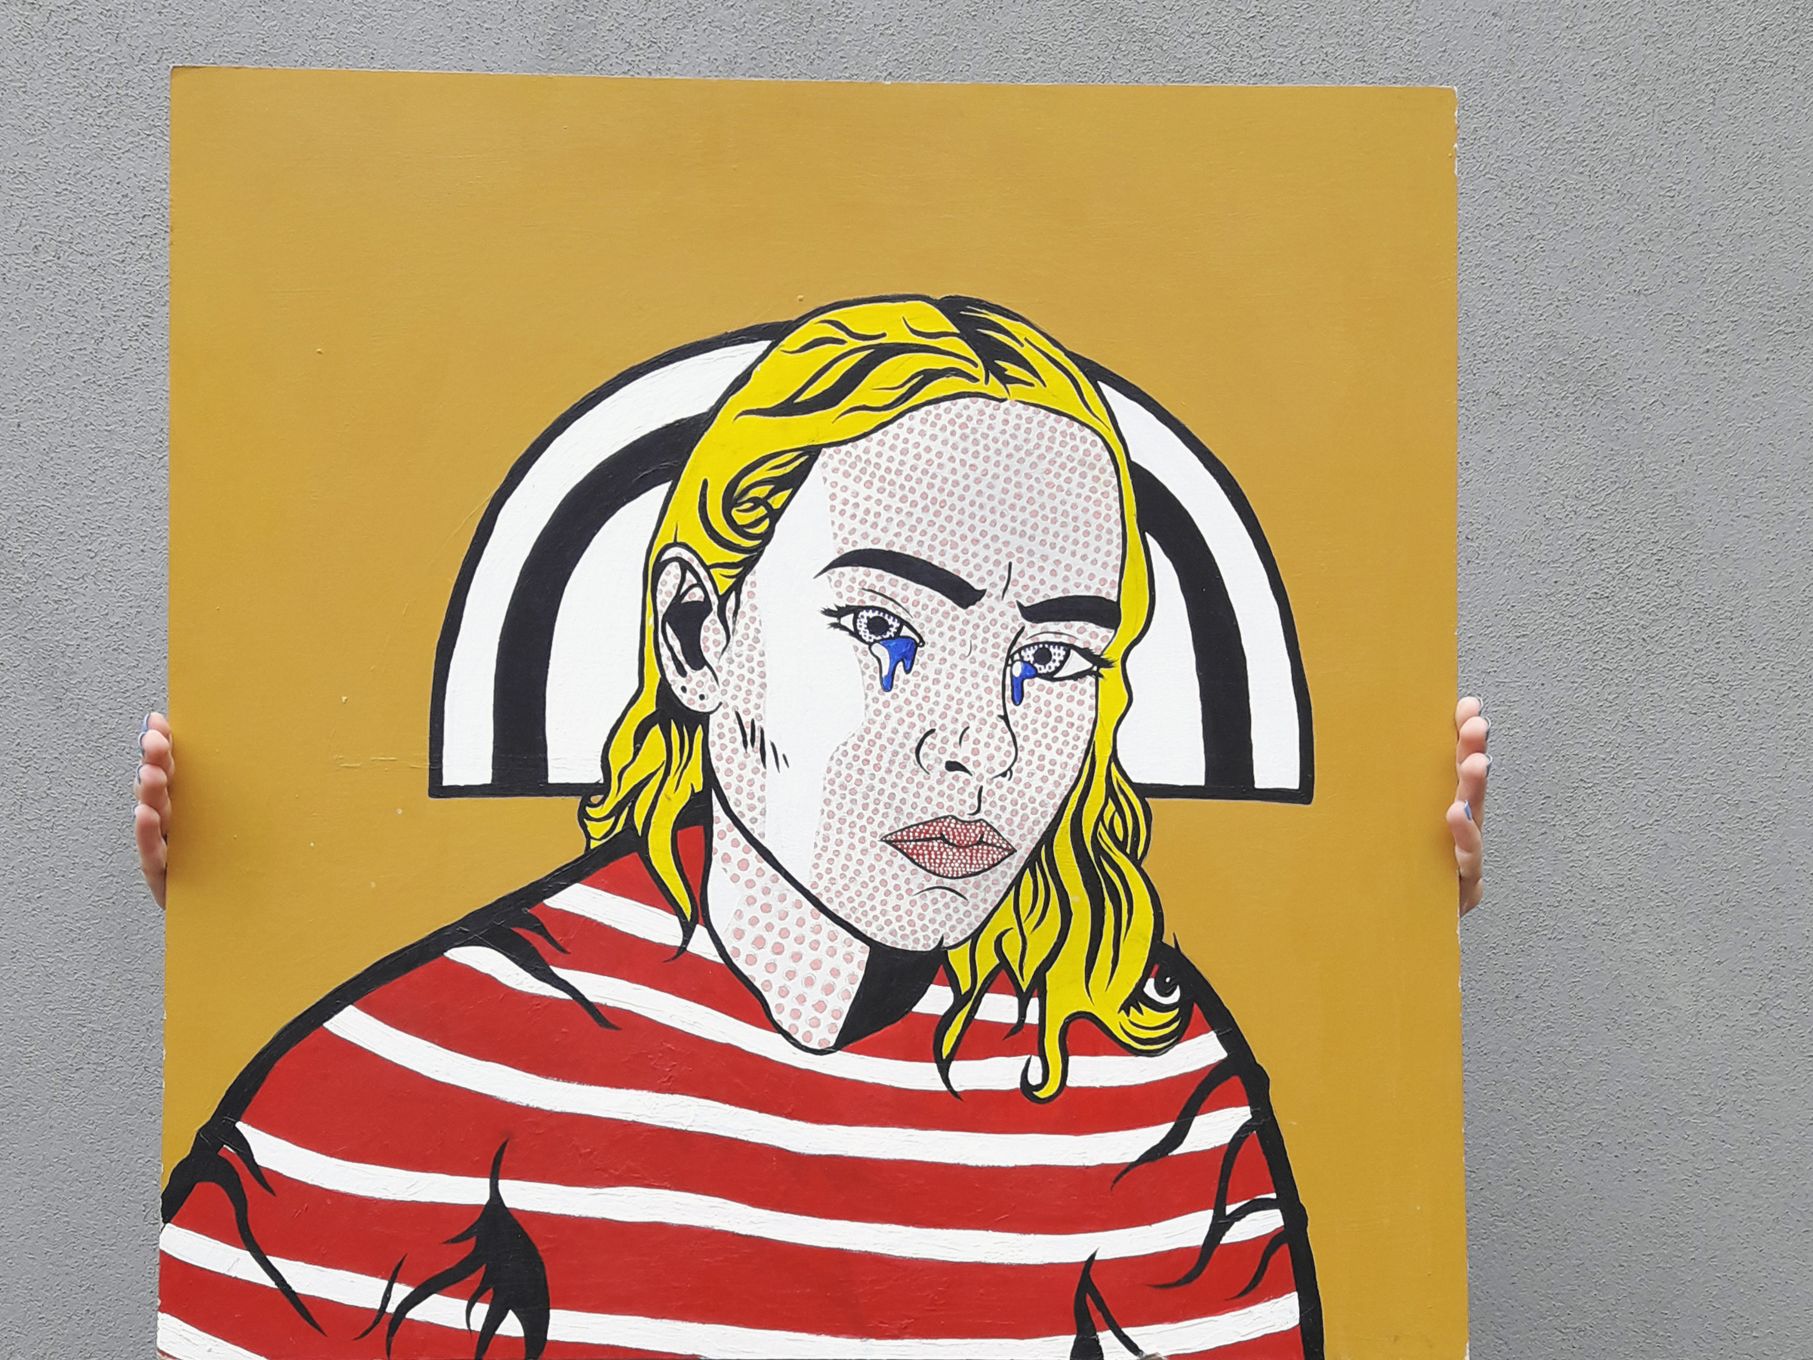
Photographing your 2D work
Video: D.Waife. Technique demonstrated by Alex Wojcik.
Don’t forget to include process shots

Tip: Make sure you photograph the process and development of ideas as well as final outcomes. They are just as important in telling the story of your project so they should be recorded with photographs too. You can also set up the frame featuring other objects or tools to give the image more interest.
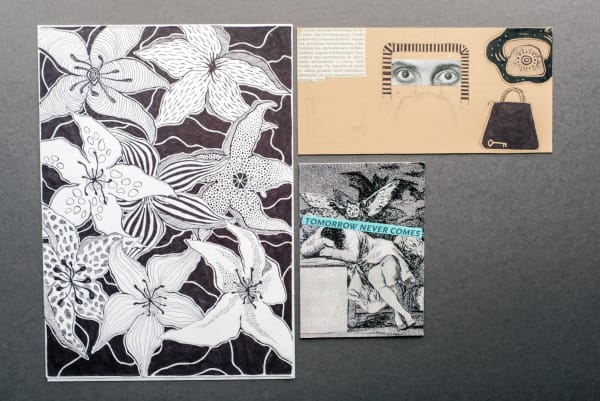
Consider scanning for non-photographic work

Tip: A word of warning – photography isn’t always the best option for 2D work as Alex points out in the video. Sometimes scanning may give you a better result. When you set your piece of work up on the scanner, place a white or black piece of paper behind the image before scanning. Don’t lay your work directly onto the scan bed (as in the image on the left) as your work will scan with a ‘bleached out’ quality. Also, you will then have to crop the scan of your work to remove the ugly scan bed background – meaning that the natural line of your work’s edges will be lost.