Whether you’re an artist or designer, chances are some of your work is going to be larger that A3 or be 3D in form.
Alex’s videos takes you through how to deal with these variations when taking photographs. We’ve also shared some further tips that you’ll see as you scroll through the images below.
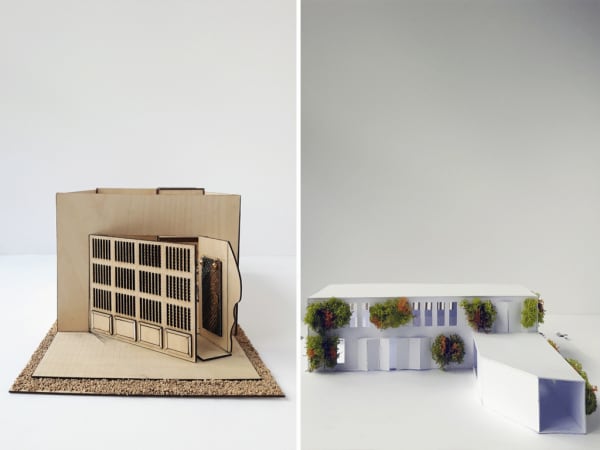
Photographing your 3D work
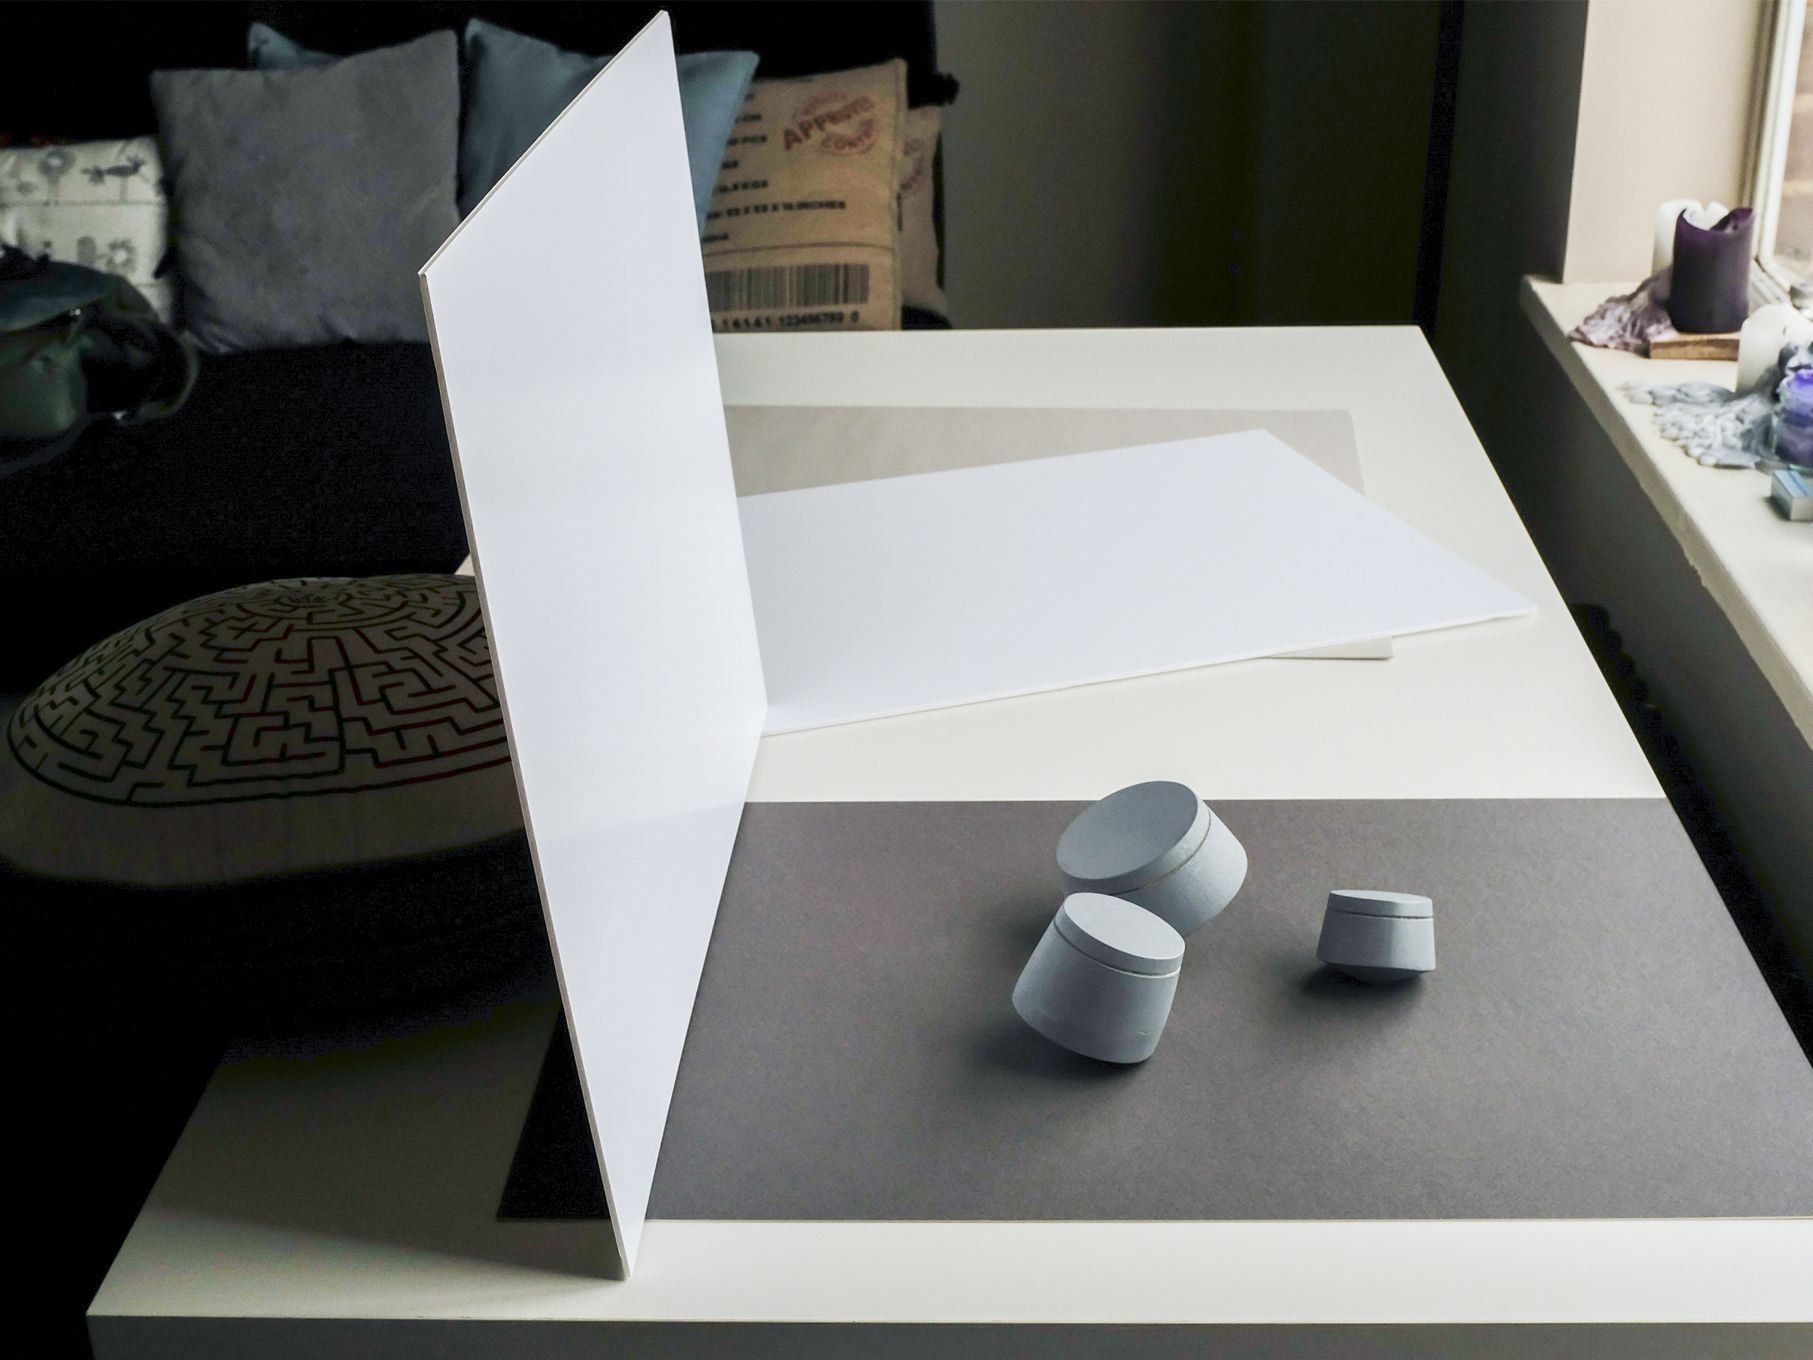
Show movement
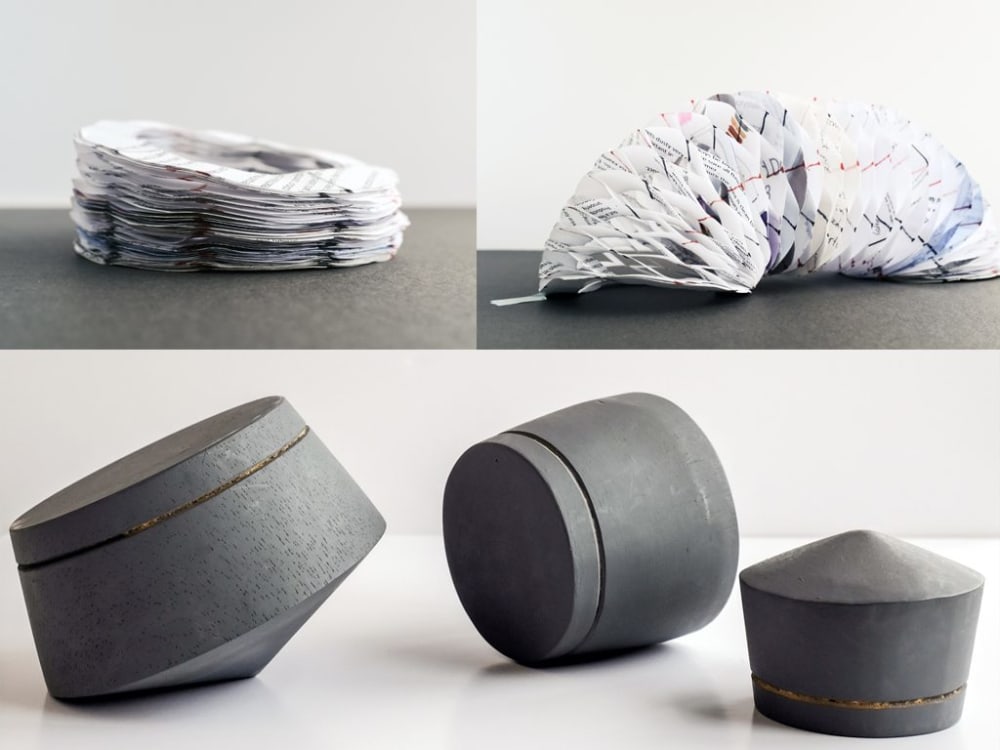
Tip: Some objects that you make in 3D might have moving parts or have a sense of movement to them. It’s important to capture this with different shots and show different views of the object. You can see a simple example of this in the images above.
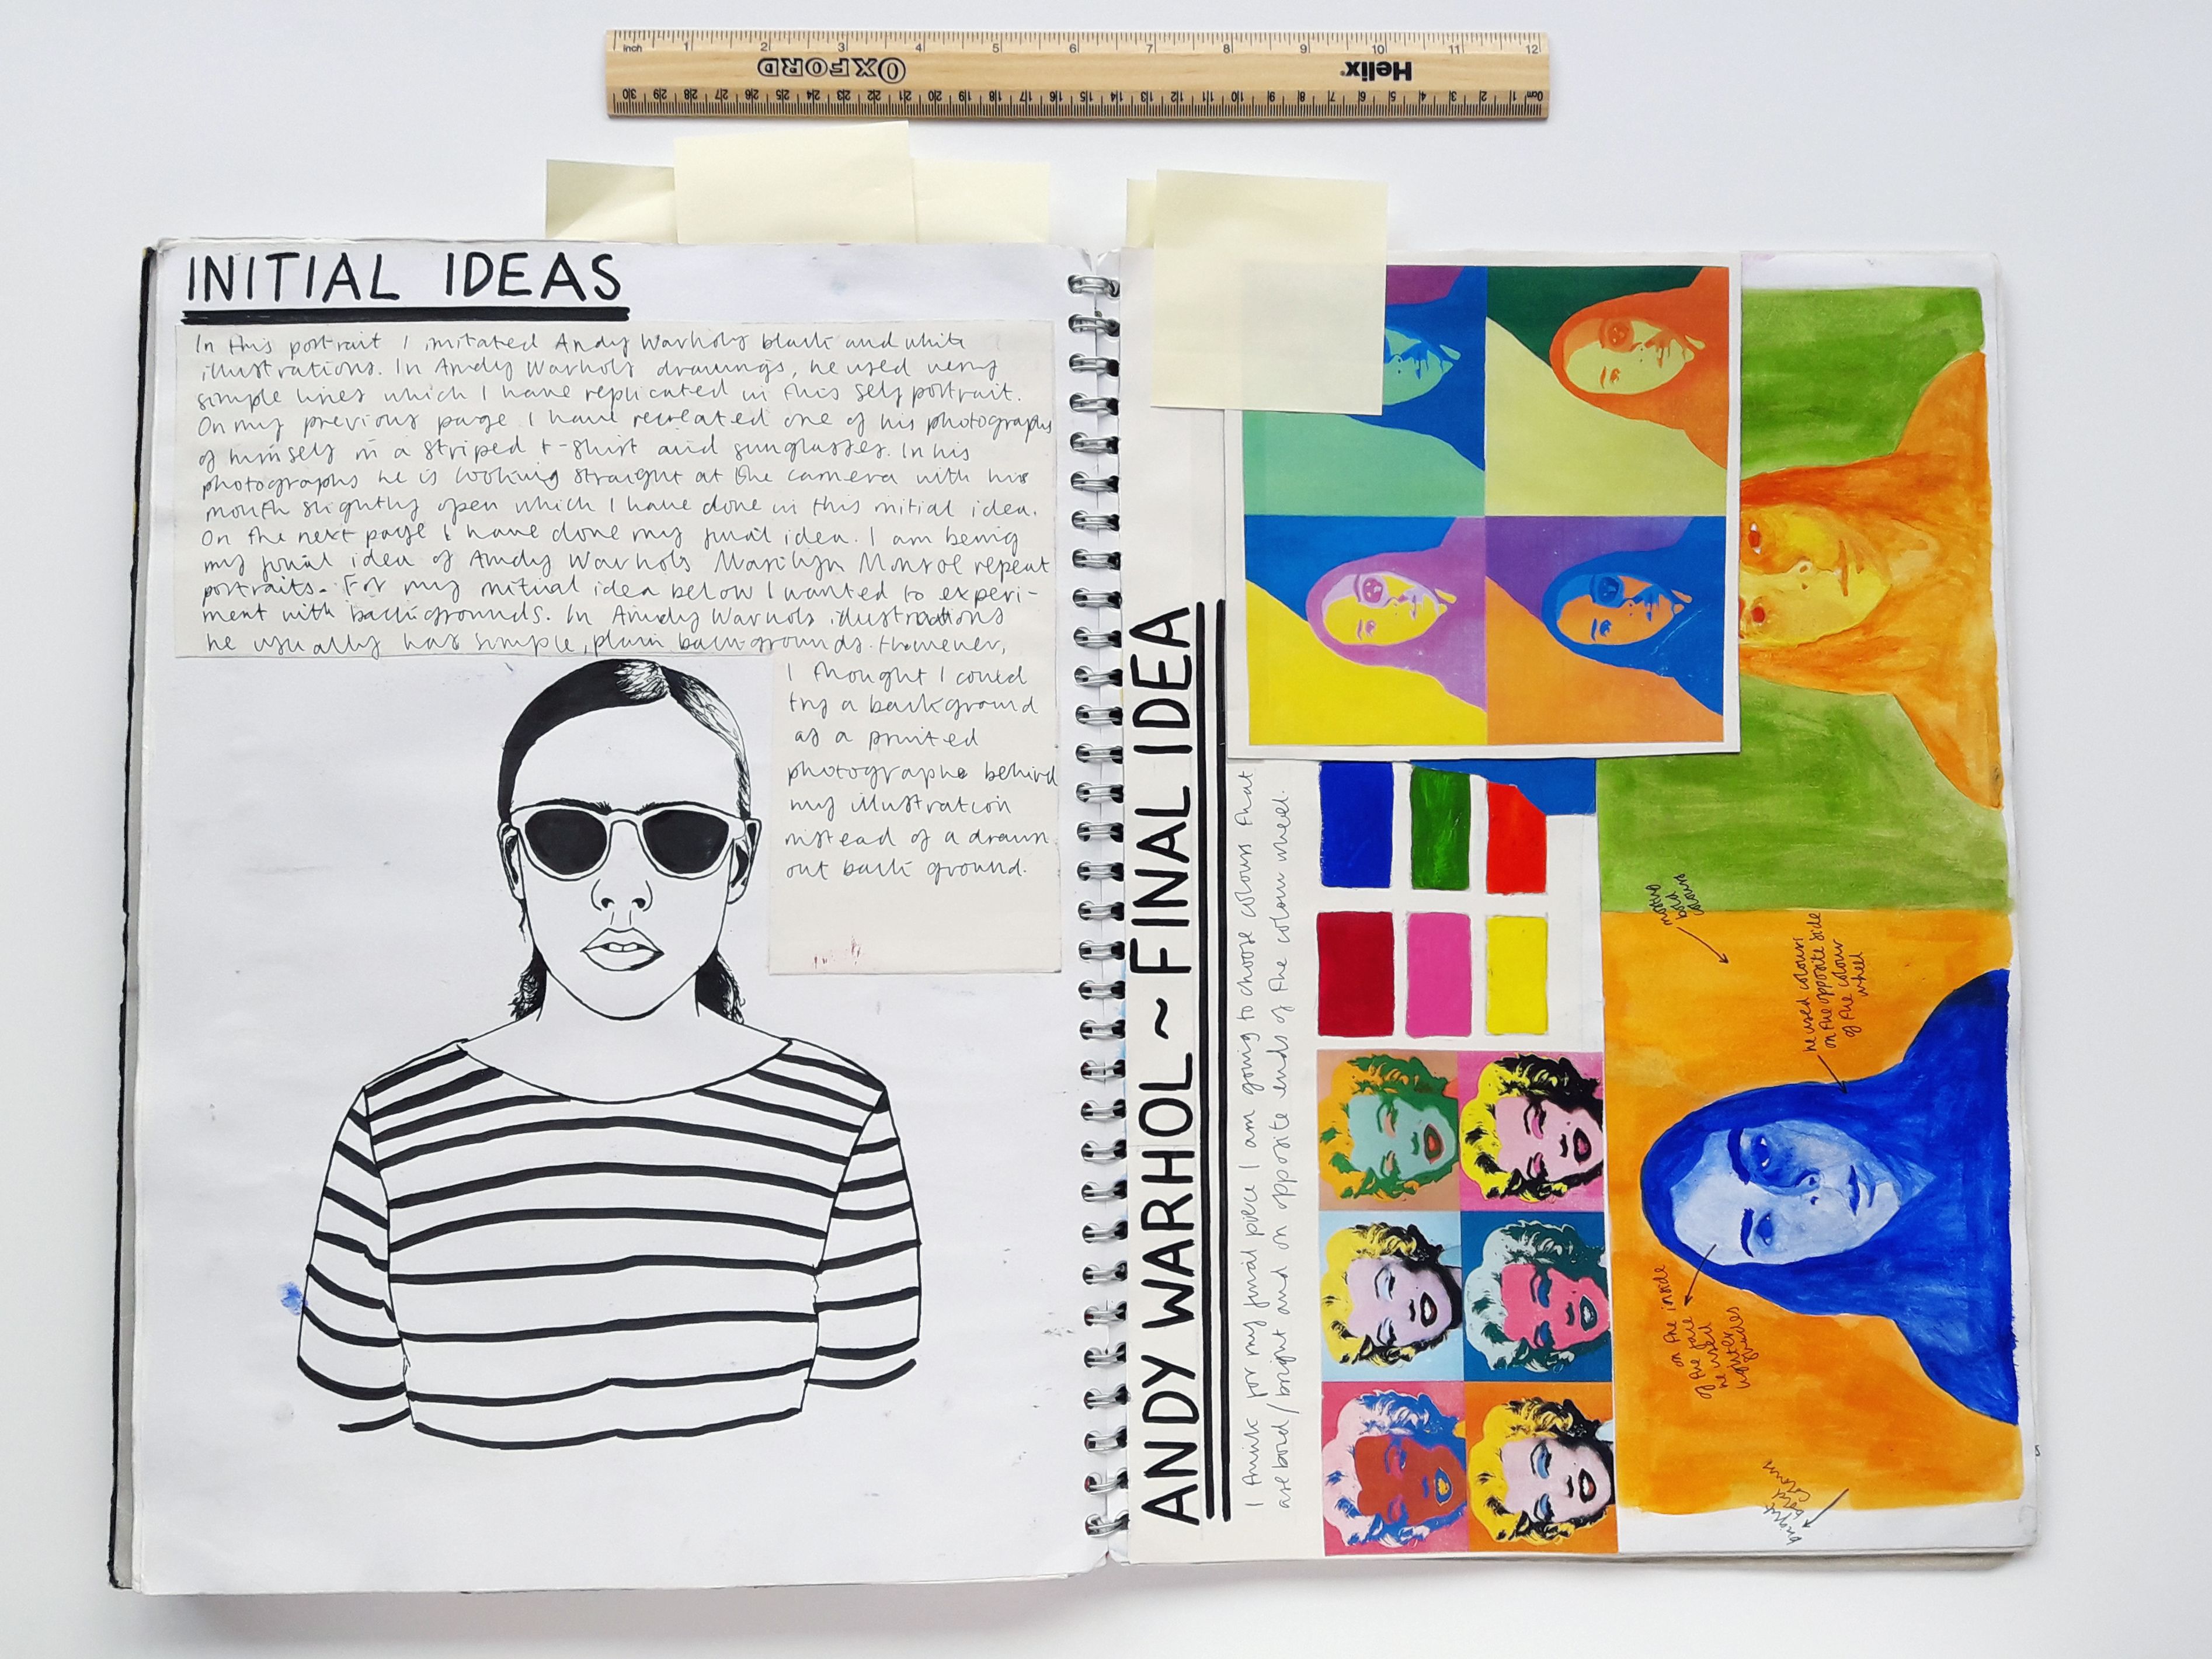
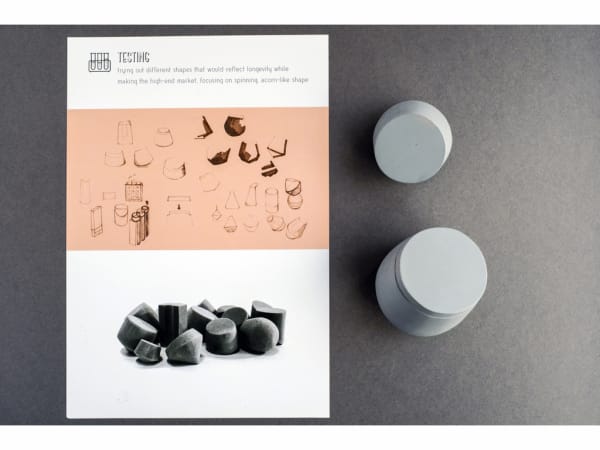
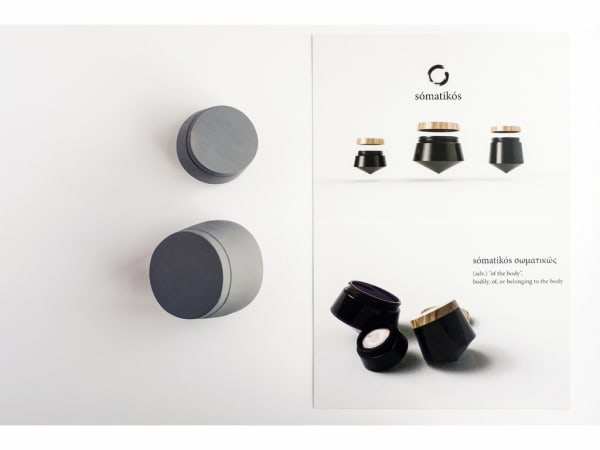
Communicate your ideas
-
Photograph: Alex Wojcik -
Photograph: Alex Wojcik -

Photograph: Alex Wojcik


Tip: Once you’ve finished a project, you might want to photograph your final 3D objects or prototypes and any associated flat work designs that you have. This type of photograph is really useful for communicating ideas for presentations and portfolios where you won’t necessarily be in the room to explain your ideas.
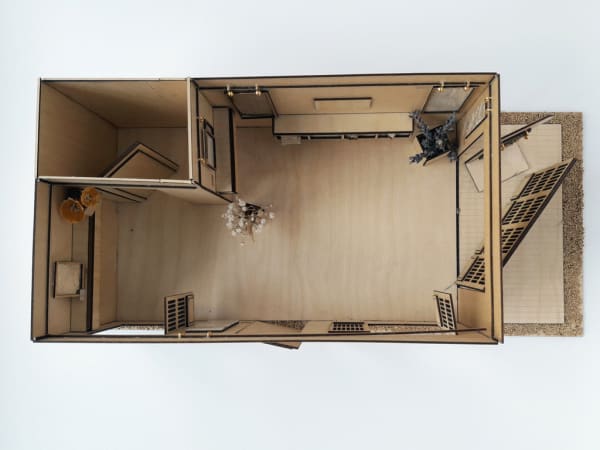
Think about viewpoints
-
Photograph: Alex Wojcik -
Photograph: Alex Wojcik


Tip: If you’re producing work for an architecture or interiors project, it’s likely you’ll have made a scale and/or sketch models. For this type of work, it’s important to show different perspectives of the space you’ve designed. Photograph from above to show to capture a ‘bird’s-eye’ or ‘plan’ view. If you’re photographing a building, taking a photograph from the side will give you a front or side ‘elevation’ view. Make sure you frame the photograph so the model is in the centre of the image. This means you can crop into the image if needed.
Show scale
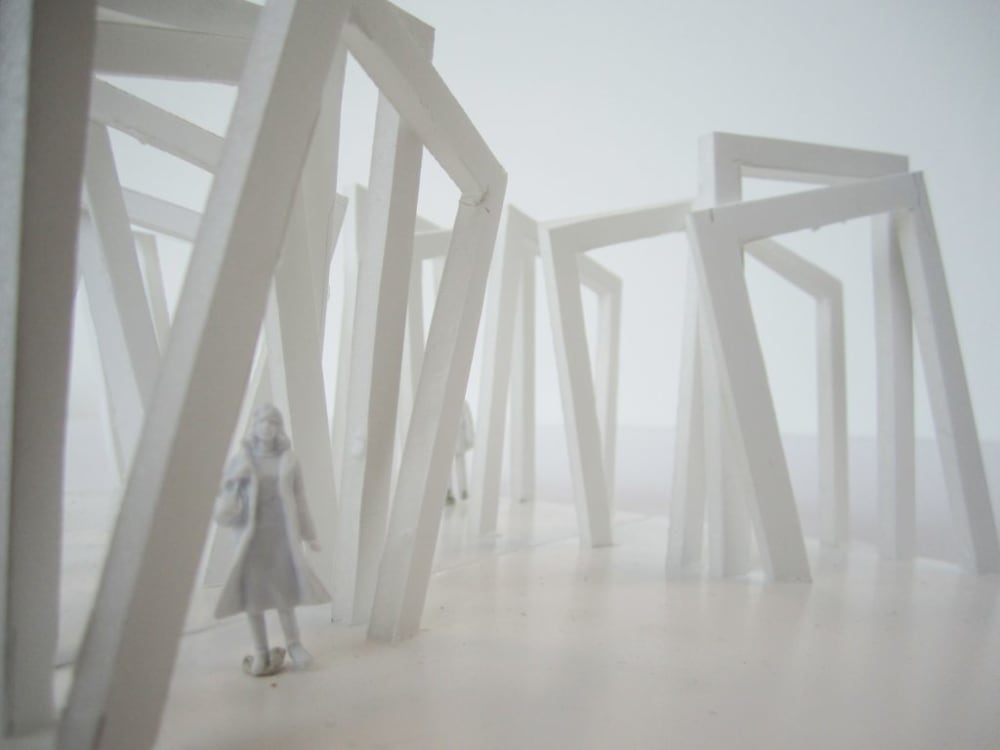
Tip: You can use model figures to give an idea of scale to your model. Point the lens of the camera at the level of your scale figures to give a sense of what a person would experience if they were in the space you designed. Place more than one figure together to tell a story about the space or to focus on a particular element of the interior or exterior design.
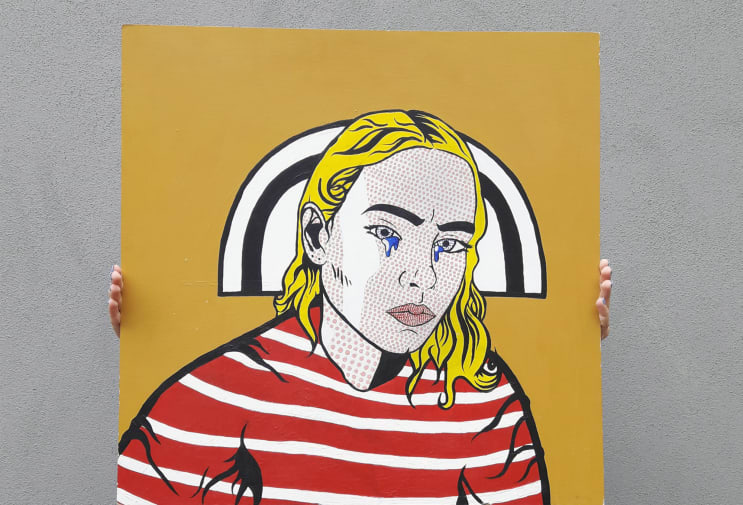
Large-scale work
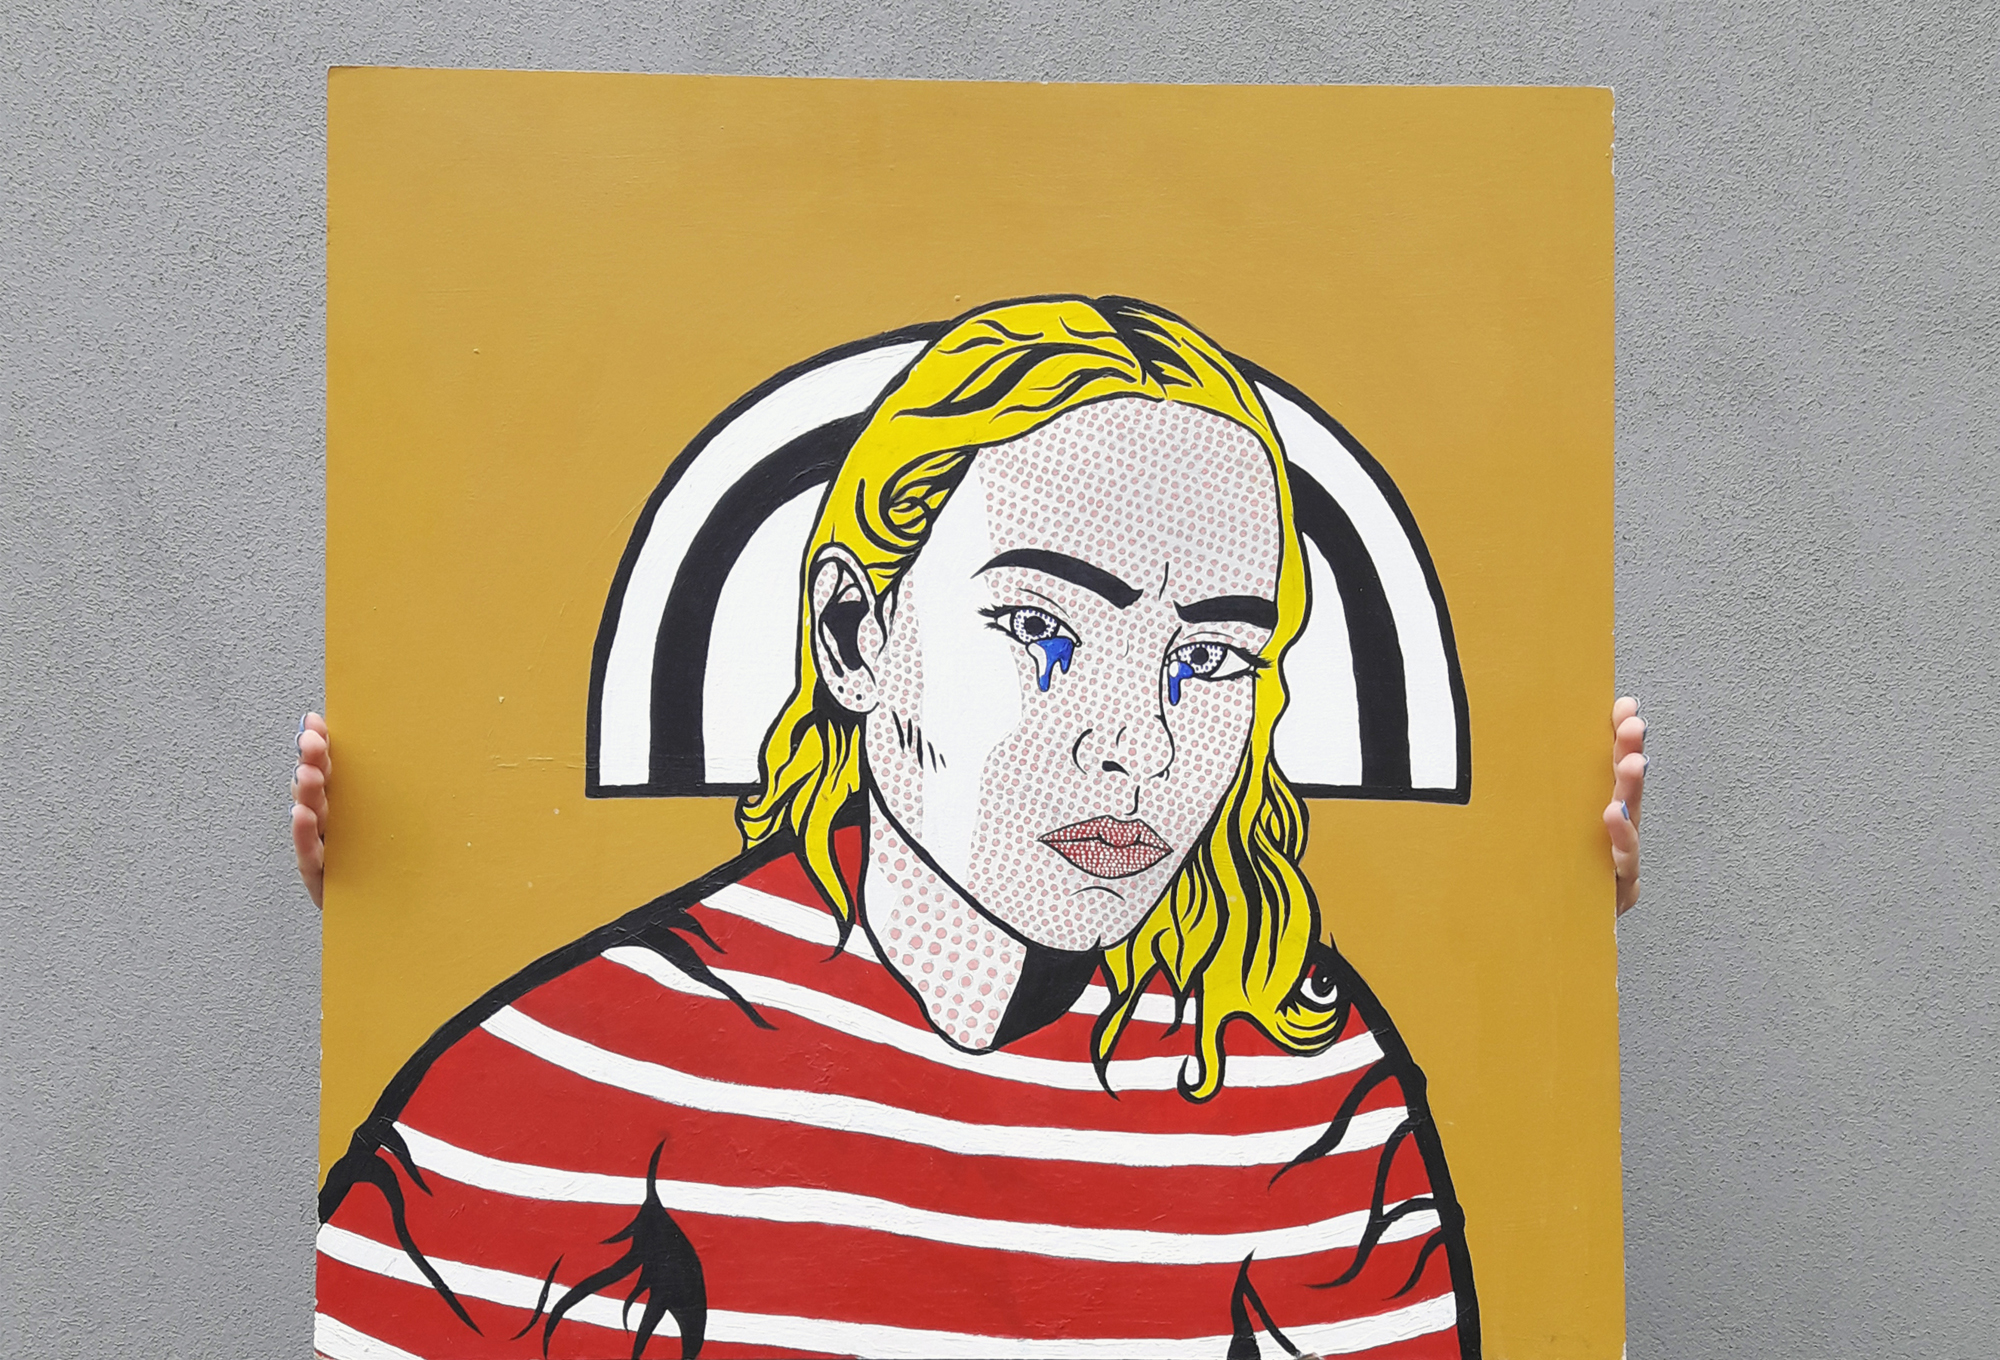
Photographing large-scale work
In Alex’s video we focus on paintings, but her technique is equally useful for other portable large-scale work. For example, you can combine the techniques in the 3D video above with the tips in this video to photograph larger sculptures and models. Replace your ruler with a tape measure to show scale! Make sure you find a space without direct sunlight- it’s fine to do this series of photographs on a cloudy day.
Show detail
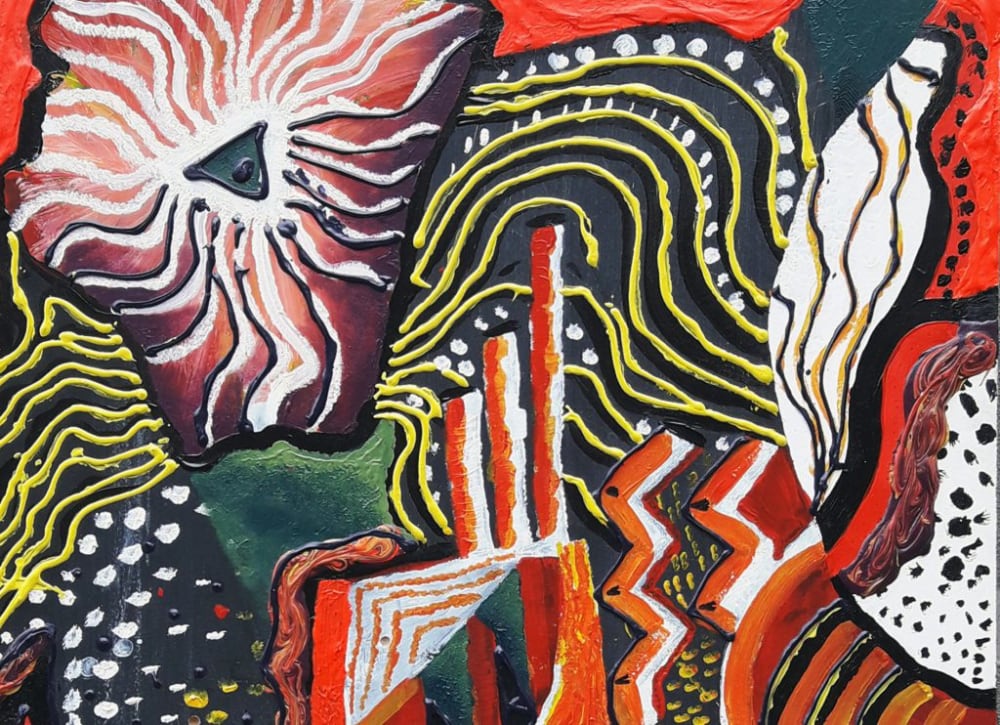
Tip: If you’re producing large-scale work there will often be details that you’ll want to pull out as well as the overall painting or object. You can do this by taking photographs from different angles or by cropping in the image. For example, a painting may have texture to it that you want to capture by cropping in closer to the image.