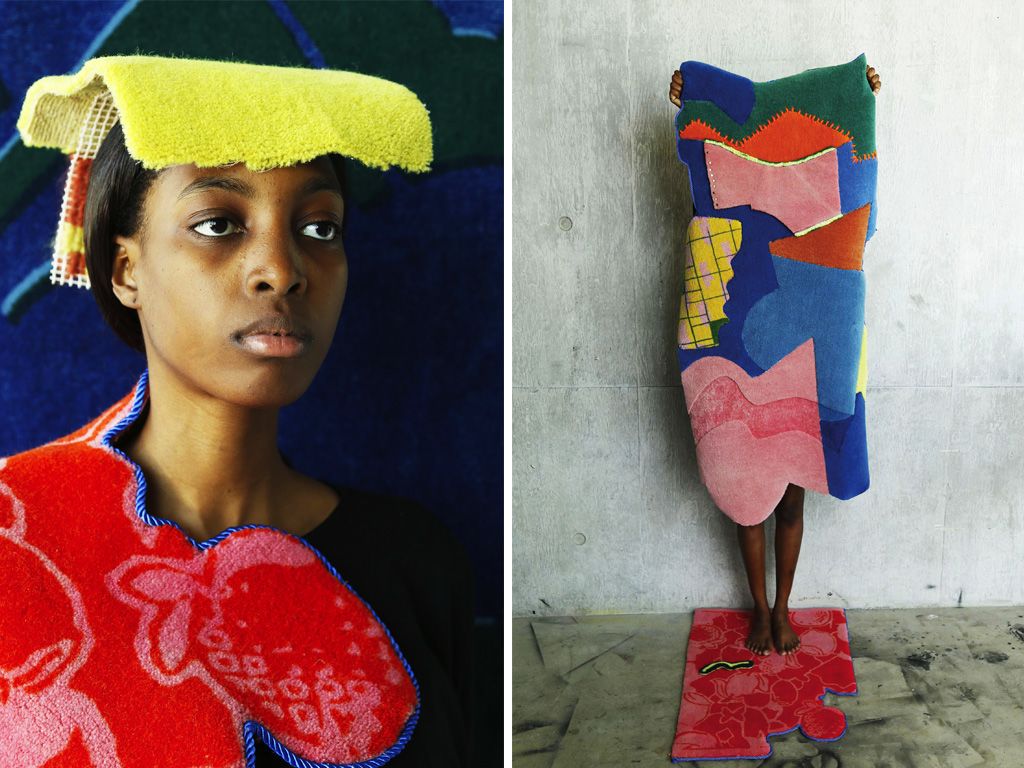

Screen printing at home using paper stencils is a simple and effective way of achieving a professional looking print. When looking for inspiration, try to identify lines and shapes that interest you. Remember – inspiration can be found anywhere! Museums and exhibitions are great to get the mind ticking, but patterns and colours can also be found in your everyday surroundings.
For this guide I have chosen to look at Zuza Mengham’s beautiful crystal-shaped resin sculptures, which she created for a collaboration with Laboratory Perfumes.

What you will need; silk screen, squeegee, fabric, screen printing ink, textile medium/binder, pins, old newspaper, plastic pots, spoon, gloves, scissors, masking tape, paper for stencils and a pen.
Silk screens can be bought separately or as part of a set. Screen printing kits usually include a screen, squeegee, acrylic paint, textile medium and instructions. All this can be bought from art shops such as Cass Art. However, you may also want to look on eBay or check with your college if they have old screens and materials you can use.
Directions:
- To be able to make a solid print, you need a soft work surface. Use an old towel, blanket or thick piece of material placed down on a table and then cover it with an old sheet or a large piece of calico.
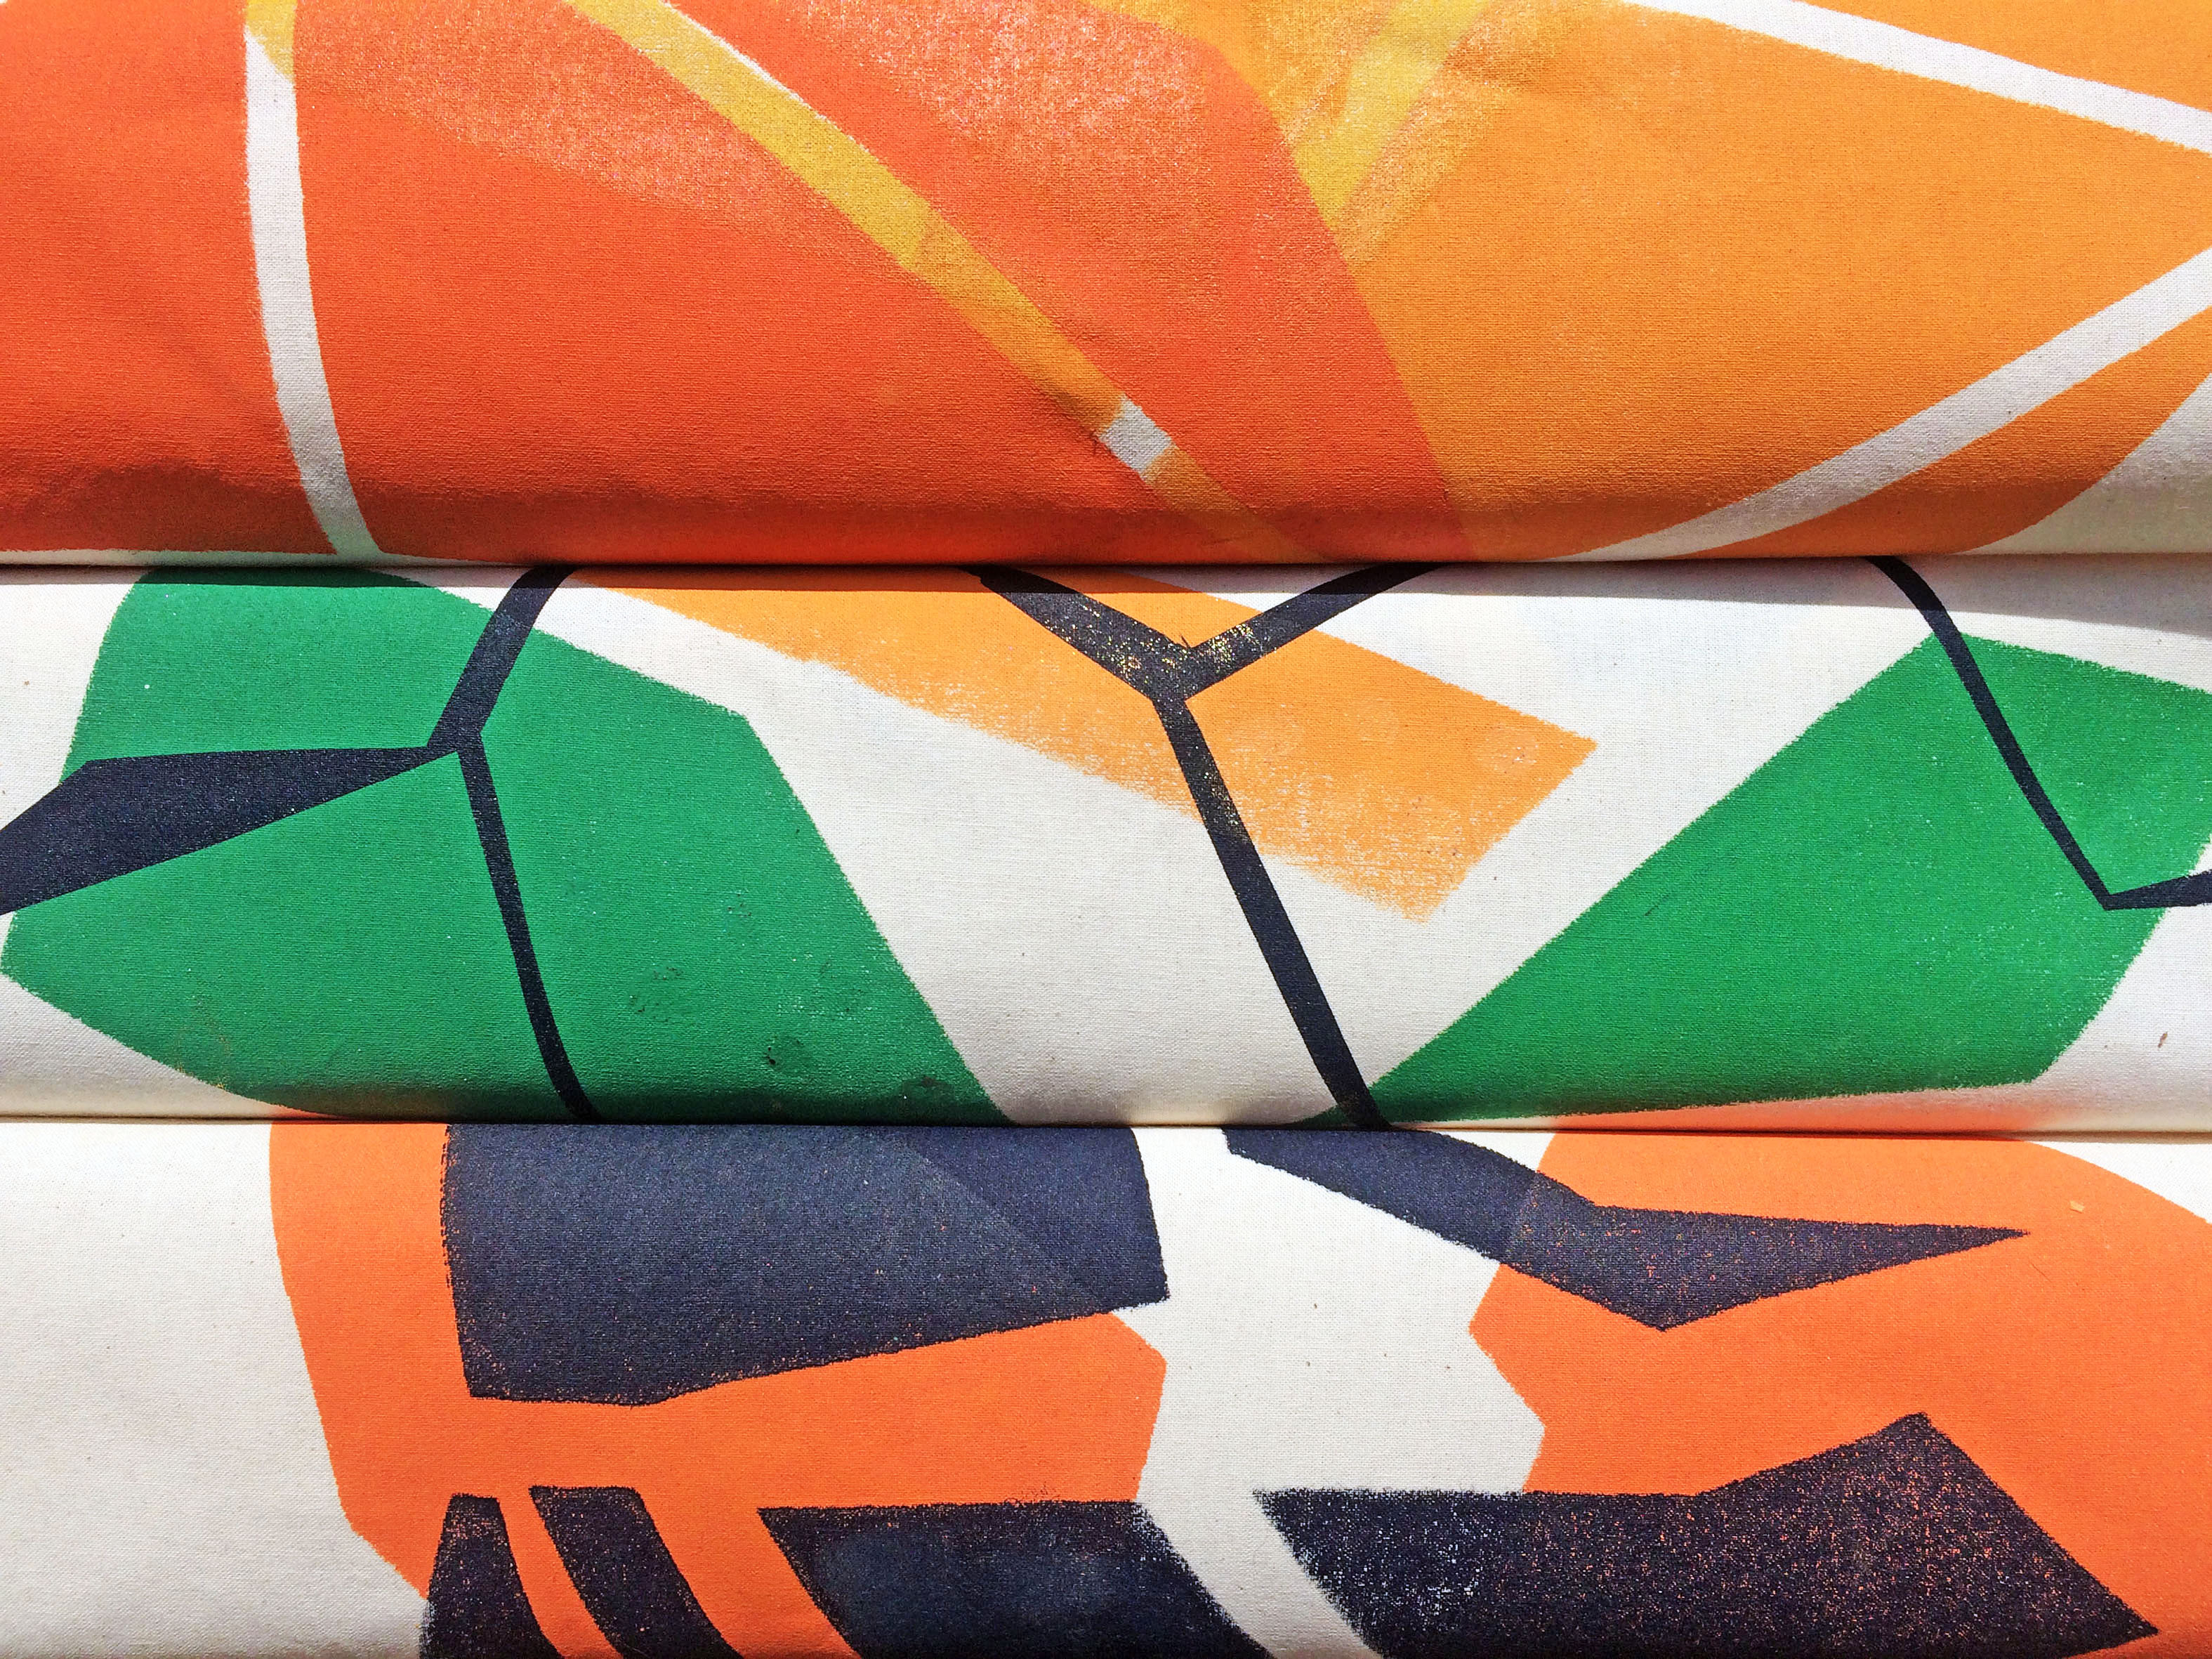
- Cut out your fabric and pin it to the calico/table top. You can use any type of fabric, but I would advise that you start off with a medium-weight, white or cream cotton.
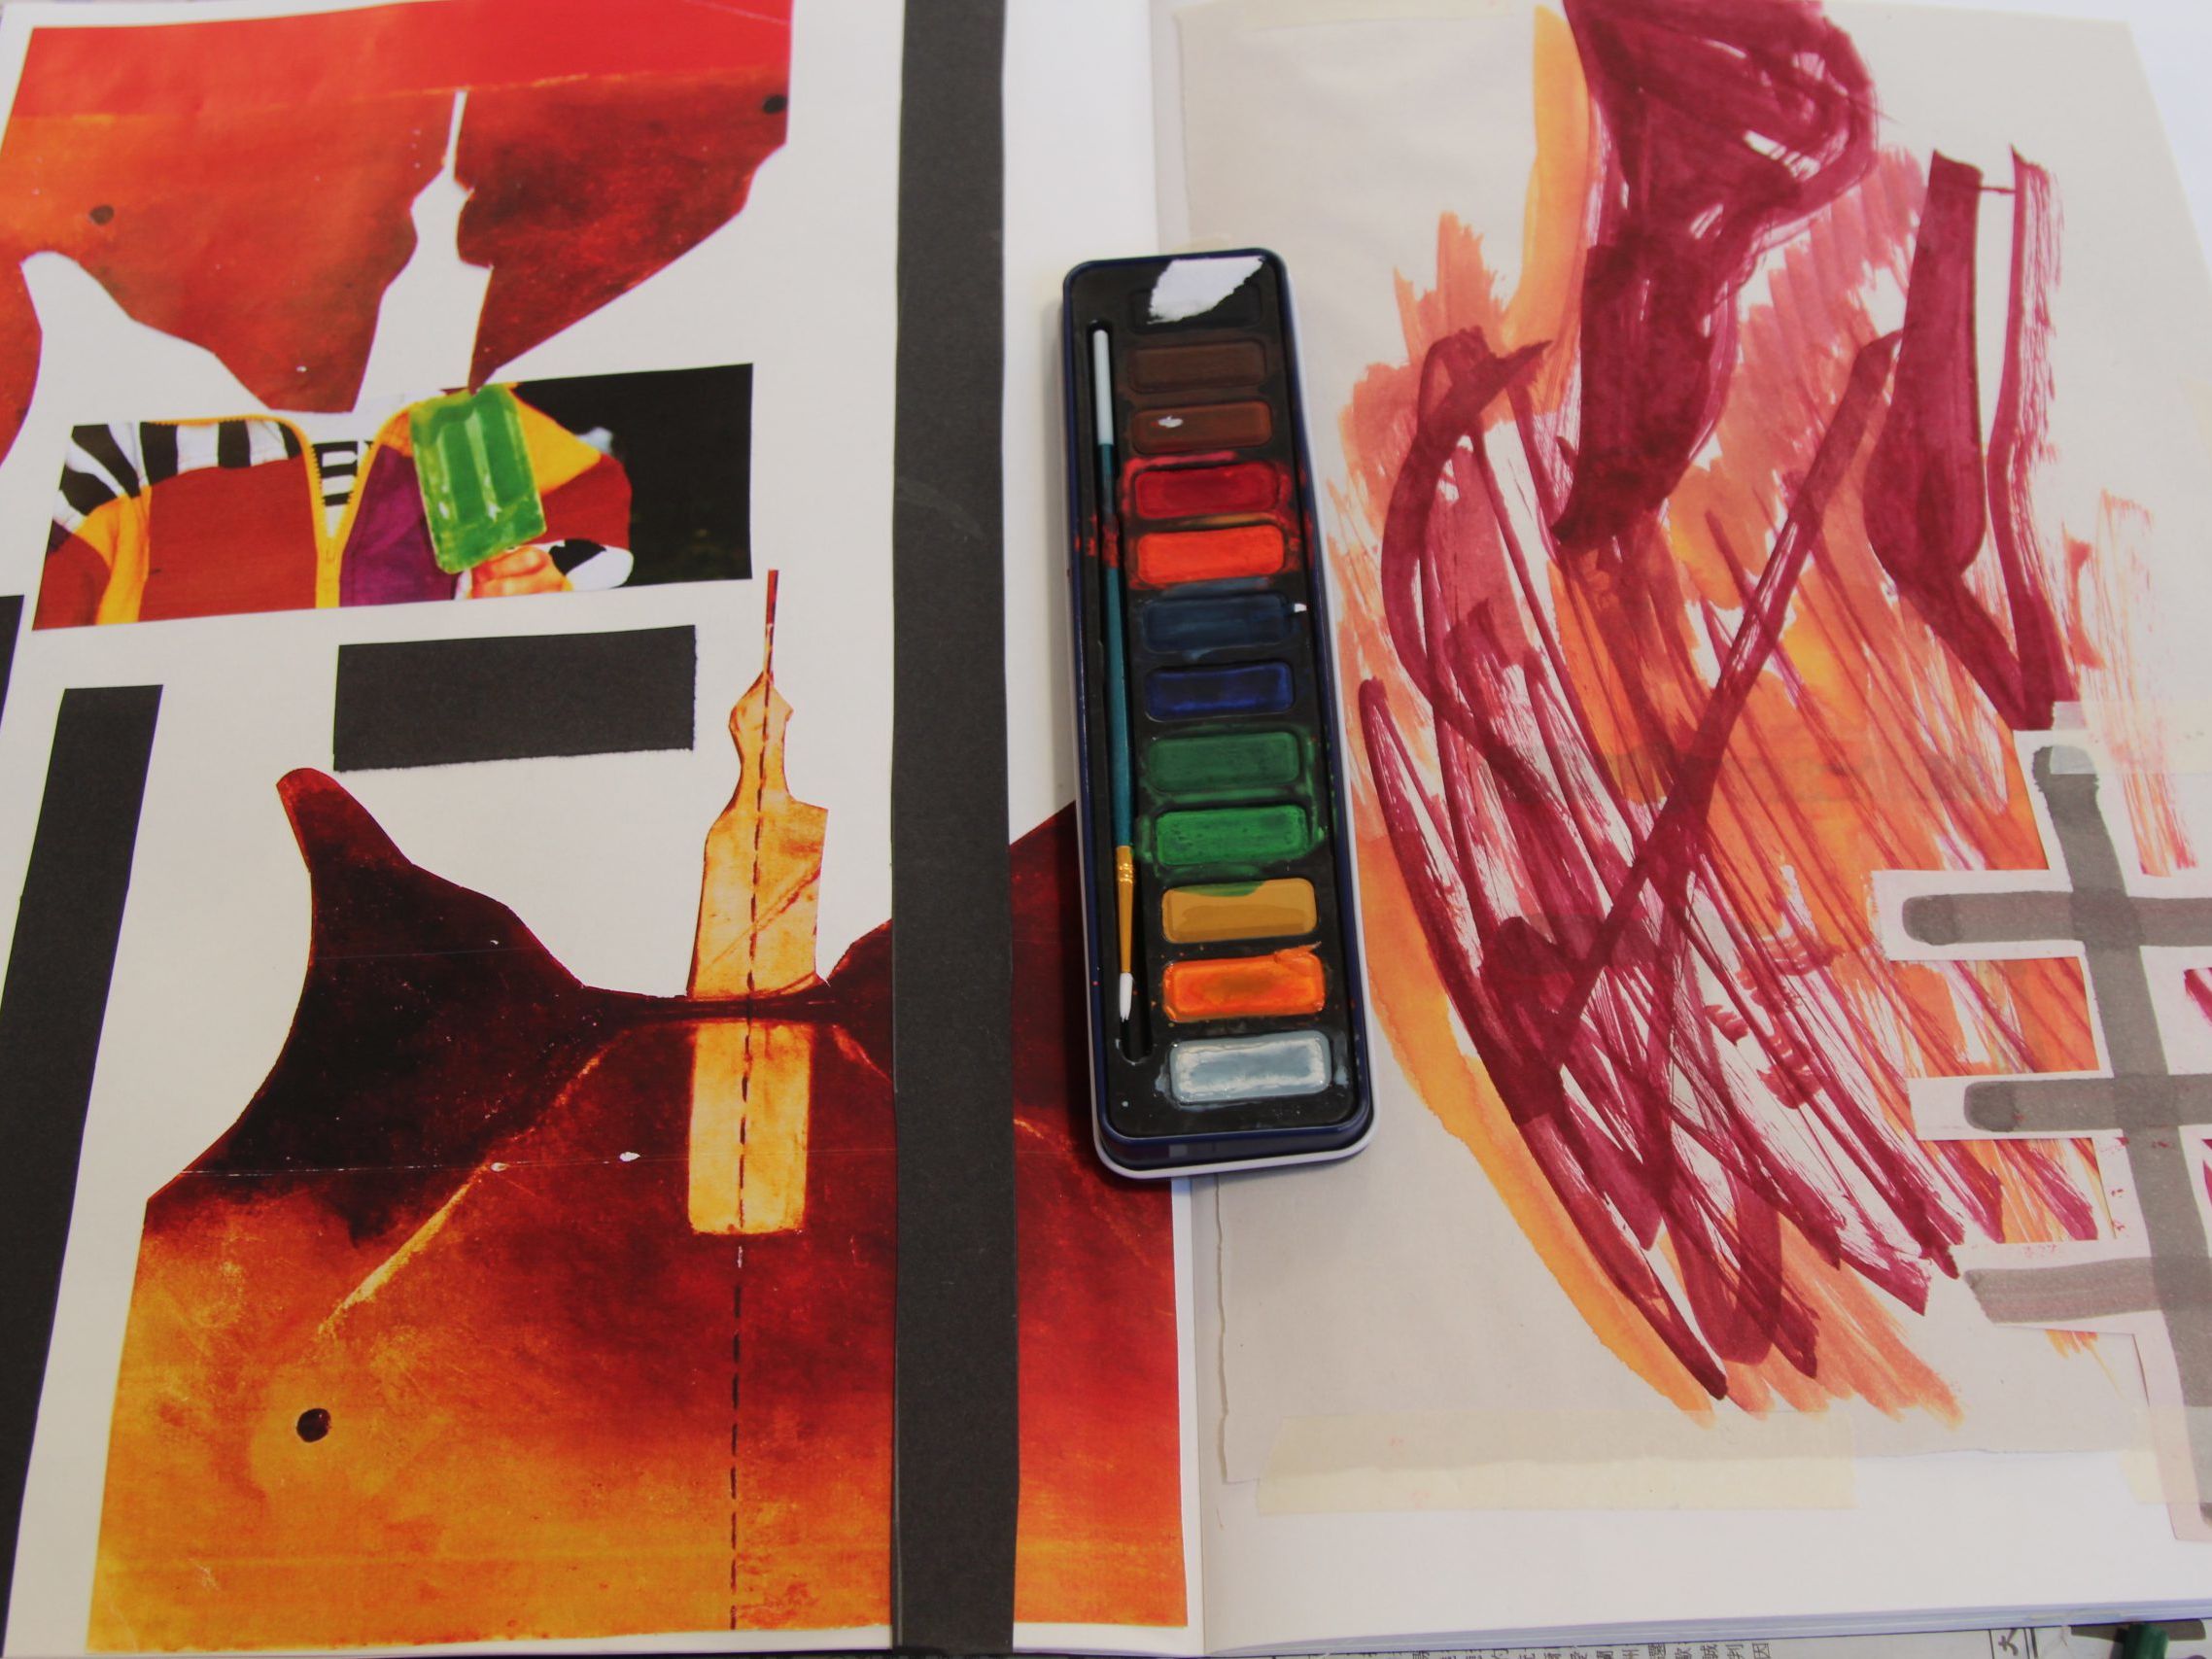
- Draw the shape you want to print onto a piece of paper and cut out. Then, place it down on top of your fabric.

TIP: The paper shape that you cut out will be the opposite to what will be printed – the negative. This means that the fabric visible through the stencil will be your print.
- Place newspaper around all four edges of the stencil, making sure no fabric is visible. Use masking tape to make sure it all stays put. Finally, place the screen face down on to the centre of the image.
- Choose the colour you want to print and pour it in to a pot, then add the same amount of textile medium and mix together with a spoon. The medium is a slow drying, water-based screen printing solution that reduces the risk of screen blocking and makes the paint easier to wash out.
- Put the ink down in a line at the top of the screen. Use one hand to hold down the screen and the other hand for the squeegee. Pull down firmly. Pick up the ink and repeat 3-4 times. When done, pick up the remaining paint and put it back in the pot.
- After each print, carefully pick up the screen and wash immediately, as well as the squeegee. I do this using the shower – but be careful not to re-decorate the whole bathroom! You can print as many colours as you like, but only one at a time. Let the paint dry after each print.

TIP: Have a go at creating several layers – one way of doing this is to use your left-over paper shapes.
The stencils in this tutorial are very simple. You can cut out much more intricate designs using a scalpel and cutting mat. Or try tearing the paper for a less graphic look. You can create an endless amount of variations of prints from some very simple materials!