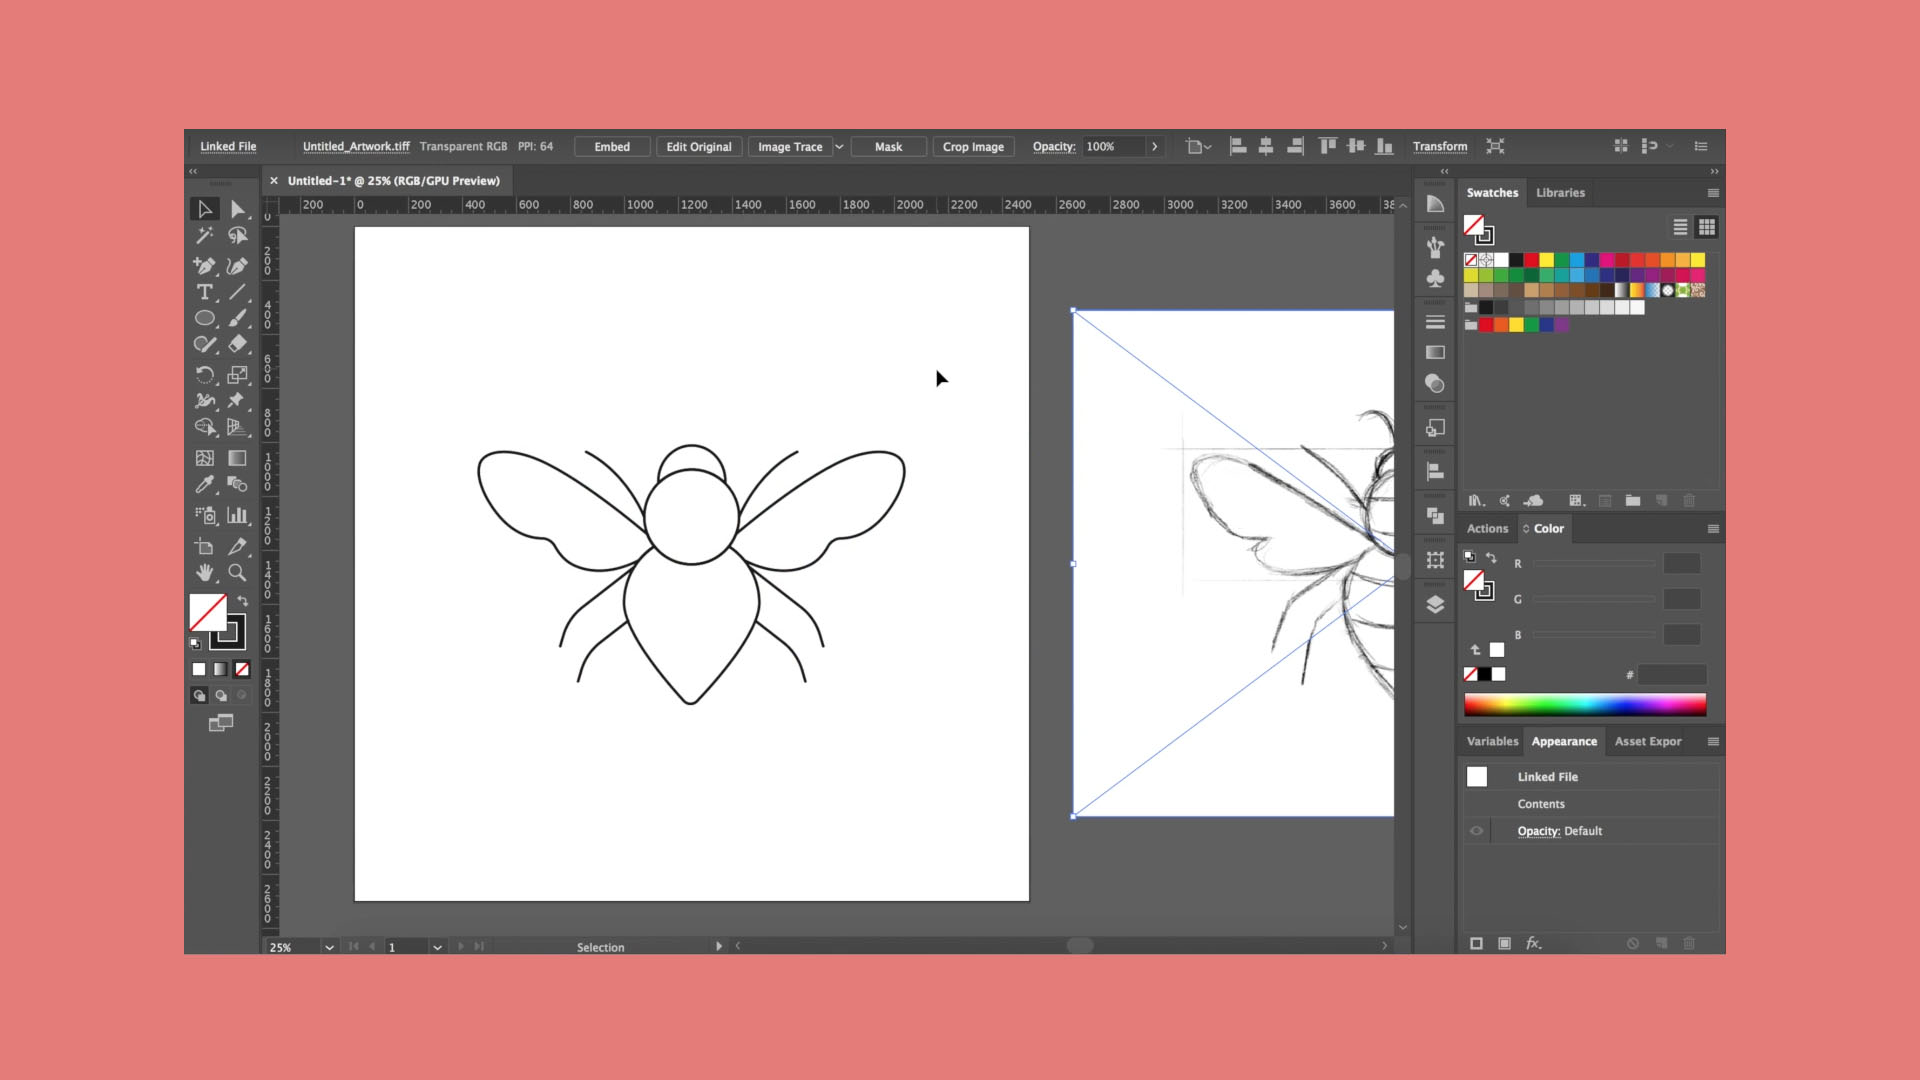

In this video guide you’ll find out how to set up a page, import your drawing, and use some of the key ‘tools’ in Adobe Illustrator to transform a simple sketch into a digital illustration.
Create a basic digital illustration
Bloodflower Design’s video is great to play, pause, test out the steps yourself and repeat. The more you use software like Adobe Illustrator, the better you’ll get. Lucinda from Bloodflower Design has also provided some top tips below that will help you on your illustration journey!
Illustrator User Guide
Adobe have developed a complete Illustrator User Guide. It can be quite overwhelming to read all the way through, but you can use the ‘Search’ function to find help on specific topics.
Toolbars, Palettes + Workspace
Like other programmes you may have used, Illustrator comes with a range of toolbars and palettes. Before you start a project, you can select the ones you want to show by choosing ‘Window > ‘[Tool Name]’. You can then move the windows around as you wish to suit your workflow.
A few common ones are:
– ‘Colour Swatches’
– ‘Brushes’
– ‘Layers’
– ‘Align’
– ‘Transform’
– ‘Stroke’
Find these under ‘Window’ in the top toolbar of Illustrator, and add the ones you feel might be useful to your ‘Workspace’. You can save your ‘Workspace’ by choosing ‘Window > Workspace > New Workspace…’ and give your setup a name so Illustrator remembers it for next time.
Selection’ + Direct Selection tool
There are two ways you can select shapes and lines in Illustrator – the ‘Selection’ and ‘Direct Selection’ tools, which you’ll find at the top of the left-hand-side toolbar. If you want to make changes to your illustration you must make sure you’ve clicked on one of these beforehand.
In the video, you’ll see Lucinda uses the ‘Select Tool’ the most. You only need to use the ‘Direct Selection’ tool if you want to alter a shape using the individual ‘Anchor’ points.
Keyboard shortcuts
One of the best things you can learn as a designer starting out, is keyboard short cuts – they will definitely save you precious time.
Some of the most useful ones I find are:
– ‘Save’
– ‘Undo’
– ‘Redo’
– ‘Pen Tool’
– ‘Rectangle’
– ‘Selection Tool’
You can download a ‘Keyboard Shortcuts Cheat Sheet’ from the adobe website
Undo, Redo’ + Revert
Finally, don’t be afraid to make mistakes during the illustration process. You can always reverse your actions using the ‘Revert’ function or ‘Undo’ tool.
To undo and redo changes choose ‘Edit > Undo’ or ‘Edit > Redo’.
You can undo an unlimited number of functions by repeatedly using the ‘Undo’ command. If an operation cannot be undone, the ‘Undo’ option will be greyed out in the menu.
To revert a file to the last saved version use ‘File > Revert’, but you have already closed and reopened the file, this option won’t work.