
Techniques: Create a basic digital illustration
Looking to learn the basics for turning your sketches into digital illustrations? Designer Bloodflower Design introduces you to Adobe Illustrator.
 English
English
English
 Arabic
 Chinese (Simplified)
Chinese (Traditional)
Chinese (Simplified)
Chinese (Traditional)
 French
 Italian
 Japanese
 Korean
 Portuguese
 Russian
 Spanish
 Thai
Thai
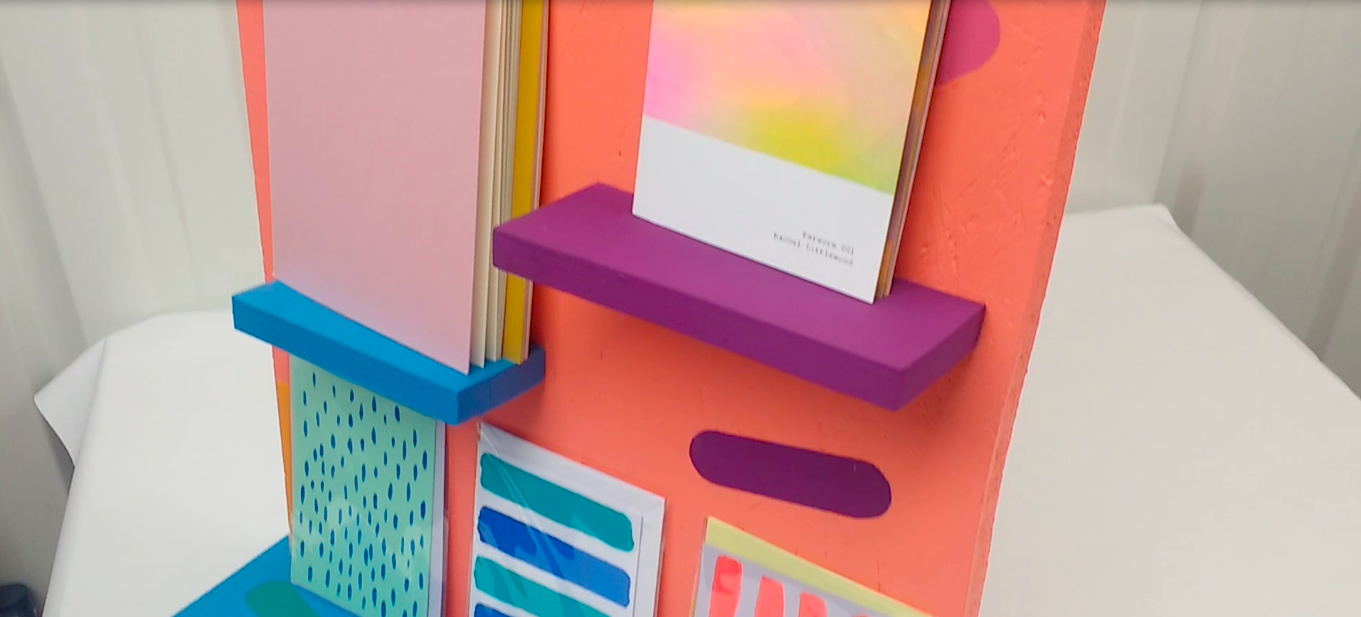
Looking to prepare some unique shelves for an exhibition? Or maybe you just want to transform some furniture with bright colours and patterns? All you need to get started is some spare wood and paint – as well as Rachel’s latest ‘how to’ video!
Rachel’s step-by-step guide takes you through applying pattern and colour to surfaces with paint to turn leftover wood into something useful. When working as a production assistant for Morag Myerscough these paint techniques really came in handy. If you’re not ready to produce something on the scale of Morag’s supersize public art installations, then Rachel’s display shelves will get you started.
Use pattern and colour to transform old materials
Like all ‘makes’, it’s good to plan your ideas first. Sketch them out and then transform your designs into digital versions using Adobe Illustrator. Bloodflower Design’s ‘how to’ will help you out with the basics.
Remember to design with the sizes of the wood you’re using in mind. Ask your school or college workshop technician or a friend or family member who’s good at DIY to help you with any sawing of wood required.
As Rachel points out in the video, it’s really important to draw your ideas at a 1:1 scale, i.e. at the actual size of the design you’re making. For example, the back of Rachel’s display shelf is 620mm by 450mm, so she set up her file in Illustrator to these dimensions. She then designed the size and location of the individual patterns and shelves with these dimensions. This means that when you print out each element of your design it will be at the actual size. You can then use the print to create stencils or to get reference points for drawing it out on the wood.
If your design is bigger than A4 paper you can tile print your design via the Print menu. You can then tape together the A4 or A3 sheets to make up the full design.
Finally, when it comes to putting your shelf together, there’s lots of options out there. Rachel kept it simple by using L brackets to attach the shelves to the backboard.
So now you know the basics of making, masking, and applying pattern with paint, you can get going. ‘Makes’ like these are perfect for upcoming exhibitions to showcase your work or to add that extra bit of colour at home.
Looking to learn the basics for turning your sketches into digital illustrations? Designer Bloodflower Design introduces you to Adobe Illustrator.

Patterns feature in our everyday lives whether we notice them or not. Print technician Rachel introduces us to some creatives whose work you definitely can't miss.
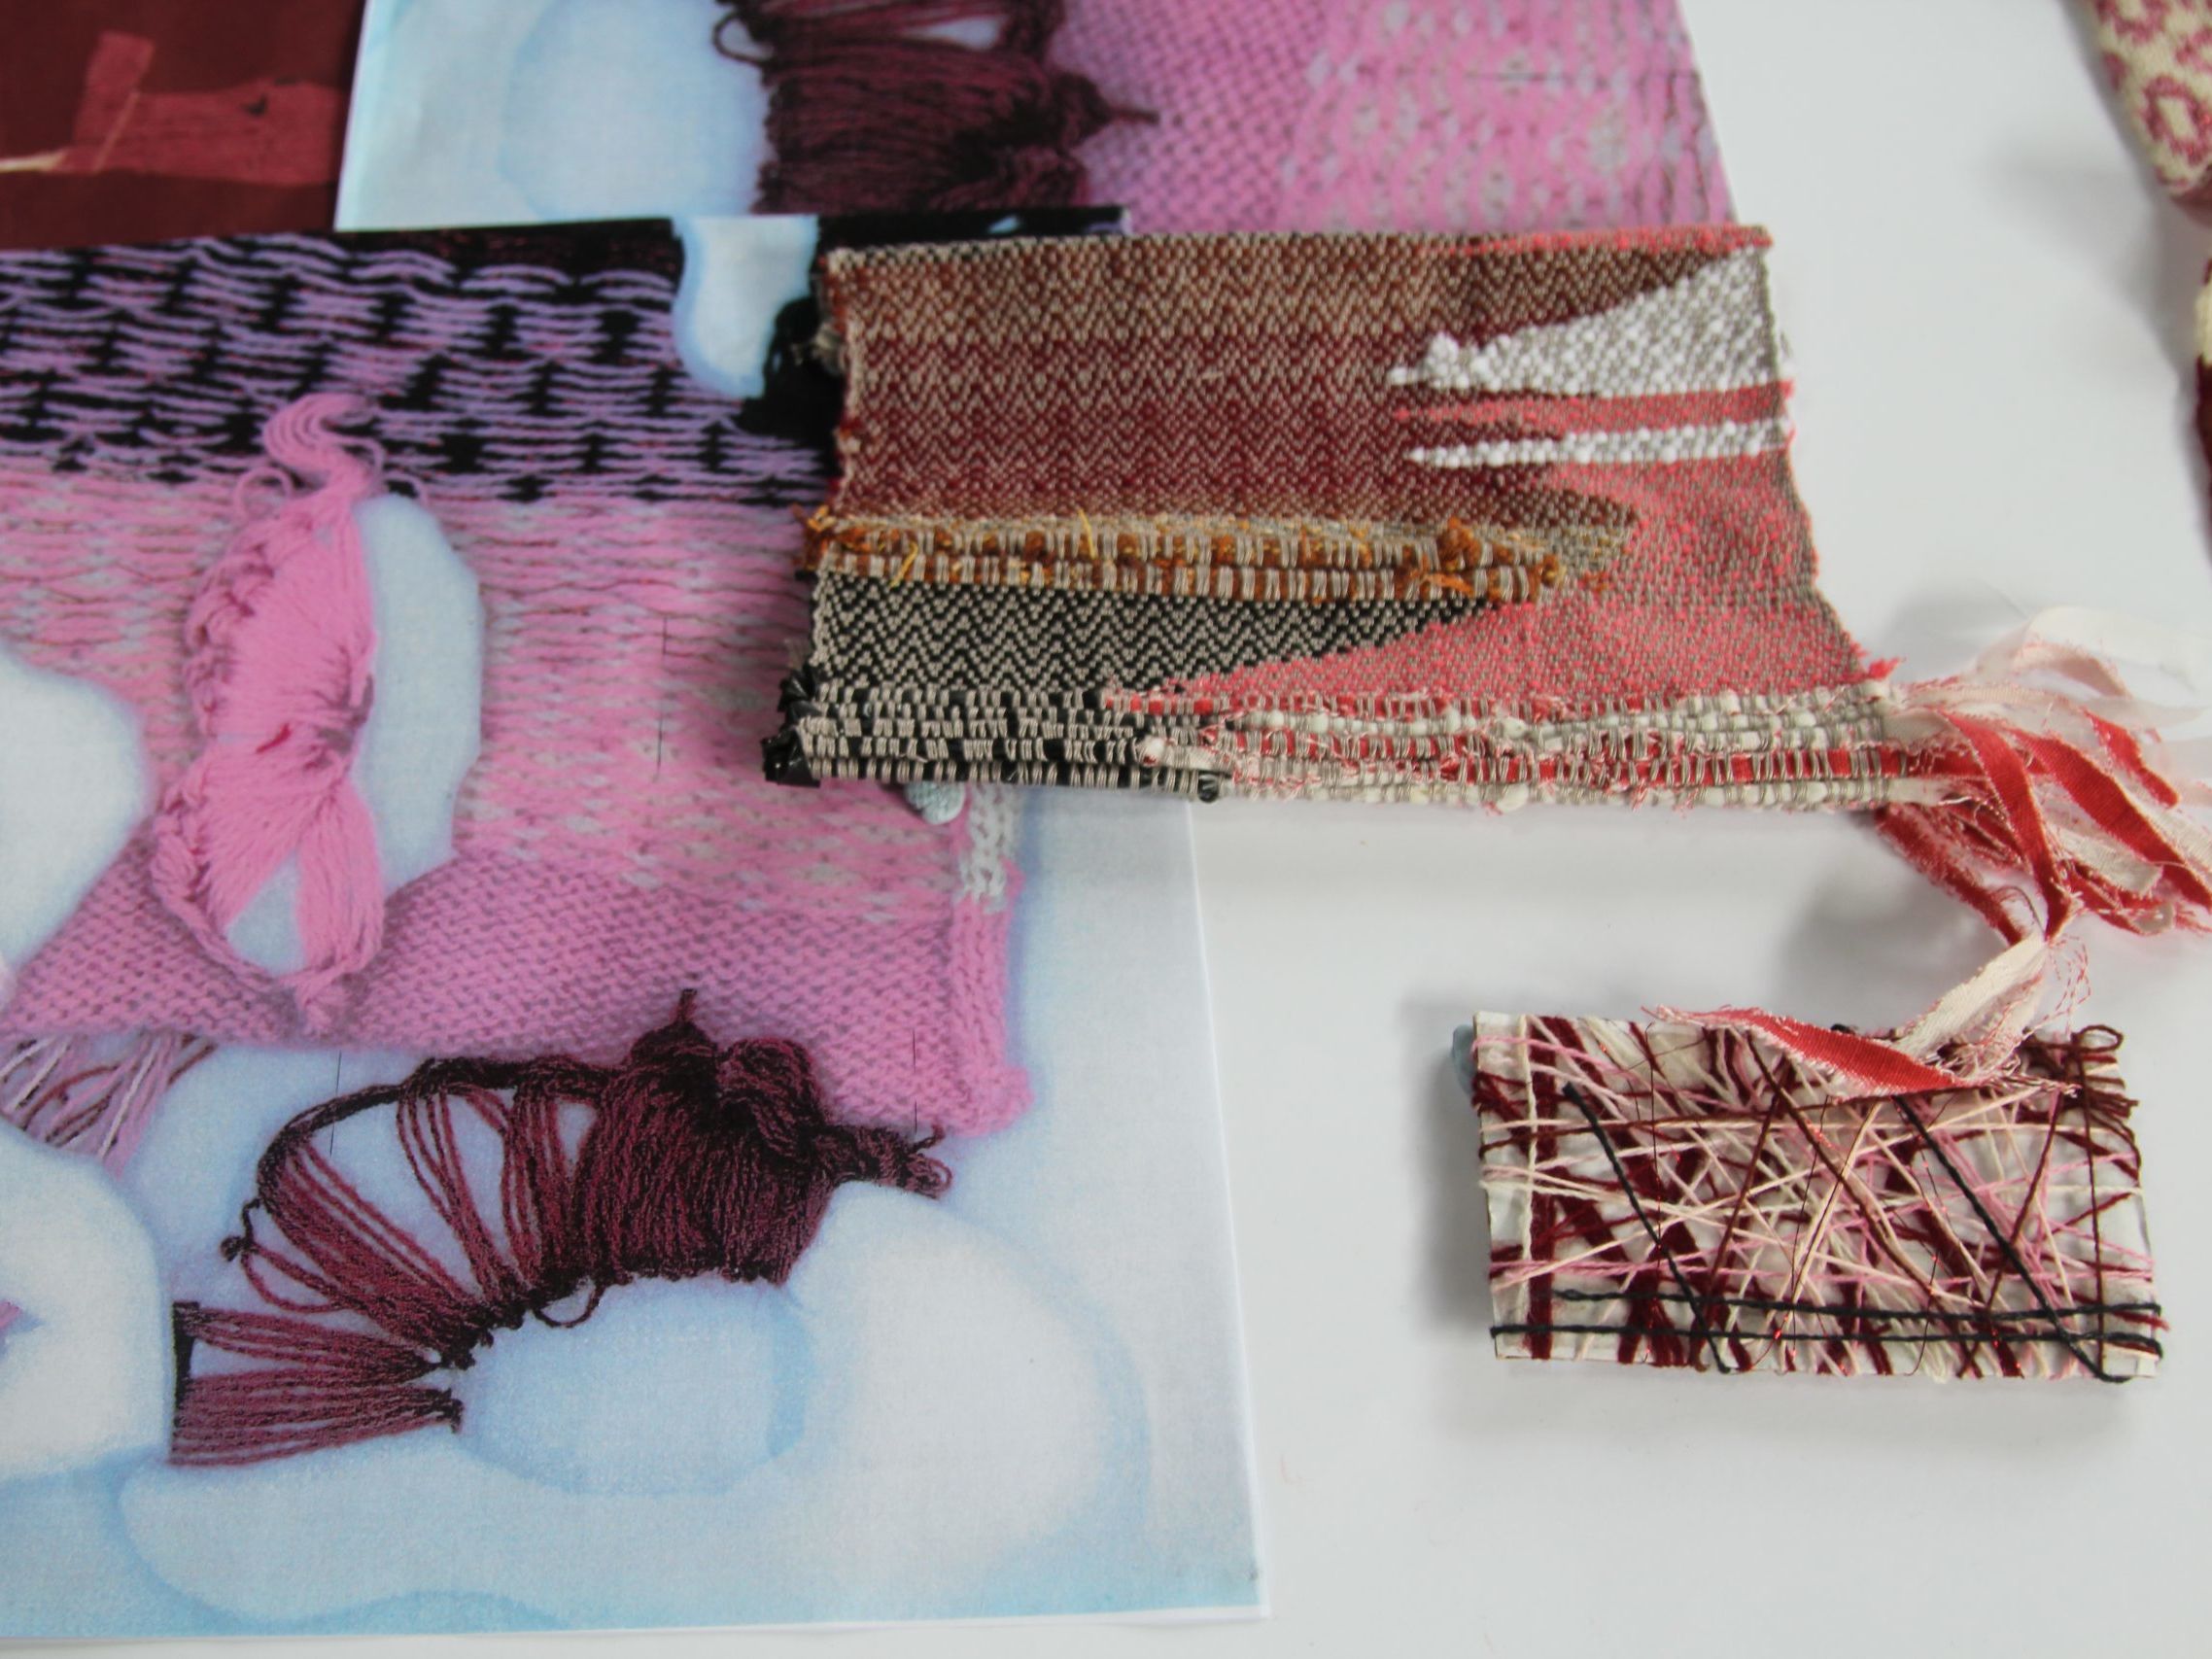
Textiles technician Josephine challenges you to experiment and create your own unique pattern and texture designs.