
Choosing the right scale

This model is made from grey board and other simple materials and tools, like glue, sticky tape, rulers and a craft knife or scalpel.
Scale models can be any size, and the decision of what scale to use is often dictated by what it is you’re trying to show. A model of an item of furniture for example would often be produced at 1:10 or 1:5 scale, so 10x (times) or 5x (times) smaller than the actual final object. A house, because it is much larger, would often be modelled at 1:20 or 1:50 (20 times, or 50 times smaller than real life). Making scaled models can take time and patience, but once made, they can become invaluable in communicating and representing your design ideas both for yourself and to others.
Selecting your materials and equipment
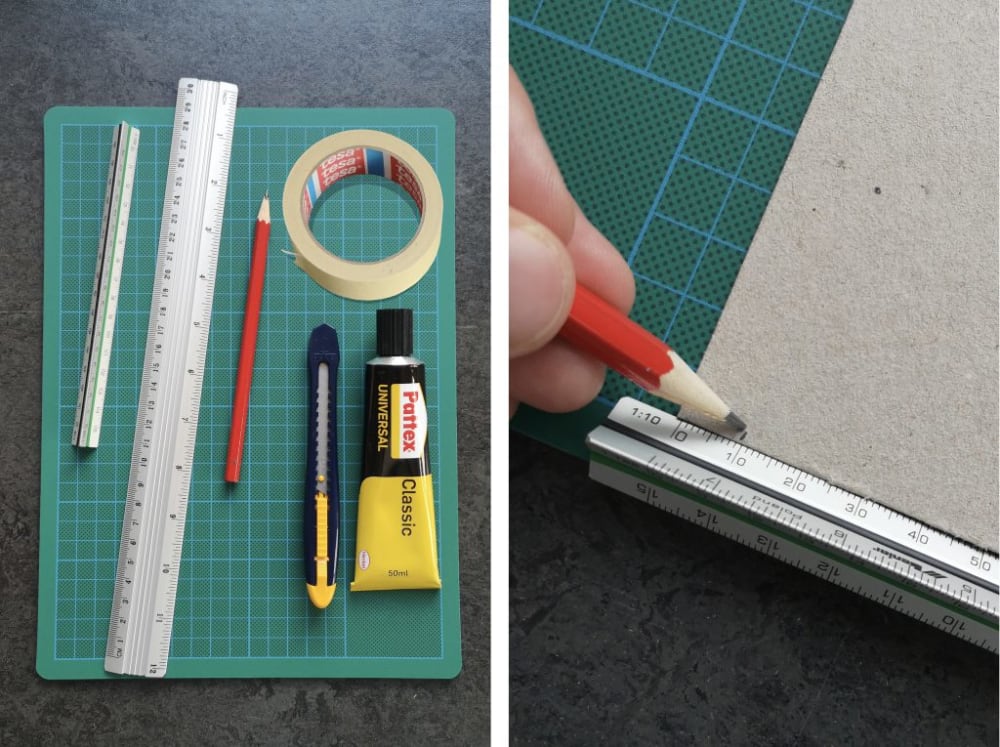
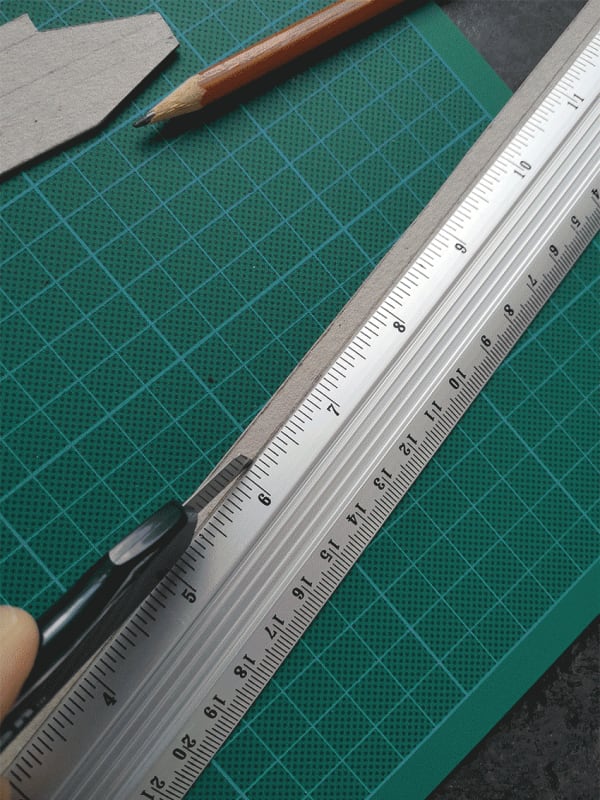
Scale models can be made from any modelling material, but often the best and easiest to work with is cardboard. Working with cardboard is quick and requires just some basic tools including; A cutting mat, pencil, craft knife, masking tape and glue, as well as the all- important steel ruler and scale ruler.
Tip: Always work with a scale ruler. Your scale ruler will have a variety of measurements to choose from allowing you to work directly at a particular scale without having to calculate dimensions each time according to a particular scale factor.
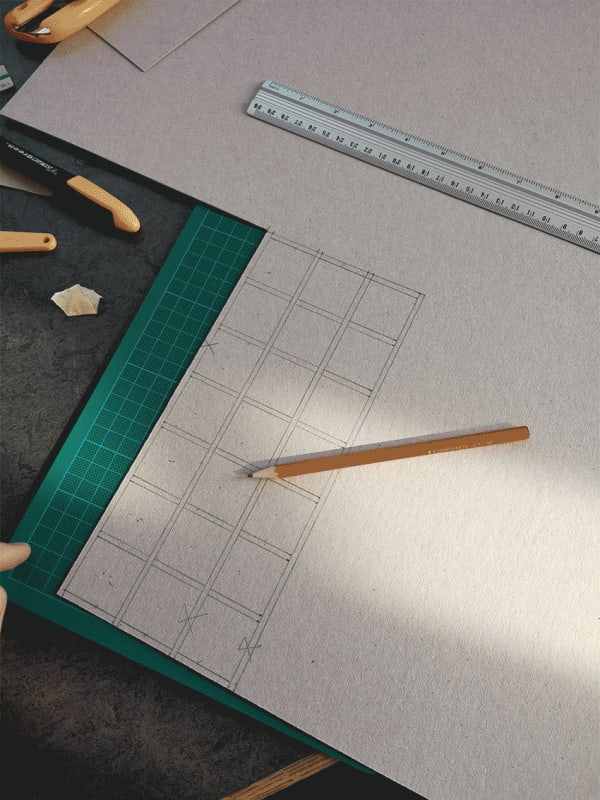
Measuring and drawing out pieces of your model
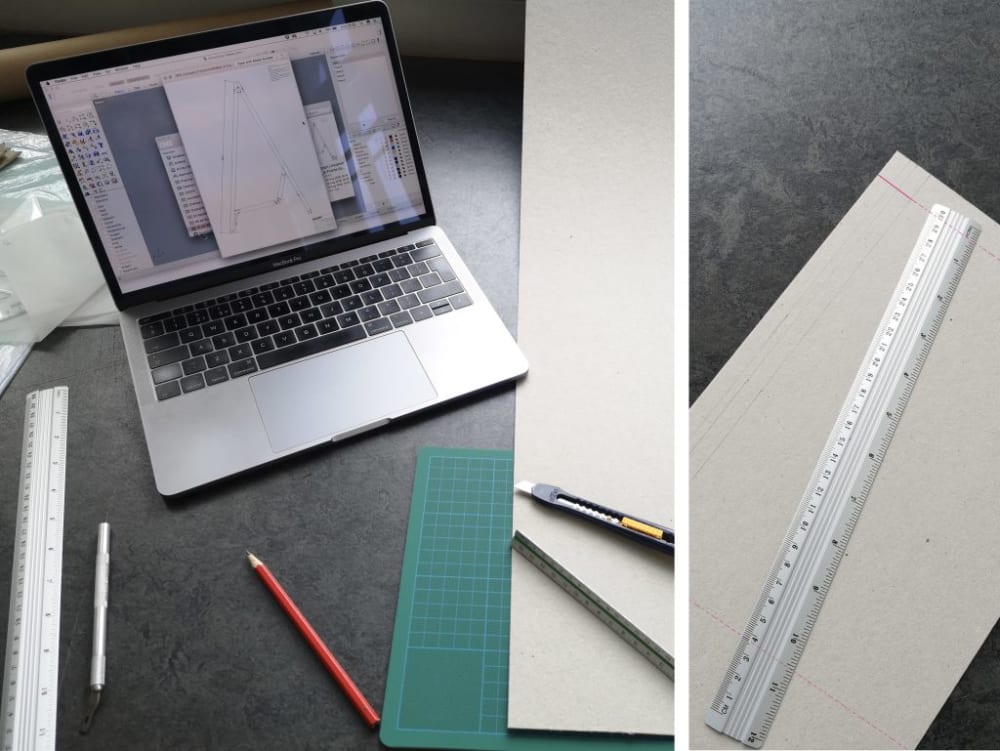
When creating your scale model its useful to have an accurate drawing to refer to for key measurements and dimensions. This could be printed or just on a screen nearby to where you’re working.
Tip: For straight lines, measure at the top and bottom of the card. It’s likely that you’re going to have to cut lots of straight lines whilst building your scale model. To make sure your lines are always straight, make sure you measure from the top and bottom of the piece of card your cutting.
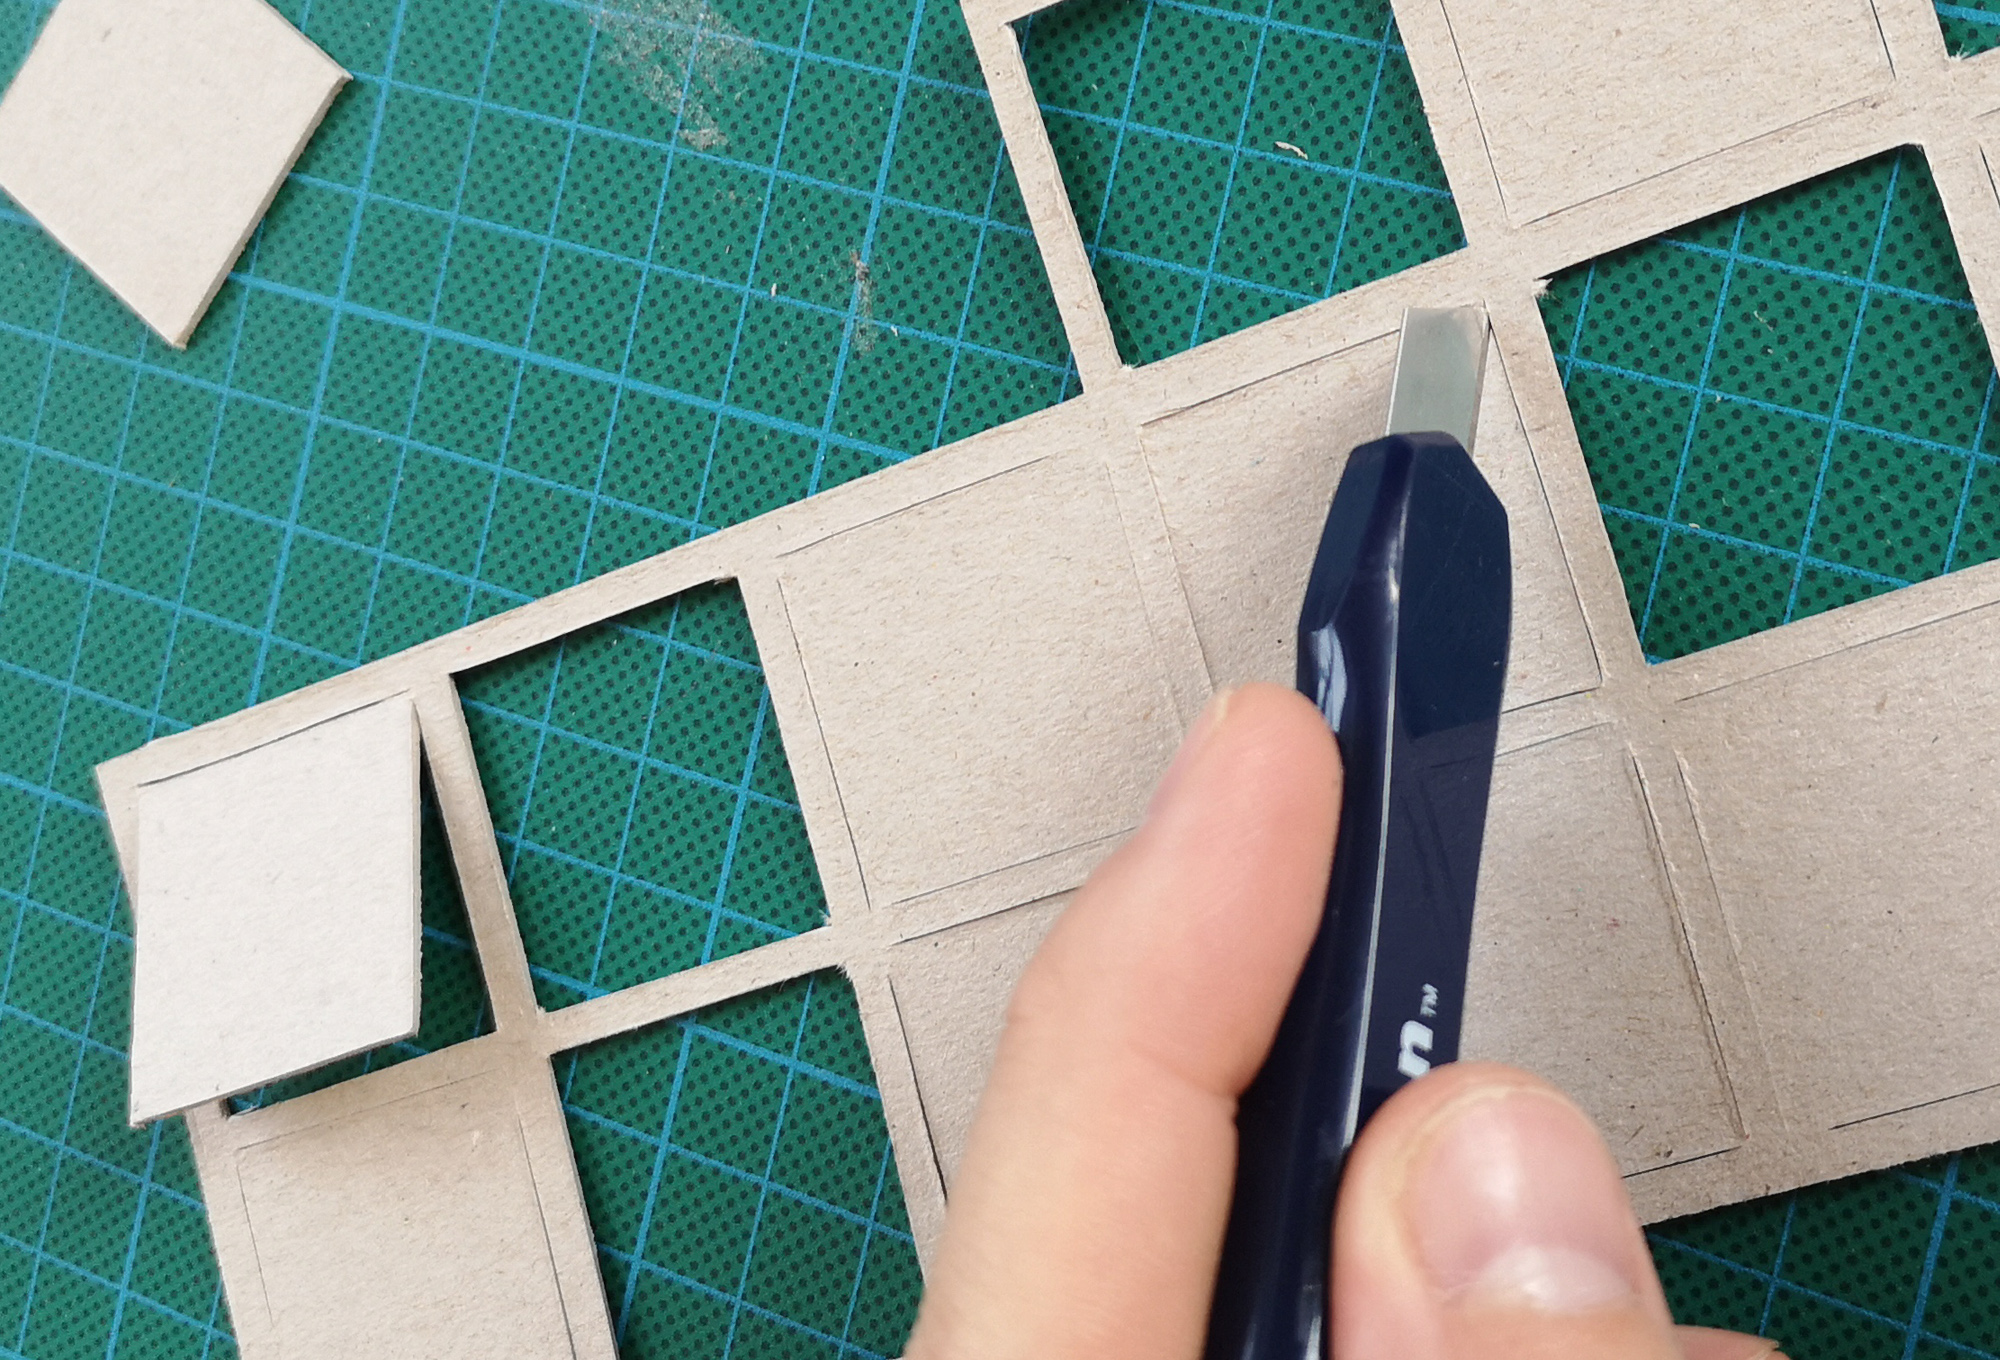
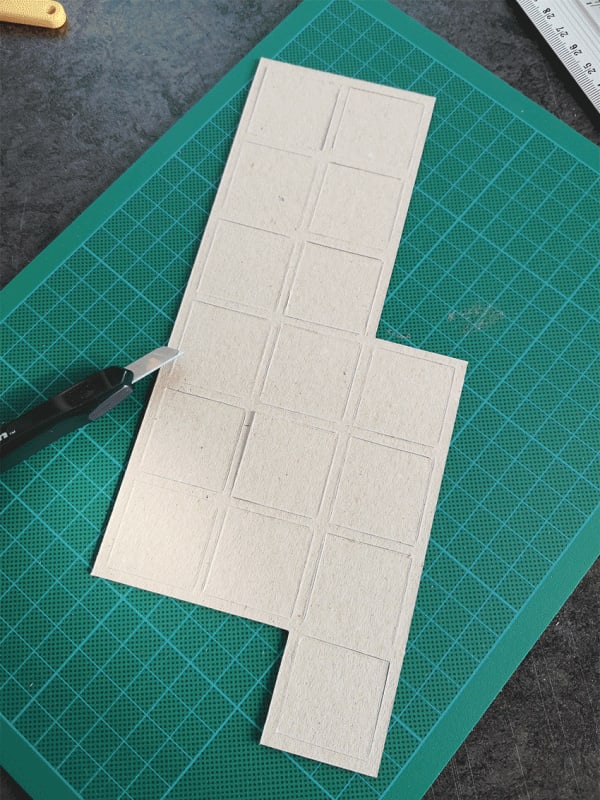
Scoring cardboard to make folds
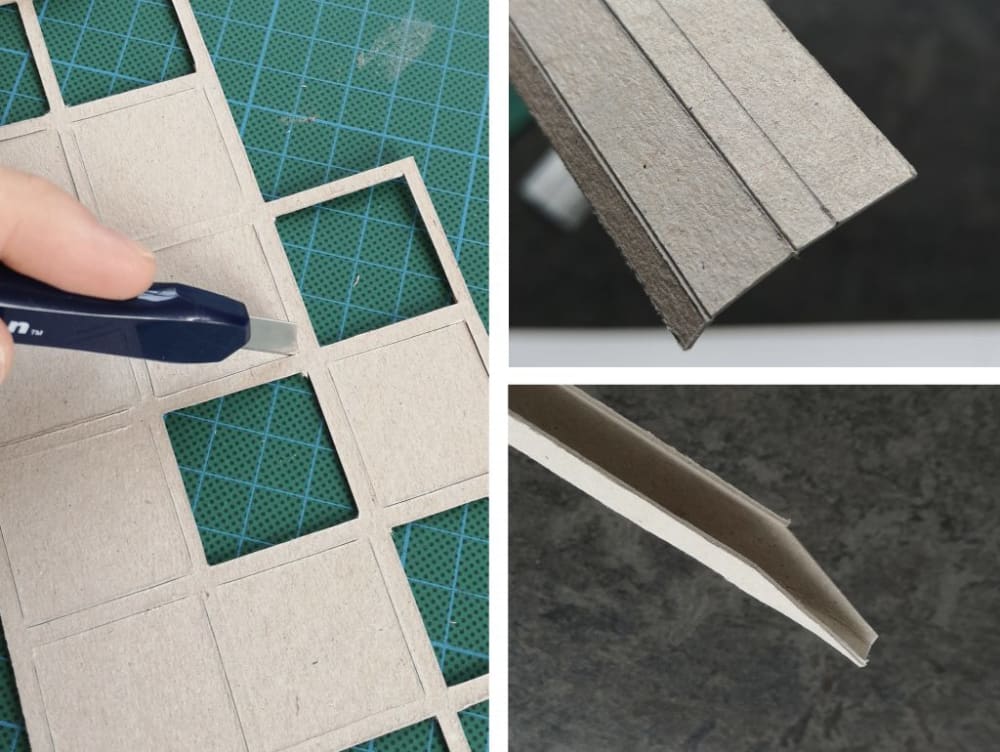
Card is a great material to work with because it is easy to cut and shape. In this example, cutting a series of apertures for the model is quick, simply following pencil lines drawn out beforehand and cutting against a steel ruler with a craft knife or scalpel.
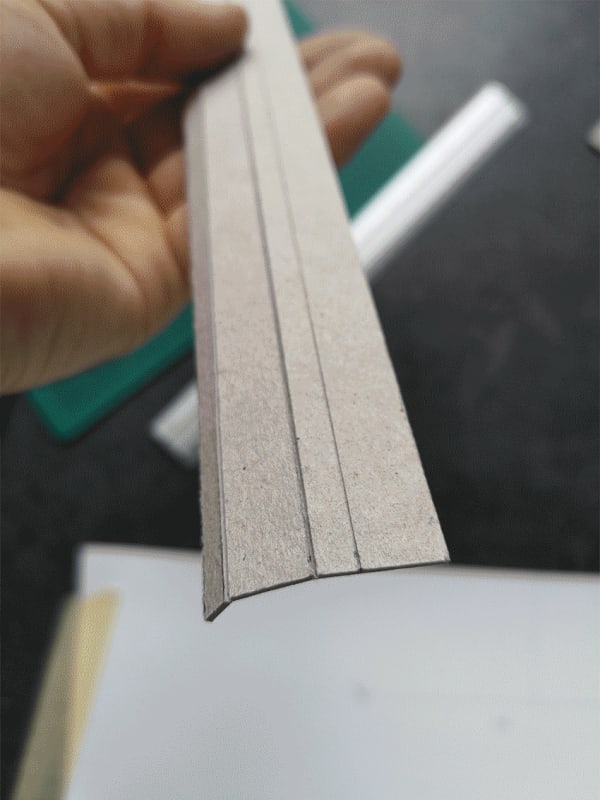
Tip: Press lightly with the knife to score the card and create neat folds. Another useful technique is the ‘score cut’ which allows you to make neat folds in the card. By running the knife carefully so that it only cuts through the card about half way, you can create a score cut where you can bend the card and keep a nice crisp edge (as you can see in the right-hand images).
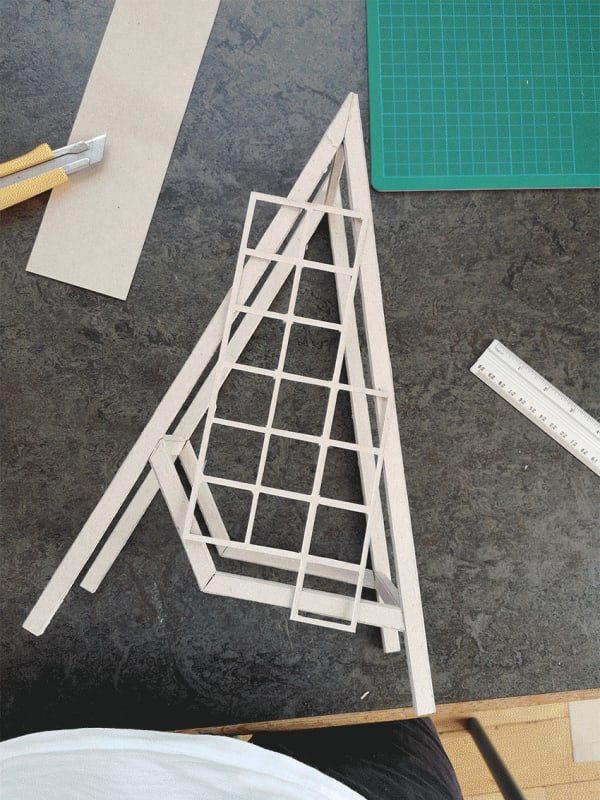
Gluing parts of your model together
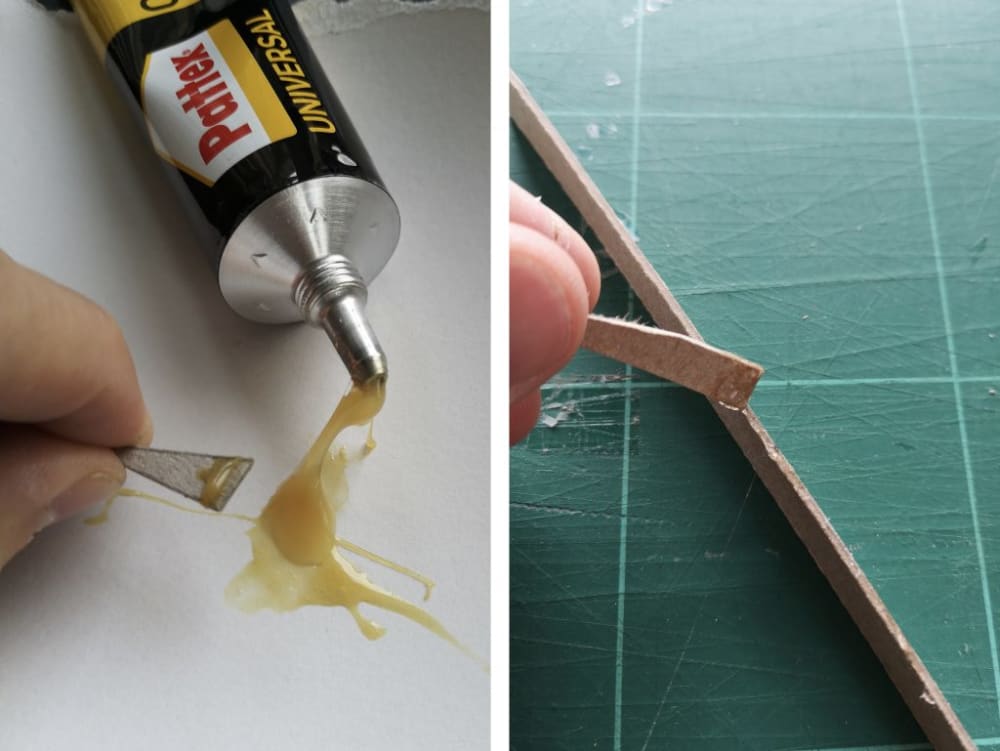
Tip: Use a spare bit of card to apply glue neatly to the edge of the model. Whether you are using PVA or an all-purpose glue (like UHU for example), it’s going to get messy if you apply straight from the tube. Instead, use an off-cut of card to apply the glue onto the edge of the piece you’re sticking together. The great thing about using an off-cut is that you can shape it easily and replace anytime it becomes difficult to work with.
Using masking tape to help fix things together

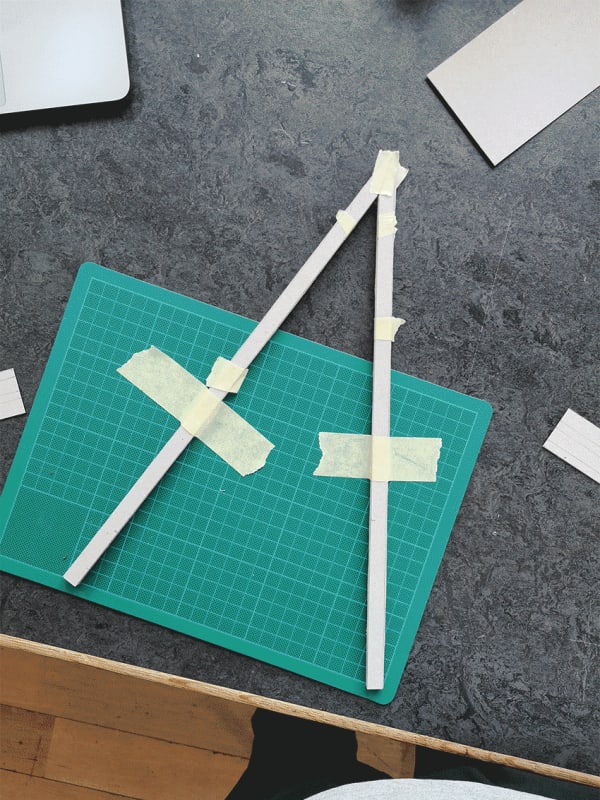
Tip: Keep some strips of masking tape handy! It’s always useful to have some masking tape nearby when gluing and fixing parts of your model together. Masking tape is normally ‘low-tack’ so once your object has finished gluing, or you’ve marked out for another cut, it’s easy to remove the tape without leaving any marks.
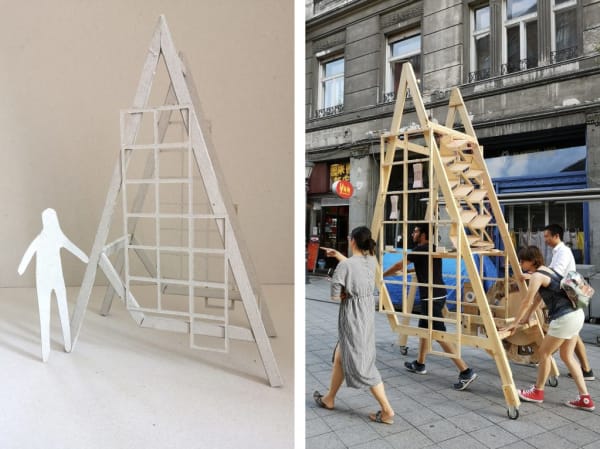
Testing your design as you model

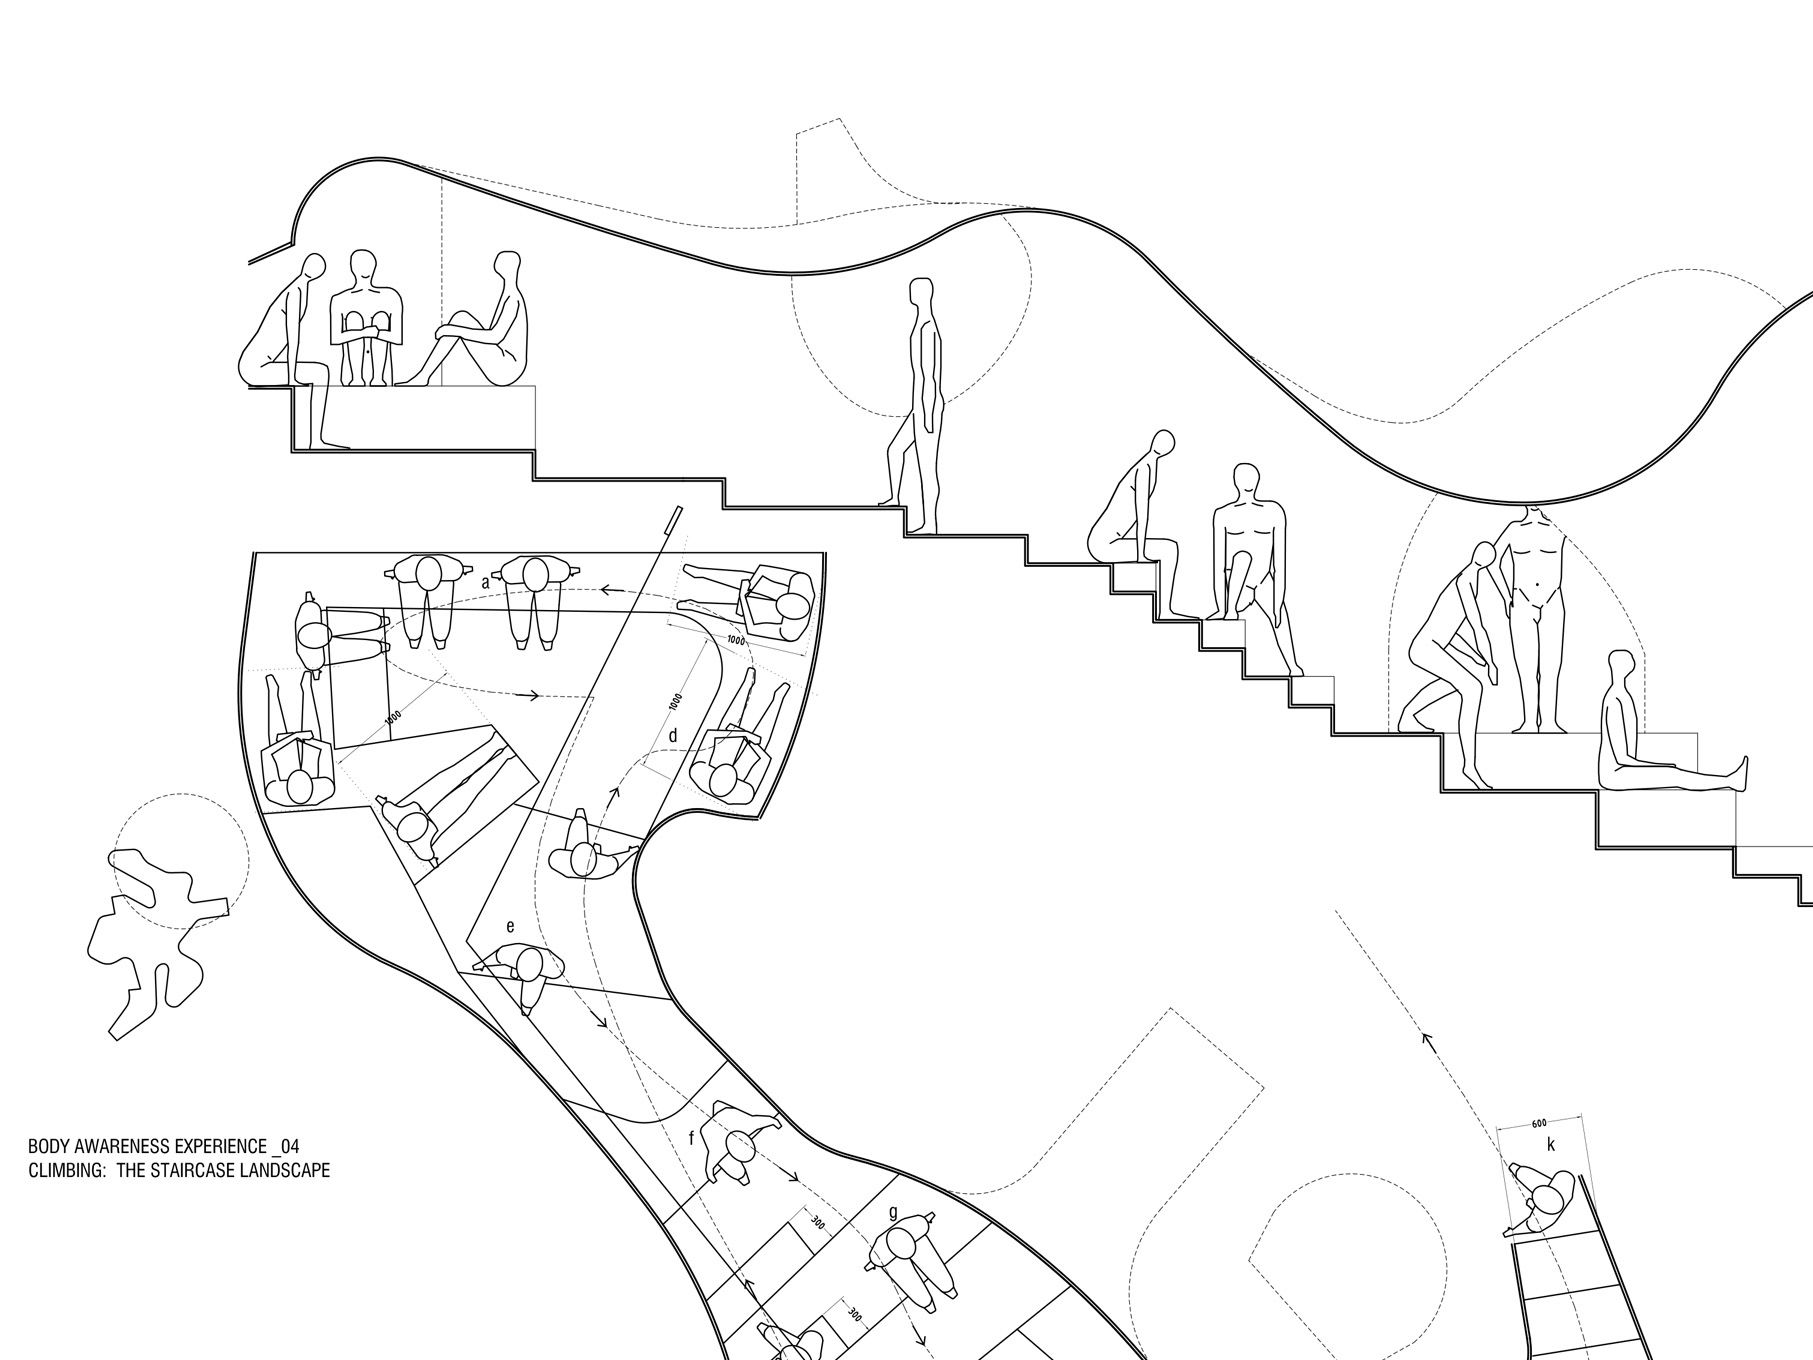
Tip: Cut out a cardboard figure to check your design as you model. As designers, we always need to design with people in mind. This is true throughout the design process, including whilst we make scale models. Architectural scale figures are useful but often really expensive – instead using some spare card, you can create one or a number of different figures to test your model as you go. Just sketch a rough outline making sure you use your scale ruler to get the approximate proportions and, because the figure will be from card, you can also fold and bend to test out different postures!
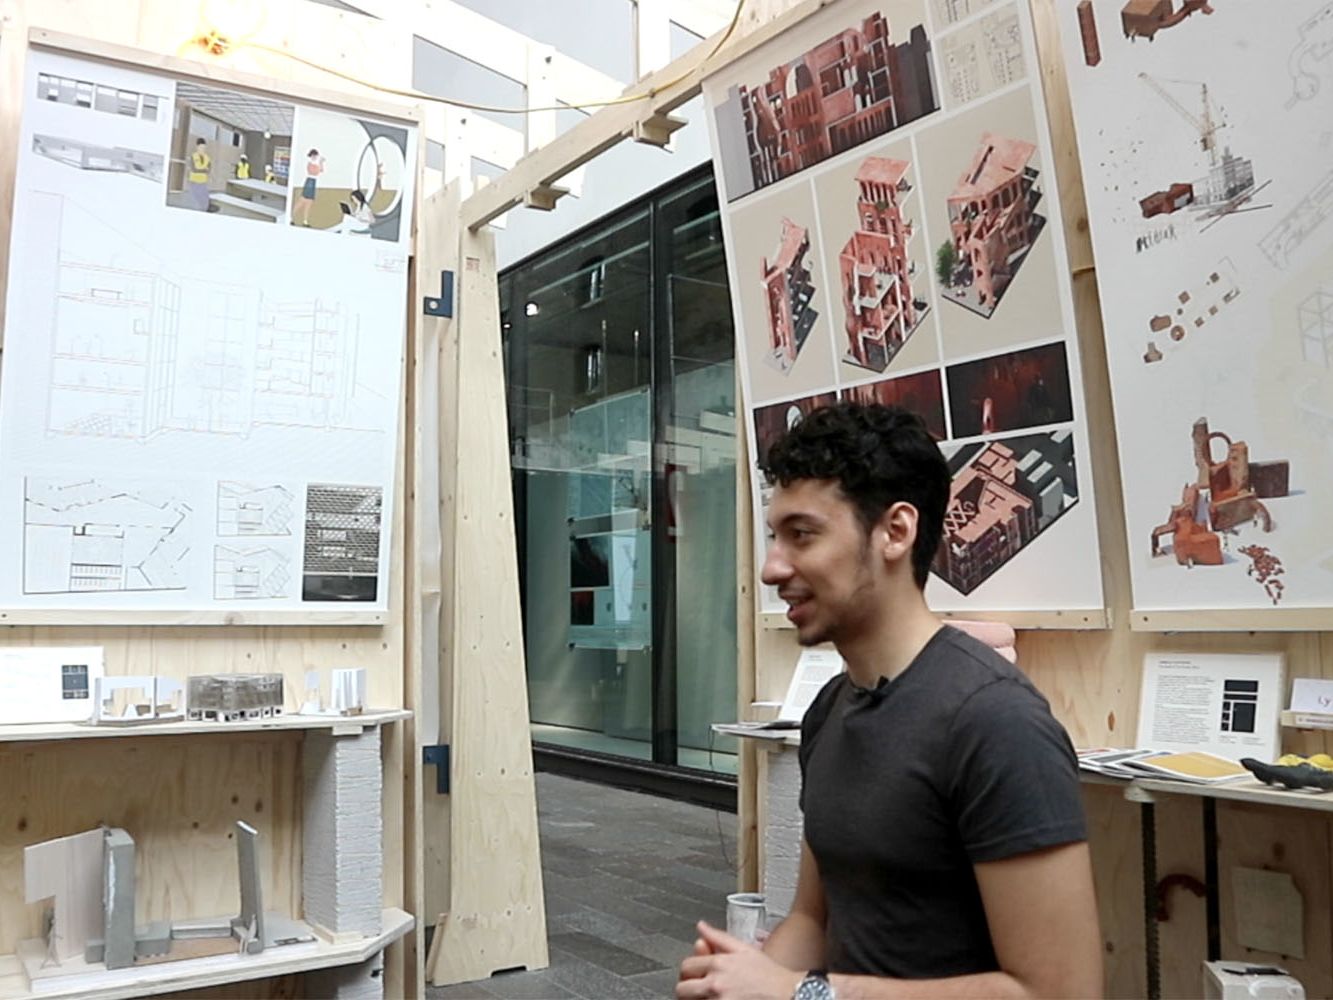
Documenting and developing your work
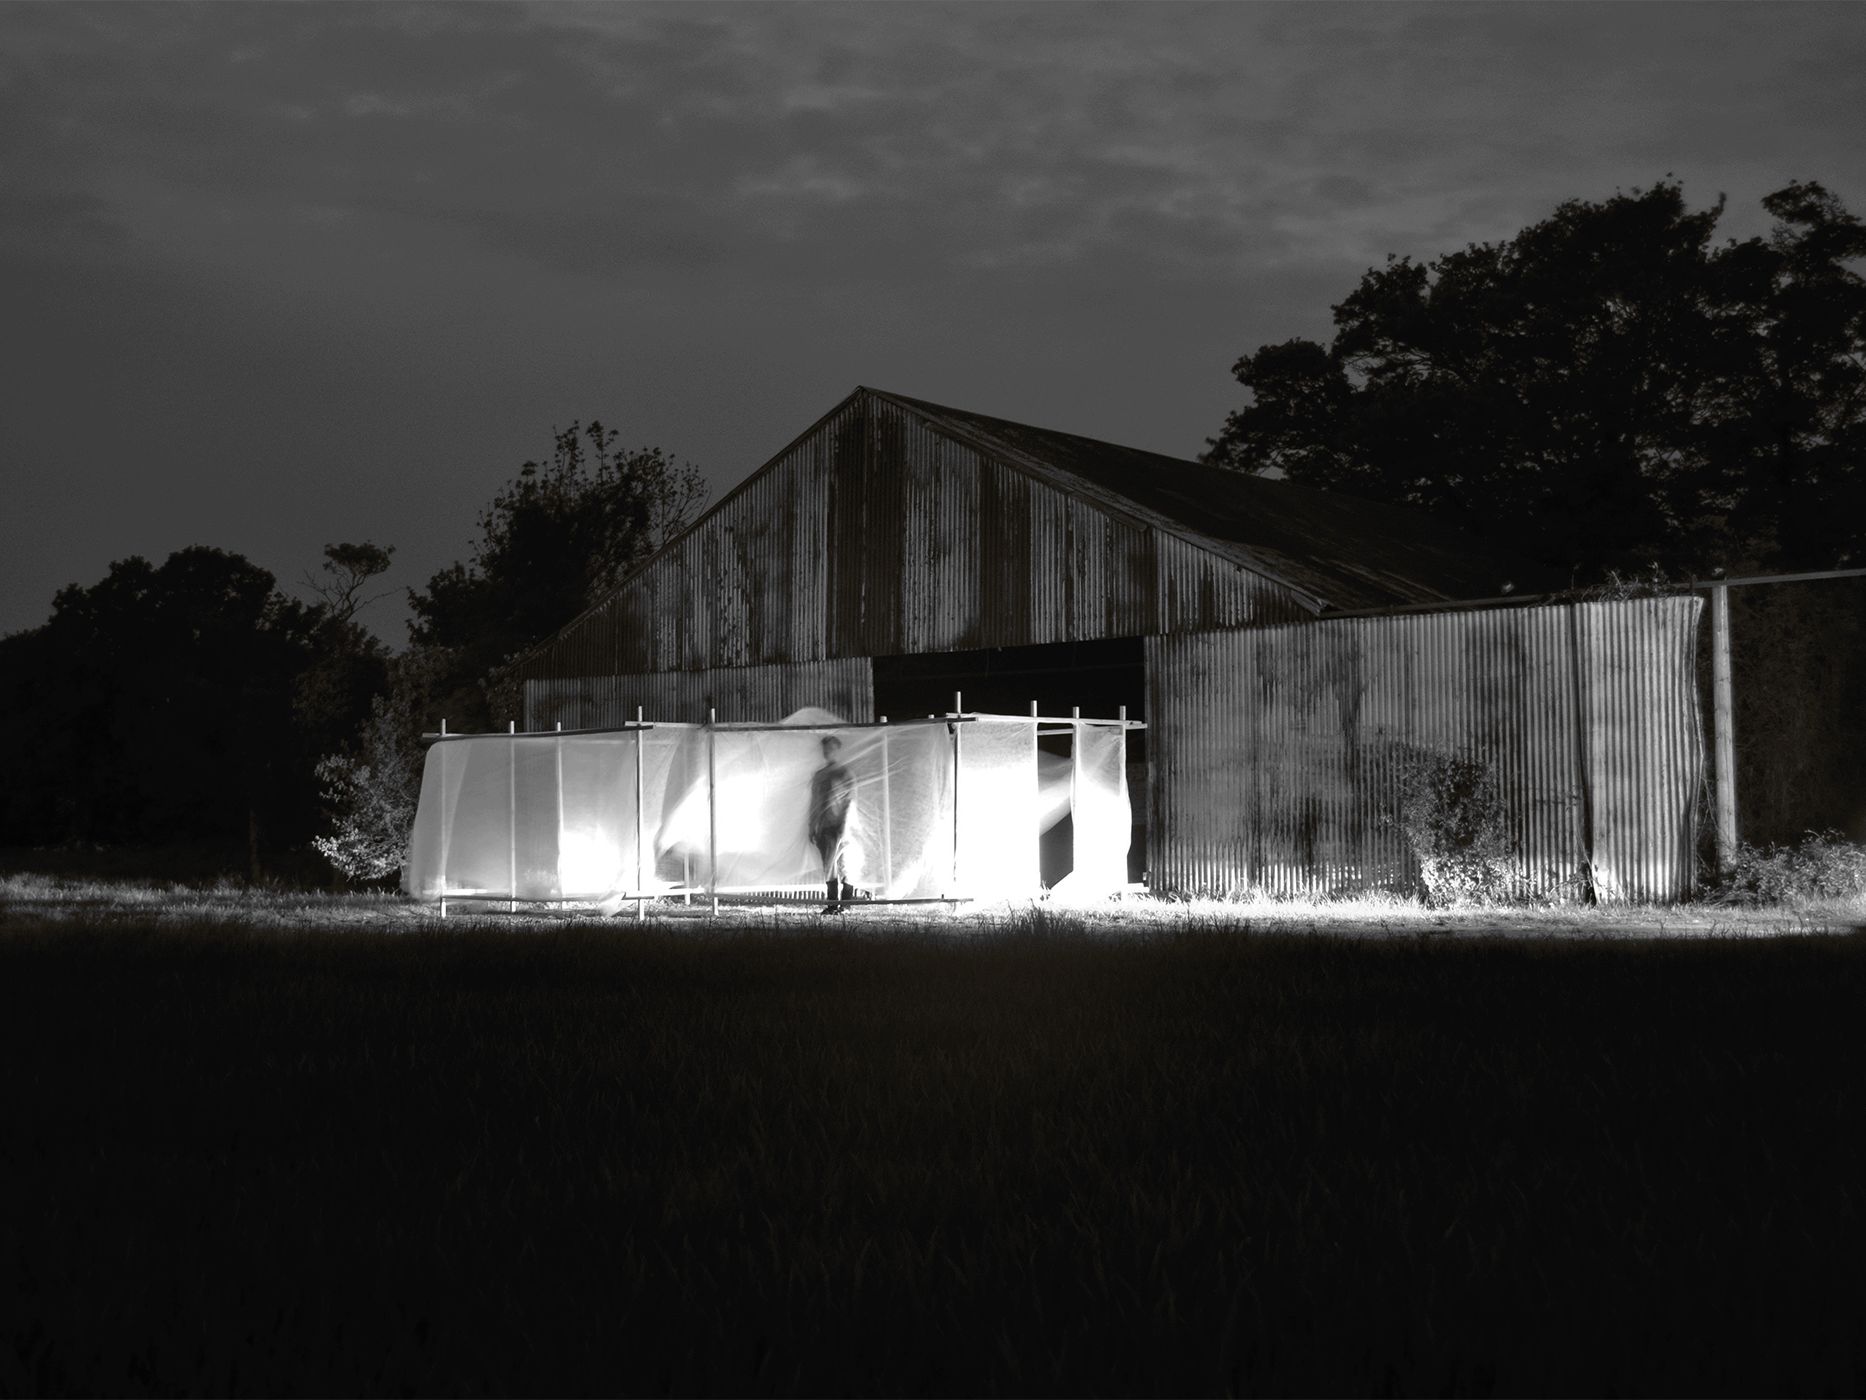
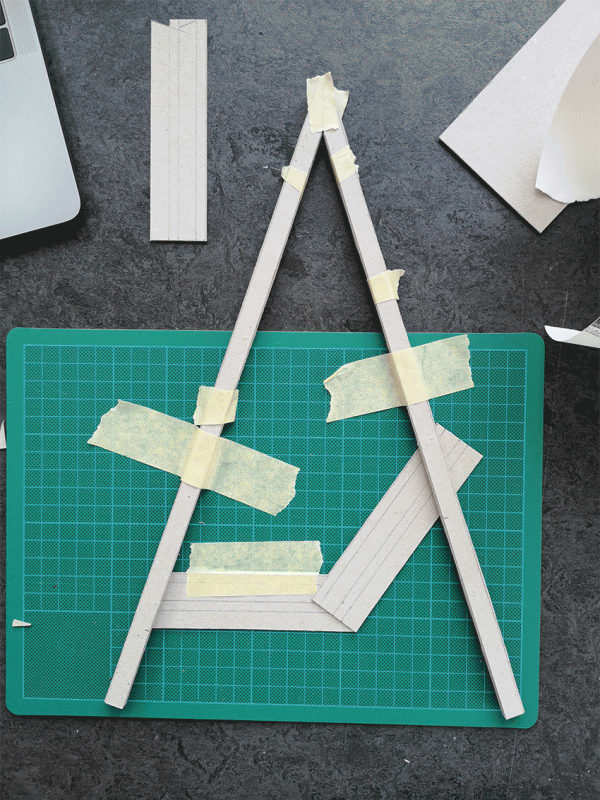
And finally, here’s a run through of some of those tips coming together to show the process of making our model for a mobile installation.
-
Photograph: Nick Green -
Photograph: Nick Green -
Photograph: Nick Green -
Photograph: Nick Green -

Photograph: Nick Green -
Photograph: Nick Green -
Photograph: Nick Green -

Photograph: Nick Green -
Photograph: Nick Green -
Photograph: Nick Green