
Sean takes us through a list of essential items that you’ll want to collect with a short explanation on why they are useful.
Small sketchbook

Having a small sketchbook is perfect for when you have that initial moment of inspiration as you’ll be able to jot down any ideas you have as well as practical details like measurements. It can also act as a good place to record the many tasks you have to complete.
Measuring tape (5 metre)
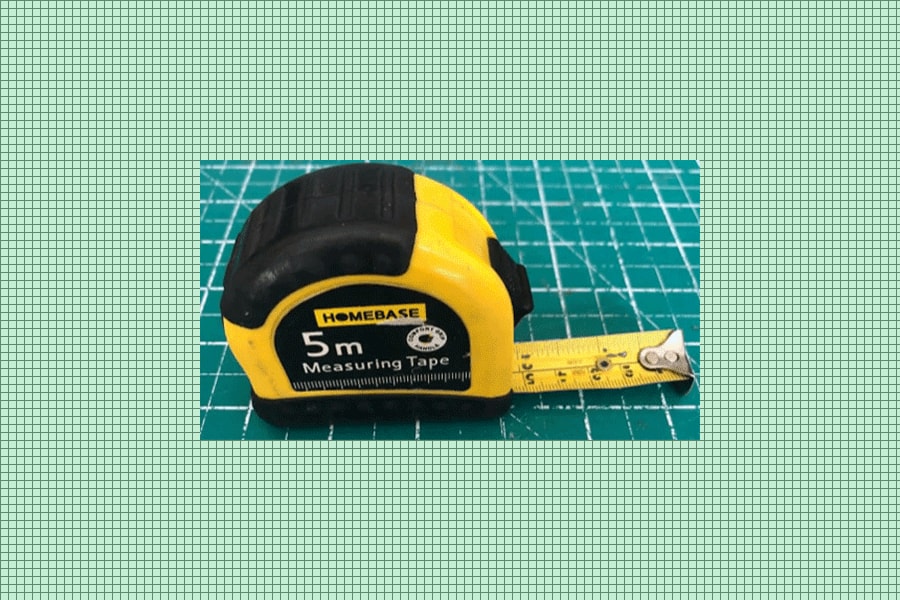
You’ll always need to use a measuring tape as you will have to constantly refer to scale at 1:1 (actual size) to get a better understanding of how big a space or objects in a space are or could be.
Head to David Neat’s website for common sizes of everyday objects
Fine liner pens (0.05mm – 0.8mm)

You’ll want to have a range of different sized fine liners. This is because in the sets of drawings that you produce you’ll have to show depth so that people can understand when something is far away and when something is close. To show that something is further away, use a pen with a line thickness of 0.05mm. To show something is closer, use a pen with a line thickness of 0.8mm. By doing this, it helps people better interpret your drawings.
Uni Pin fine liners are a good option to use.
Mechanical pencils 0.3- 0.7mm

It’s useful to have mechanical pencils with different line weights as it means you have the freedom to experiment with depth in your drawing. If it doesn’t look right then you’re able to rub it out and redraw with a thicker or thinner line depending on how far away you want an object to look. The finer pencil leads (e.g.0.3mm) give pinpoint accuracy when drawing lines for sketches or technical designs.
Stadler Mars Micro pencils are a good option to use.
Brush pens
On the go with PITT Artist pens
Video: courtesy of Faber-Castell.
Faber-Castell Pitt pens are a great option for architecture students as well as artists and designers. These pens are great because the brush tips make it super easy and fast to fill in things. Whether you’re sketching observations, design ideas or filling in details on hand drawn floor plans; for example walls are usually shown as solid black lines, these pens are really useful.
Metal ruler

Ideally you want to ensure the ruler you have is a metal one (not plastic) as this means when you use it to cut materials like card for models or presenting work, the cutting tool will not indent the surface of the ruler. If you damage the ruler, then you’ll no longer be able to draw a straight line leaving the tool useless. Metal rulers come in different lengths 15cm, 30cm and 60 cm as well as 1 metre long. It is good to have a range of ruler sizes as you will be drawing at many different scales.
T – square and engineer’s square

The T-square and engineer’s squares are both useful for your tool kit but allow you to do two very different things. A T-square is perfect when you need to draw straight lines that are parallel as it allows you to use the table edge as a point of reference when you start drawing.
An engineer’s square is perfect for model-making when you want to make sure that something is square (at a 90-degree angle).
Metal scale ruler

Most architectural drawings and models are not actual size (1:1) so you have to work to scale. A scale rule is essential as it allows you to quickly work out the size of a line without having to use a calculator to figure out its length. When buying a scale rule be sure to buy one with the conventional scales architects use: 1:1, 1:20, 1:50, 1:100 or 1:200.
Find out more about working to scale in Nick’s 'How to' post.
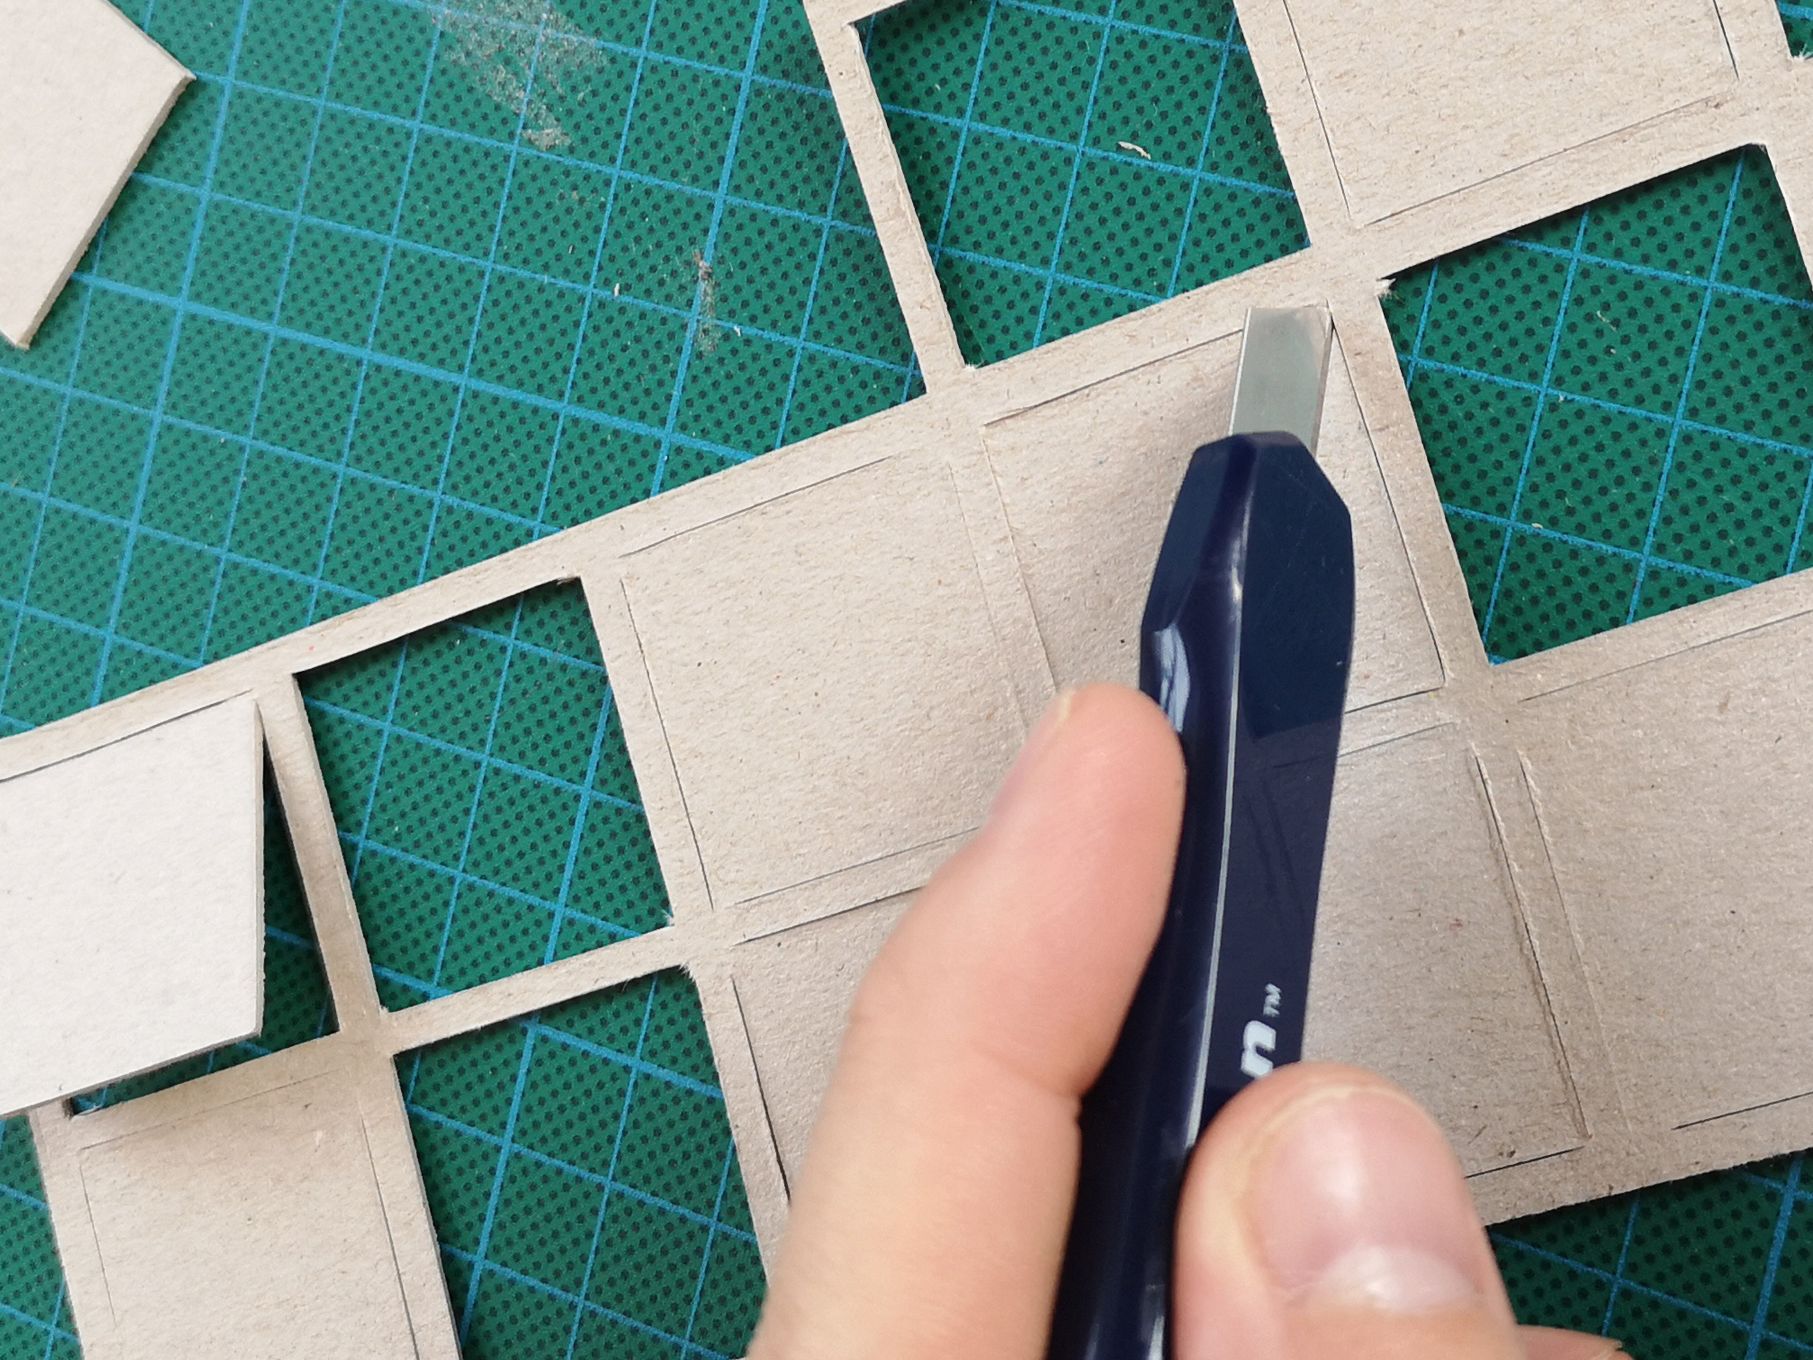
Scalpel

A scalpel is essential for a tool kit. Using it means you can have better control and precision over what you’re cutting out. You’ll also want to have a continuous supply of scalpel blades. You should change the blade every ten minutes if working continuously to ensure that it is sharp for when you cut.
Follow these tips to use a scalpel safely:
- Always use a metal ruler (not plastic). Using a plastic ruler damages tools and can cause you to slip your hand and cut yourself
- Always keep your fingers back from the edge of the ruler when cutting
- Try to stand up when cutting your material and make sure to always be looking at your work
- Press firmly on your ruler to hold it in place on the material
- Press down on each stroke when cutting with the knife
- Never cut through the material in one cut, use 2-3 strokes (for thicker materials) to get a cleaner edge
- Take your time, don’t rush
Replace the blade regularly to ensure clean cuts and dispose of the old blade safely by wrapping it in masking tape or making your own sharps box from for example, a plastic bottle.
Cutting matt: A5, A3 and A2

Ideally you’ll want to build up to having all three sized cutting mats as you never know how big or small the material is that you want to cut. Having a small cutting matt (e.g. A5) is good because it’s easy to carry around in your bag and perfect for when you want to make a quick cut. Having a big cutting mat (e.g. A2) allows you to cut larger pieces of material which is useful when making models at a larger scale like 1:20 or 1:10.
Jakar cutting mats are good option to use.
Uhu glue

Uhu all-purpose glue is ideal for model making. This is because it dries quickly but still allows you to have enough time to ensure what your gluing is in the right place.