The challenge
In this challenge you’ll discover the importance of looking and responding to what’s in front of you - not what you imagine is there! You’ll spend some time considering this before making your self-portrait.
What materials do I need?
- Paper, pencils
- 250g Air drying clay. (white and terracotta). For example, DAS
- Sculpting tools: blunt cutlery, lollipop sticks, pencils, pipe cleaners
- A Mirror- a small hand mirror is fine
- Paper/newspapers to cover the table
- Bowl of water for keeping clay damp
Have a cloth ready to wipe your hands and wear clothes that you don’t mind getting dirty.
How long will I need to complete the challenge?
Part 1: 30 mins
Part 2 and 3: 1hr
Part 4: as long as you like
Part 1: Observe and make some initial drawings
Spend 1 minute looking only at your head and shoulders – look at both in relation to each other and consider the proportions of each. How does the size of the head relate to the size of the shoulders?
Start thinking in 3 dimensions. Look at and feel the shape of the back of your head – how does it feel? How far up the head are ears located? How far down the face are eyes positioned?
Make some sketches and notes that will encourage you to observe even deeper.
Part 2: Start making in 3D
Section out how much clay you will need for main components – the shoulders, the neck and the head, then start building. Keep looking at your face, head and shoulders in the mirror whilst you do this- don’t work from memory.

Part 3: Create detail
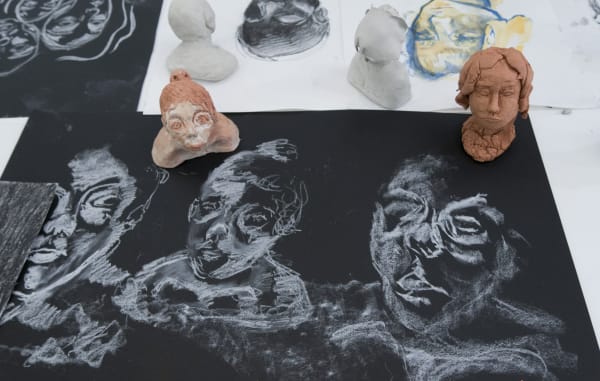
When you’re happy with the basic shapes you can start to sculpt more detail. Take time to look in the mirror at the shape of the cheeks, chin and nose and hair. Leave the fine detail until last. This is when you can add the finishing touches to the sculpture- the eyes, brows, mouth shape and other defining features.

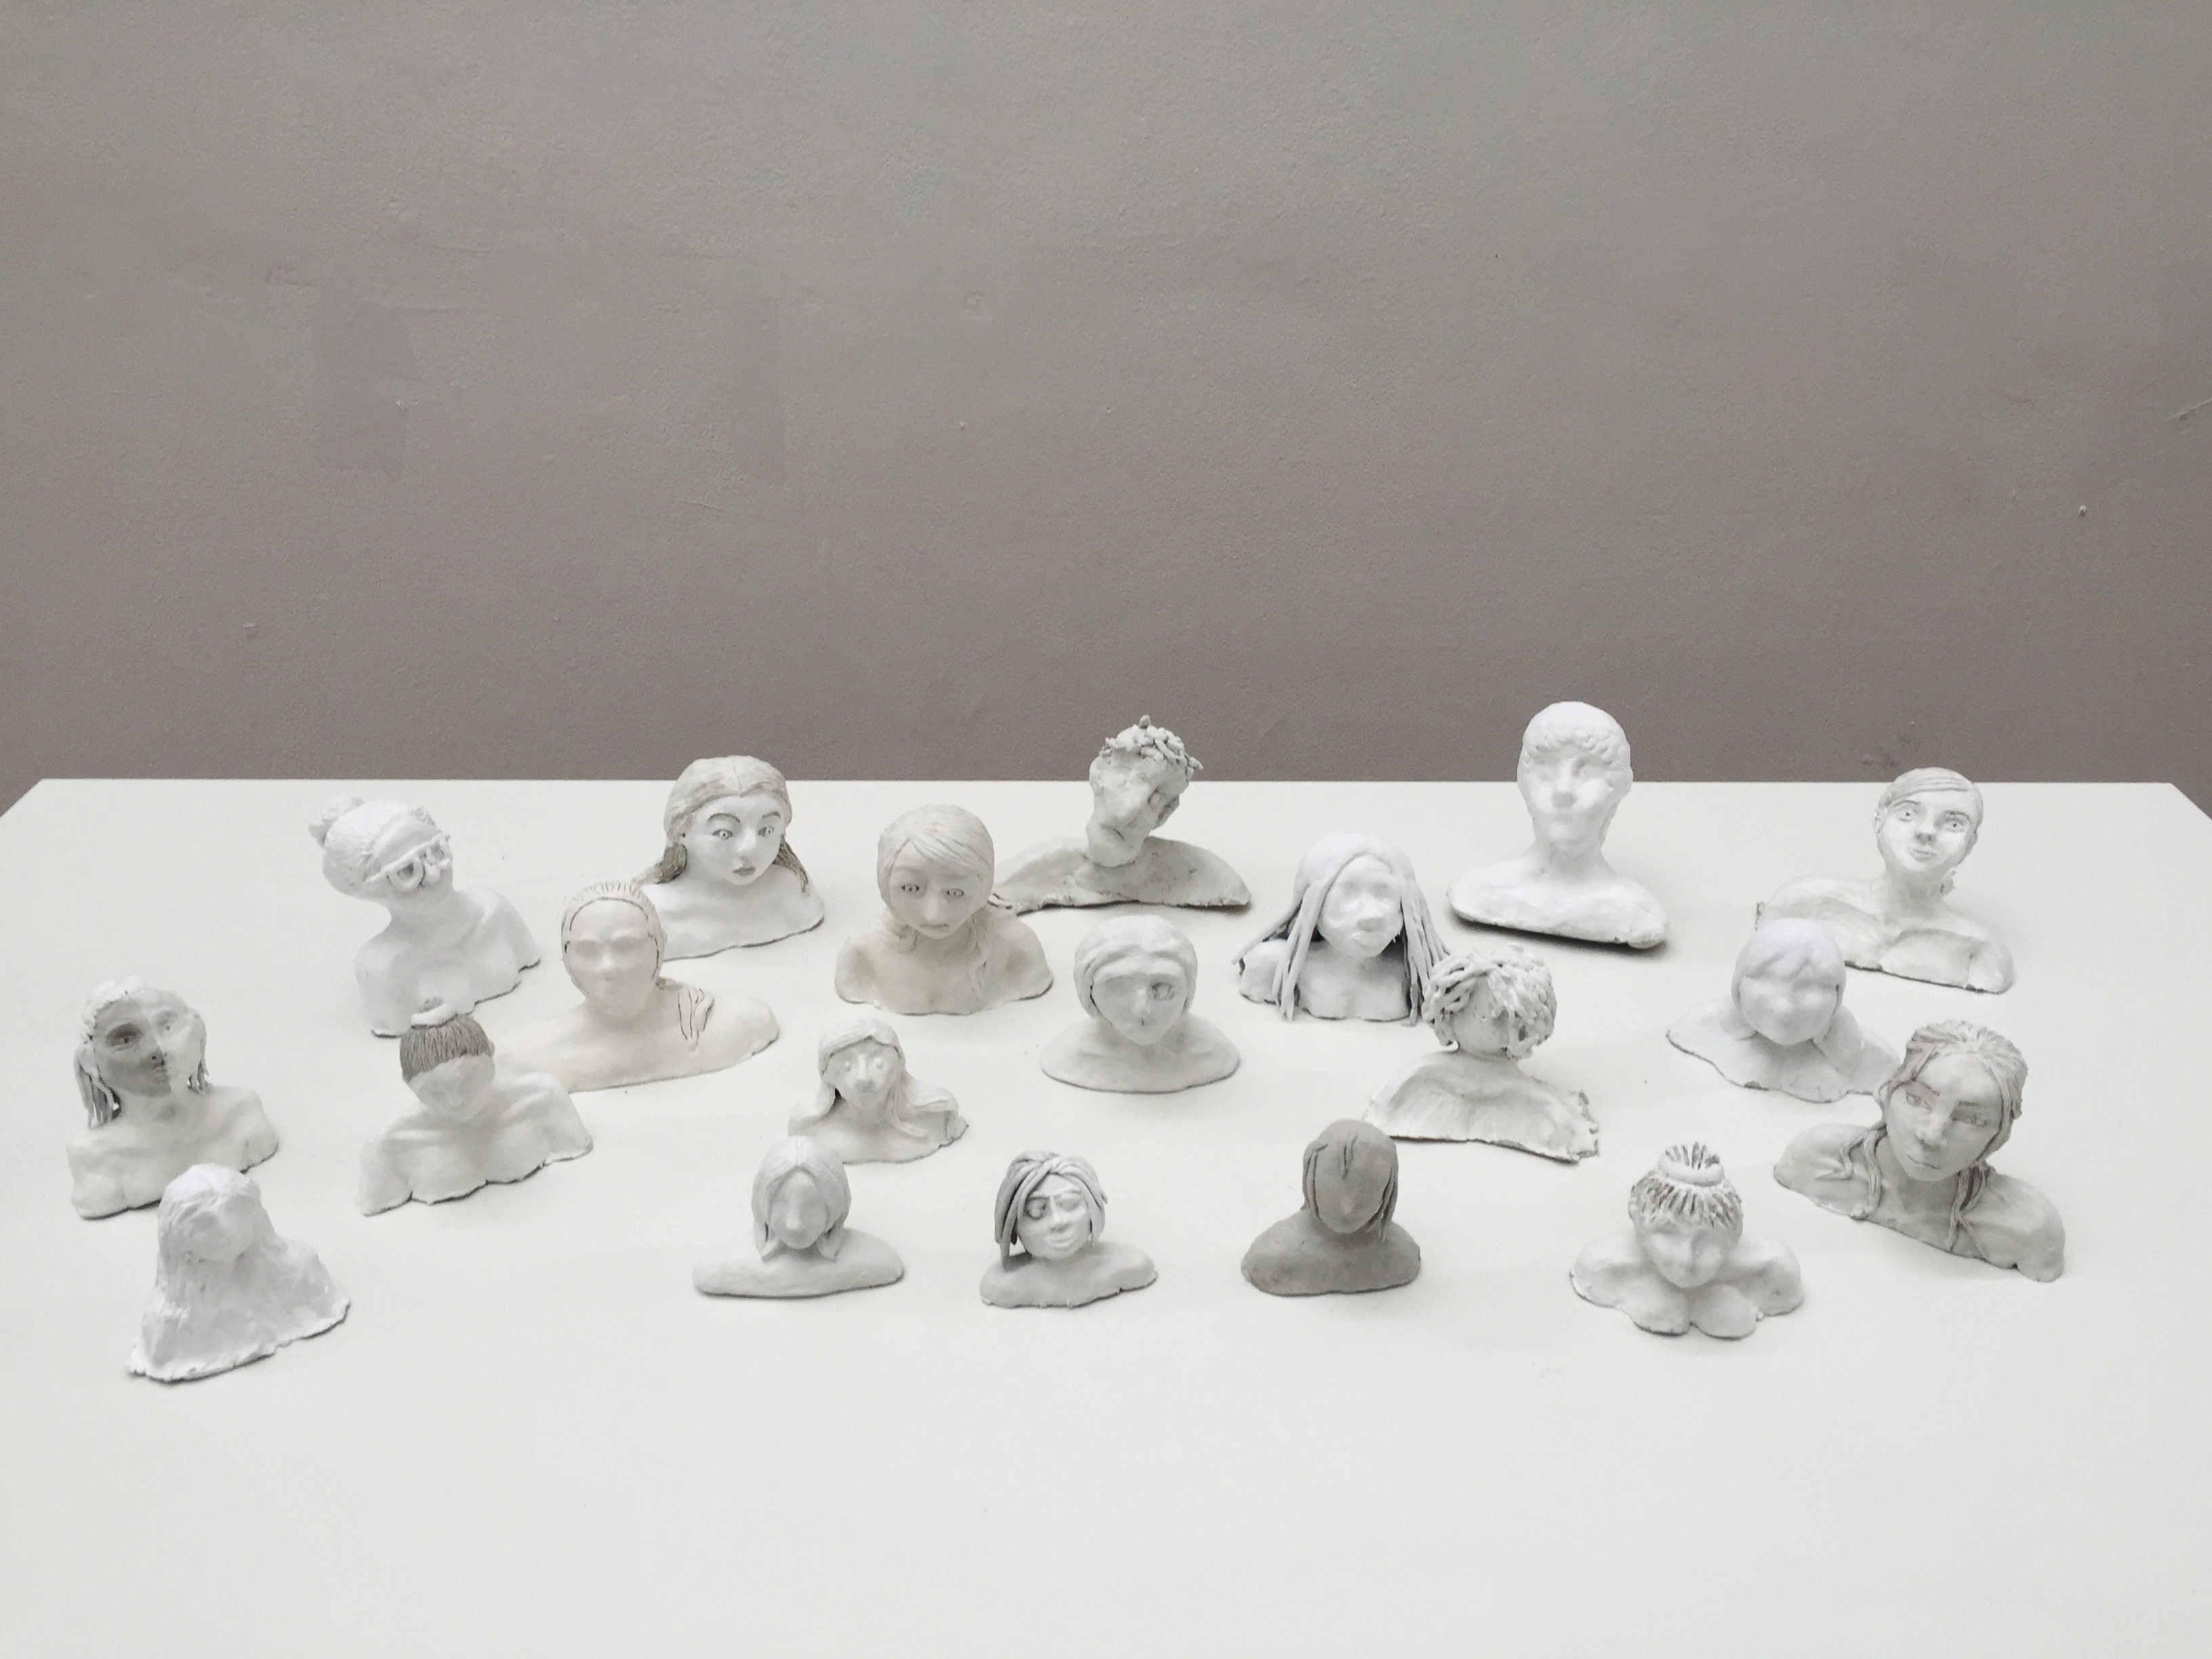
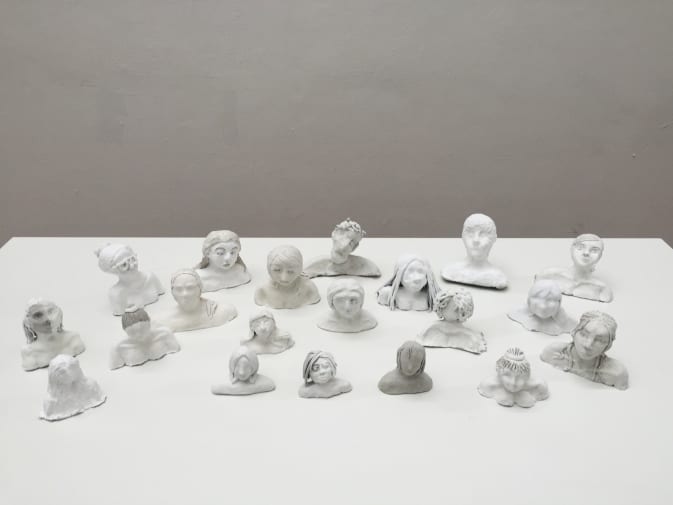
Top tip: Have a look at these sculptures for reference-
Think about:
Turning your sculpture around frequently while working. Don’t get too focused on one view – this is a 3-dimensional object to be viewed from all angles. It helps to imagine it in a gallery where it will be viewed from 360 degrees.
The aim is to capture a likeness, the essence of you, the subject – not an exact replica.
So be brave and explore personality as well as features.
Top tip: Be patient – the sculptures will take a few days to dry. Once dried out, if a smoother finish is preferred, sand with fine sandpaper.

Part 4: Develop more self-portraits
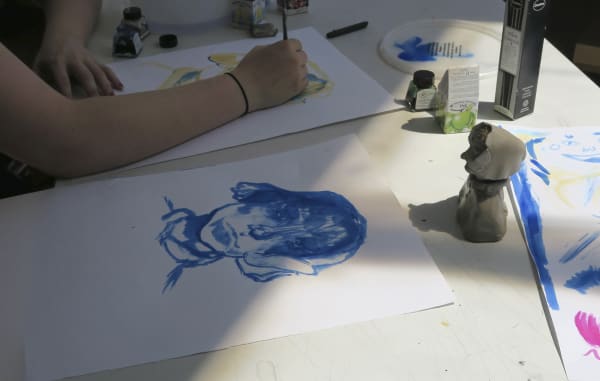
Draw your finished clay portrait, looking at your sculpture for the detail.
-
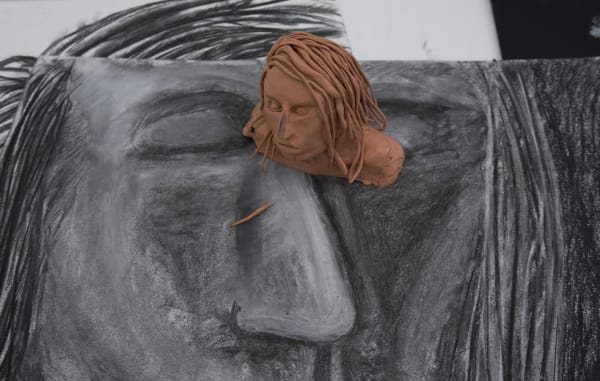
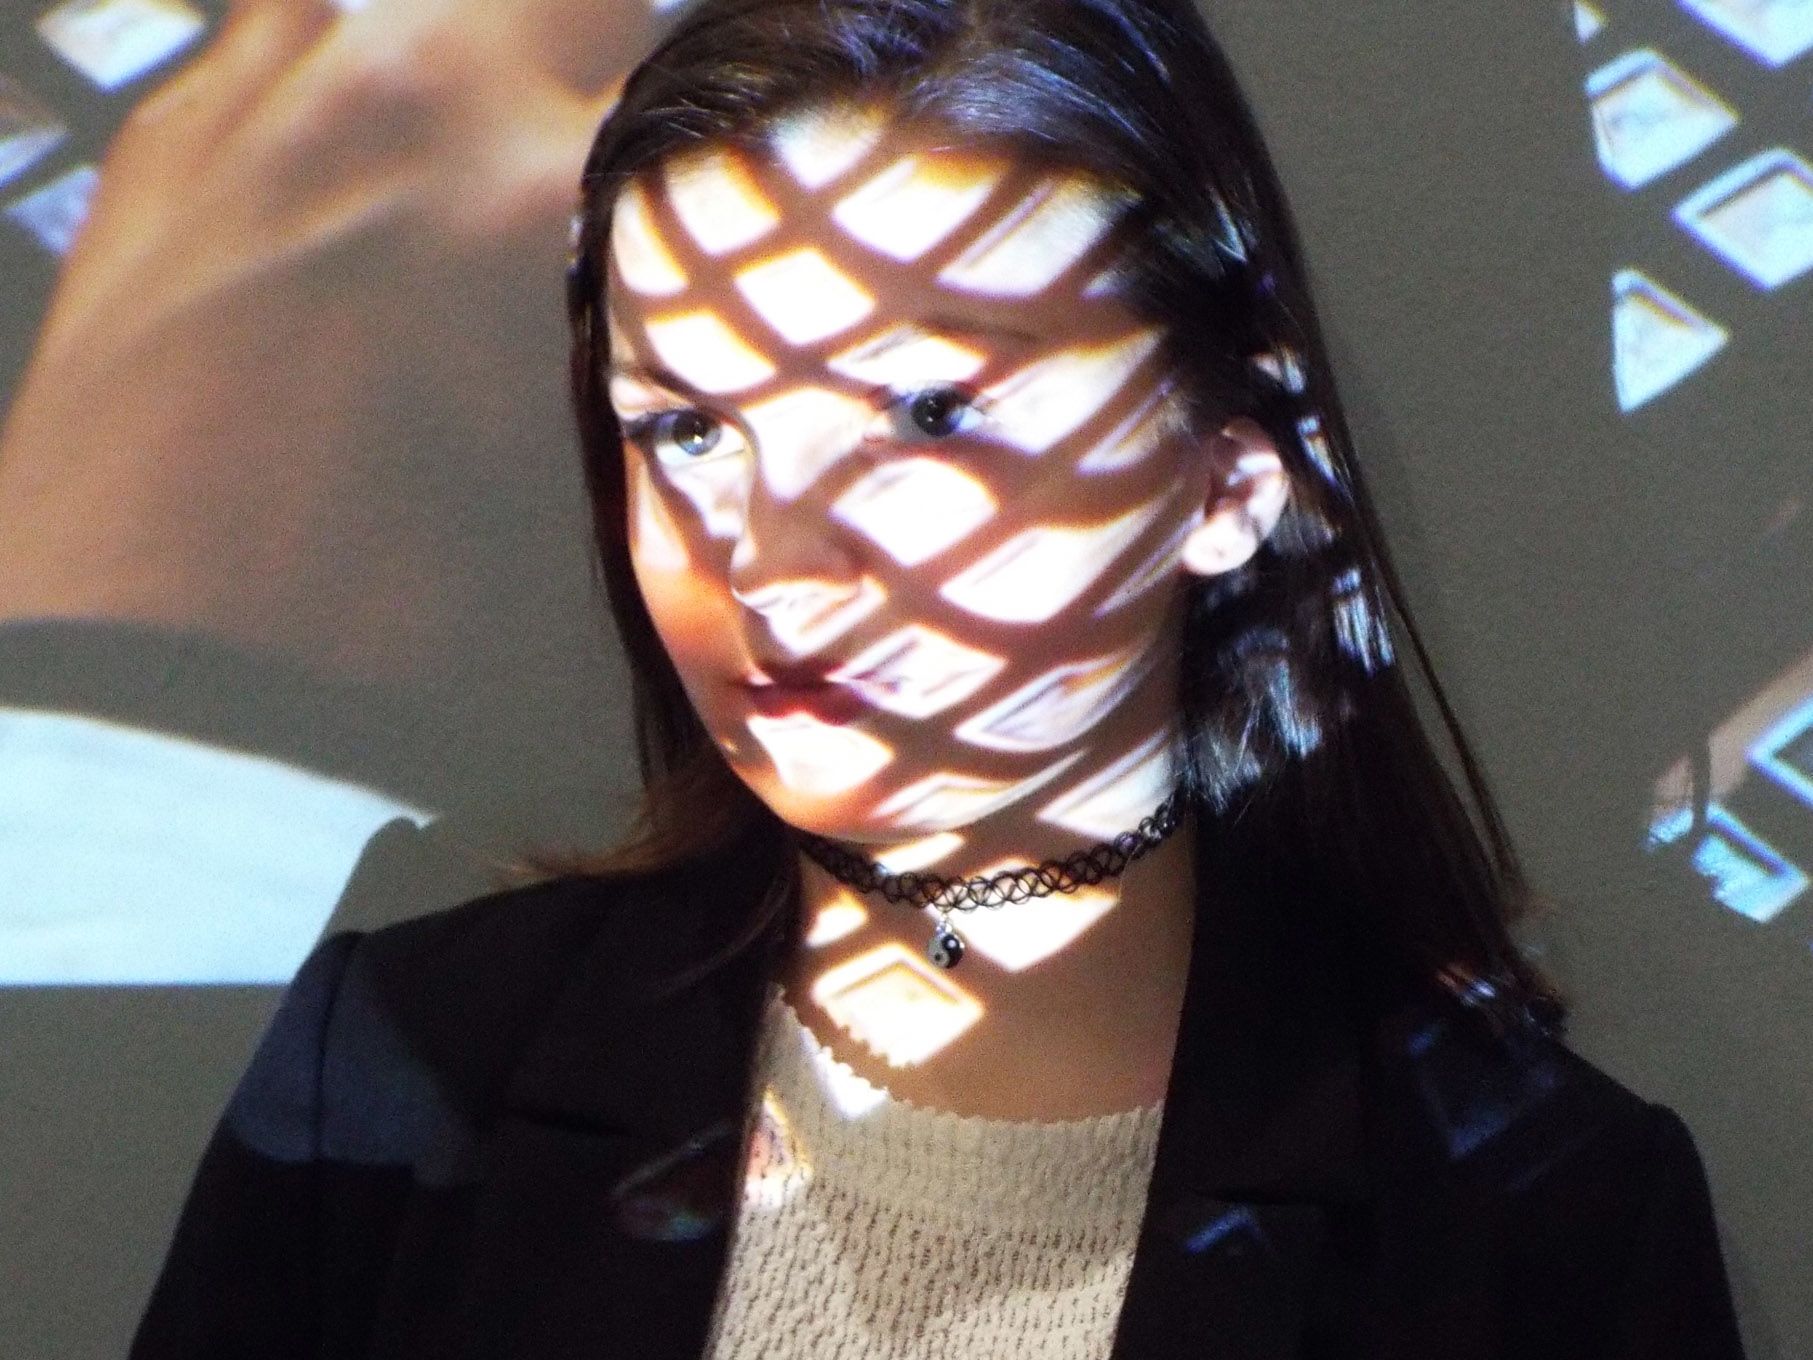
Student work from UAL Insights Summer Schools. Photograph: Lamprini Tzanaki. -
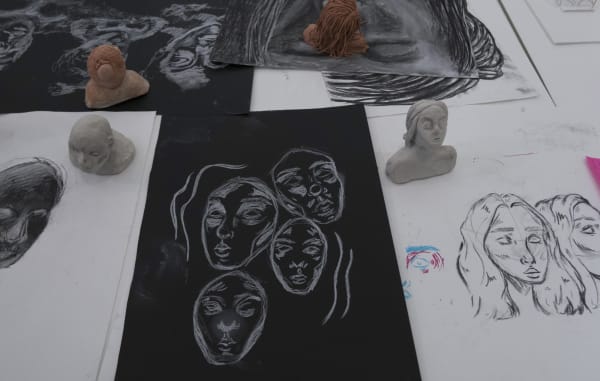
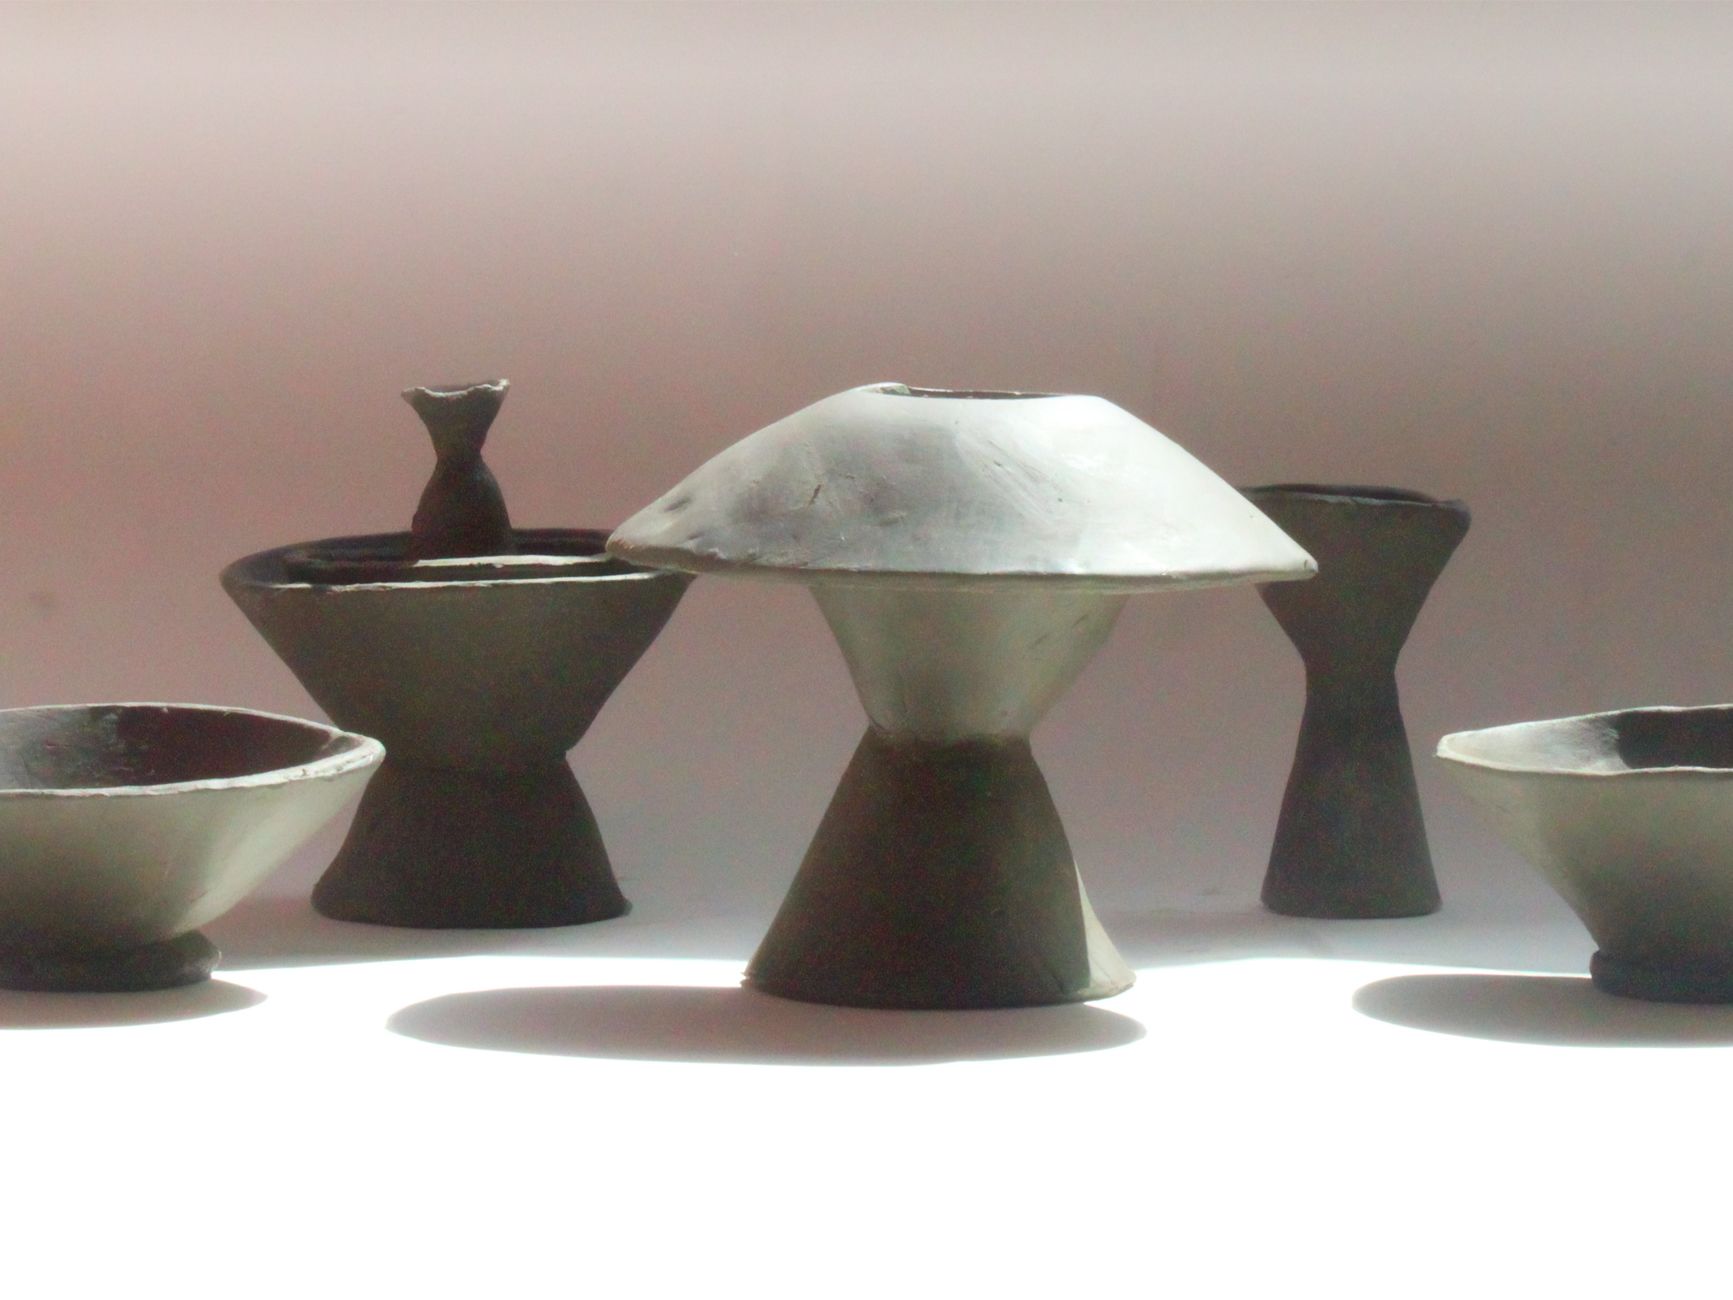
Student work from UAL Insights Summer Schools. Photograph: Lamprini Tzanaki. -
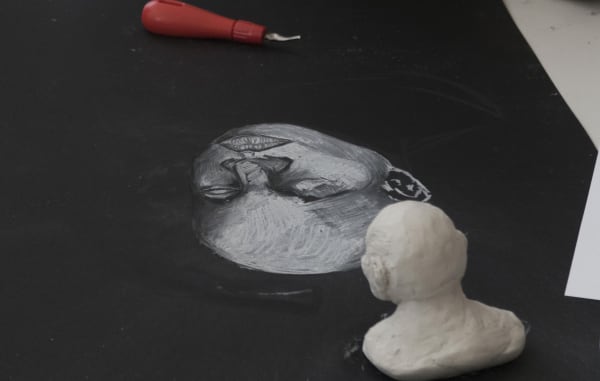
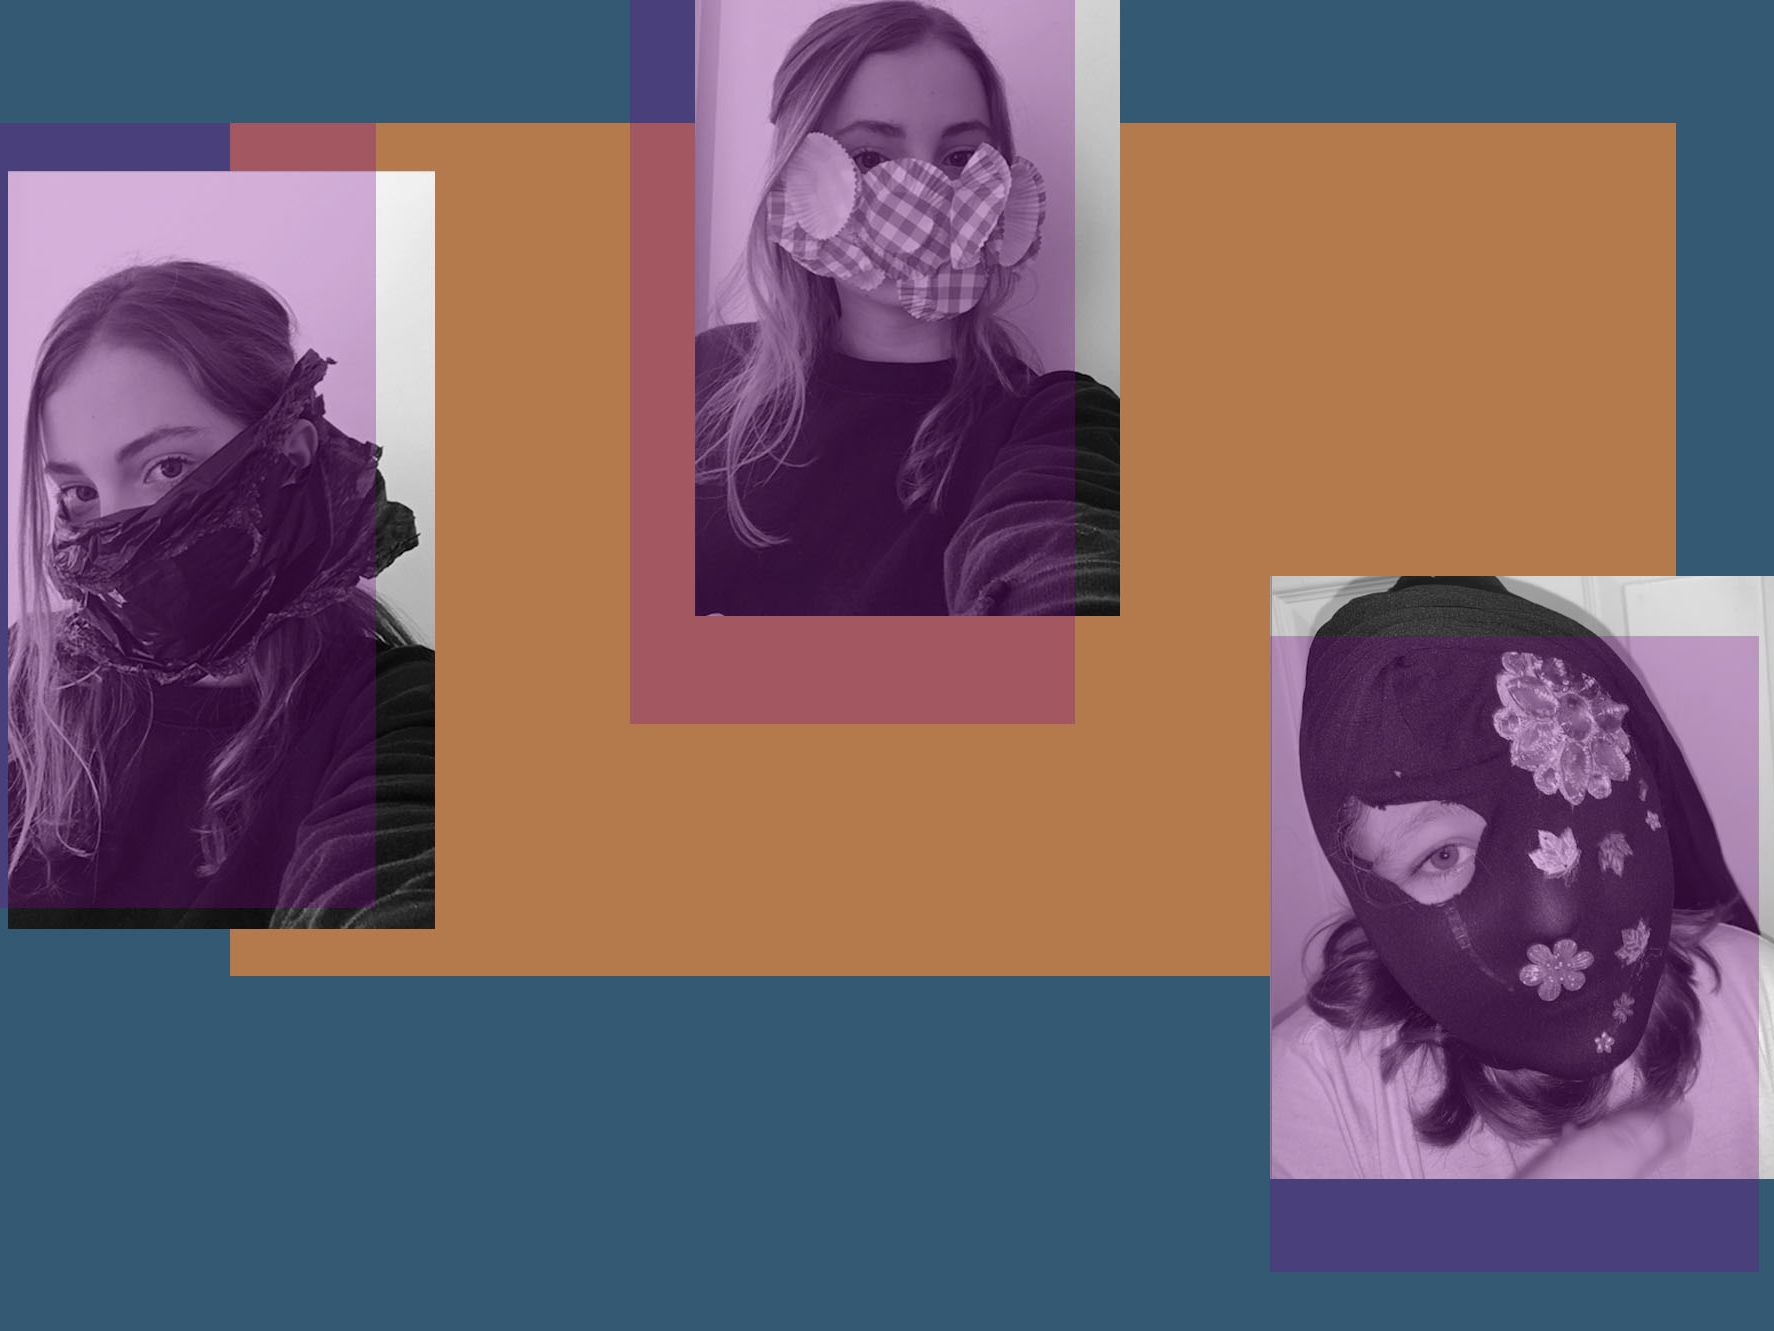
Student work from UAL Insights Summer Schools. Photograph: Lamprini Tzanaki. -
Student work from UAL Insights Summer Schools. Photograph: Lamprini Tzanaki. -
Student work from UAL Insights Summer Schools. Photograph: Lamprini Tzanaki.


Think about:
Comparing the drawing and your initial sketches with the 3D portrait. How are they different?
What would you do to develop the 3D portrait if you did it again?
How would you add more personality to your drawing or 3D portrait?
Could you develop the portrait in another medium? For example, creating a collage from a magazine or coloured card?